Photomegre is one of the multitude of Photoshop Tools. It is a system of merging 2 or more images into a panorama.
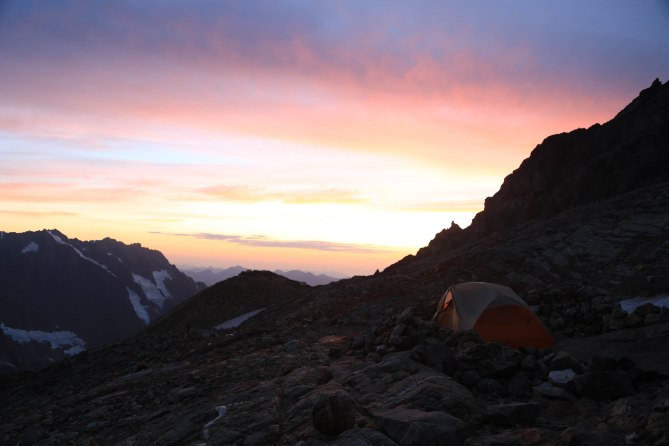
Here are two original jpeg images from Sahale Glacier Camp. I took these with the thought in mind to later merge them. using a tripod I captured one image and carefully swung the camera on the tripod and lined up the second one. It wasn’t any fancy movement, I made note in my mind of where the frame’s edge was and pointed the camera in the approximate place to take up where the first image left off, planning for some overlap. I was using a 24 mm lens. I set my image quality when capturing the images so that I would have both a RAW file and a jpeg of the shots.
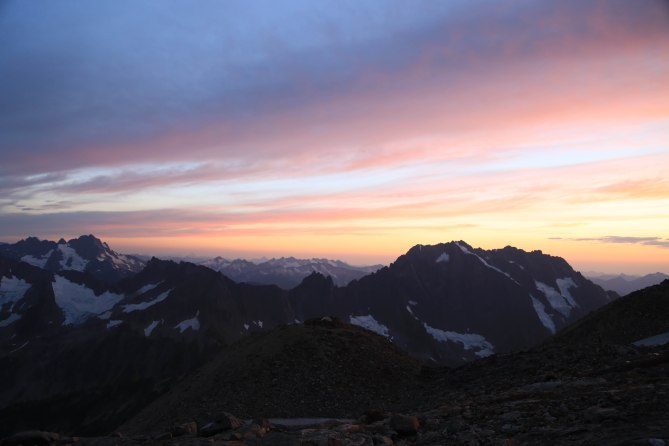
Once back home I opened both of the raw files together in Photoshop CS6 and synchronized them so that what ever changes I made to one were duplicated on the other. I worked to lighten the foreground and darken the sky. Using the sliders for highlights, shadows, exposure, clarity, whites and contrast I played around until I liked the result.
I also used the brush tool on the foreground to bring out more details on the rocks.
I saved the images as jpeg files. Here they are. 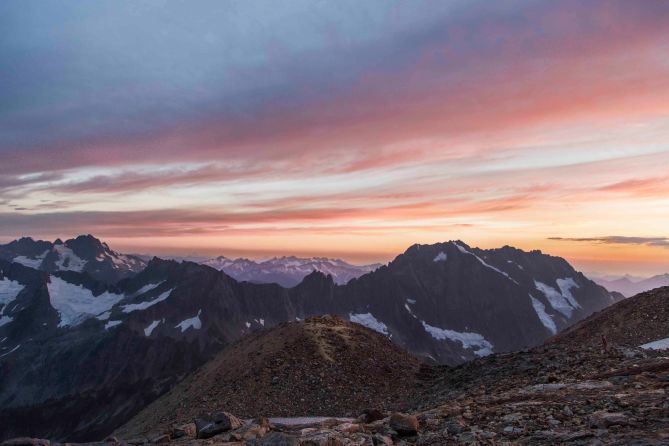
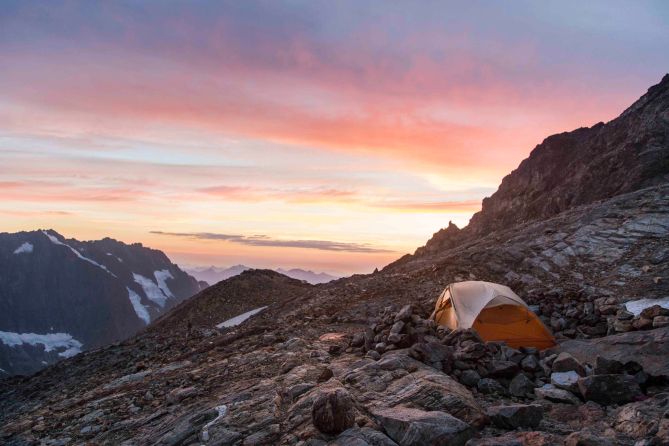
Once this was done and images saved I went to Photomerge, selected the two modified images and let Photoshop work its magic. 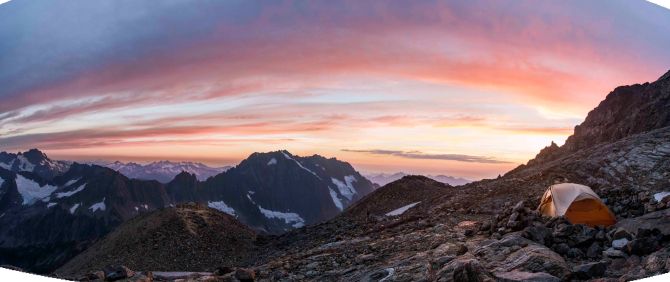
Opening the panorama as a jpeg image I filled in the corners using the clone stamp tool and tweaked the levels settings a bit, and Viola! Here is the final image.
I have printed the image as a 40″ x 15″ canvas print and it is very stunning.
