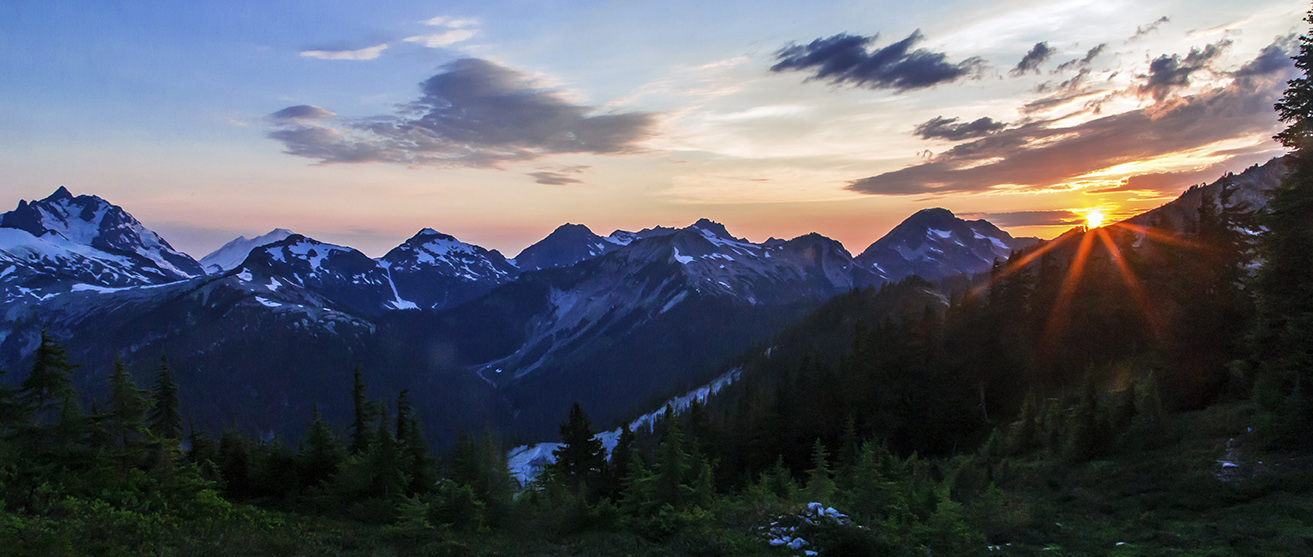
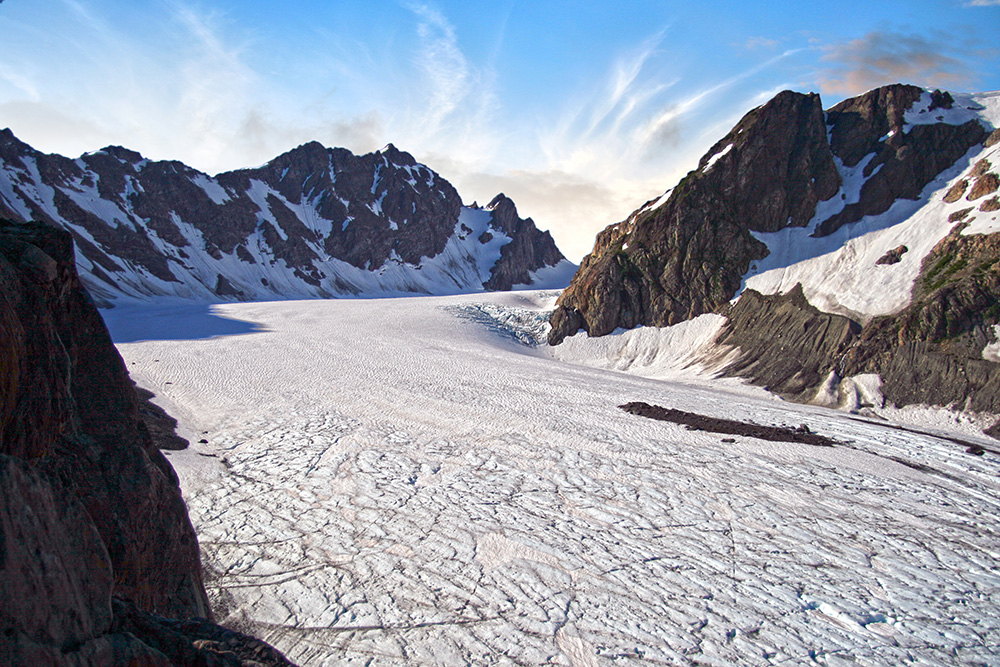
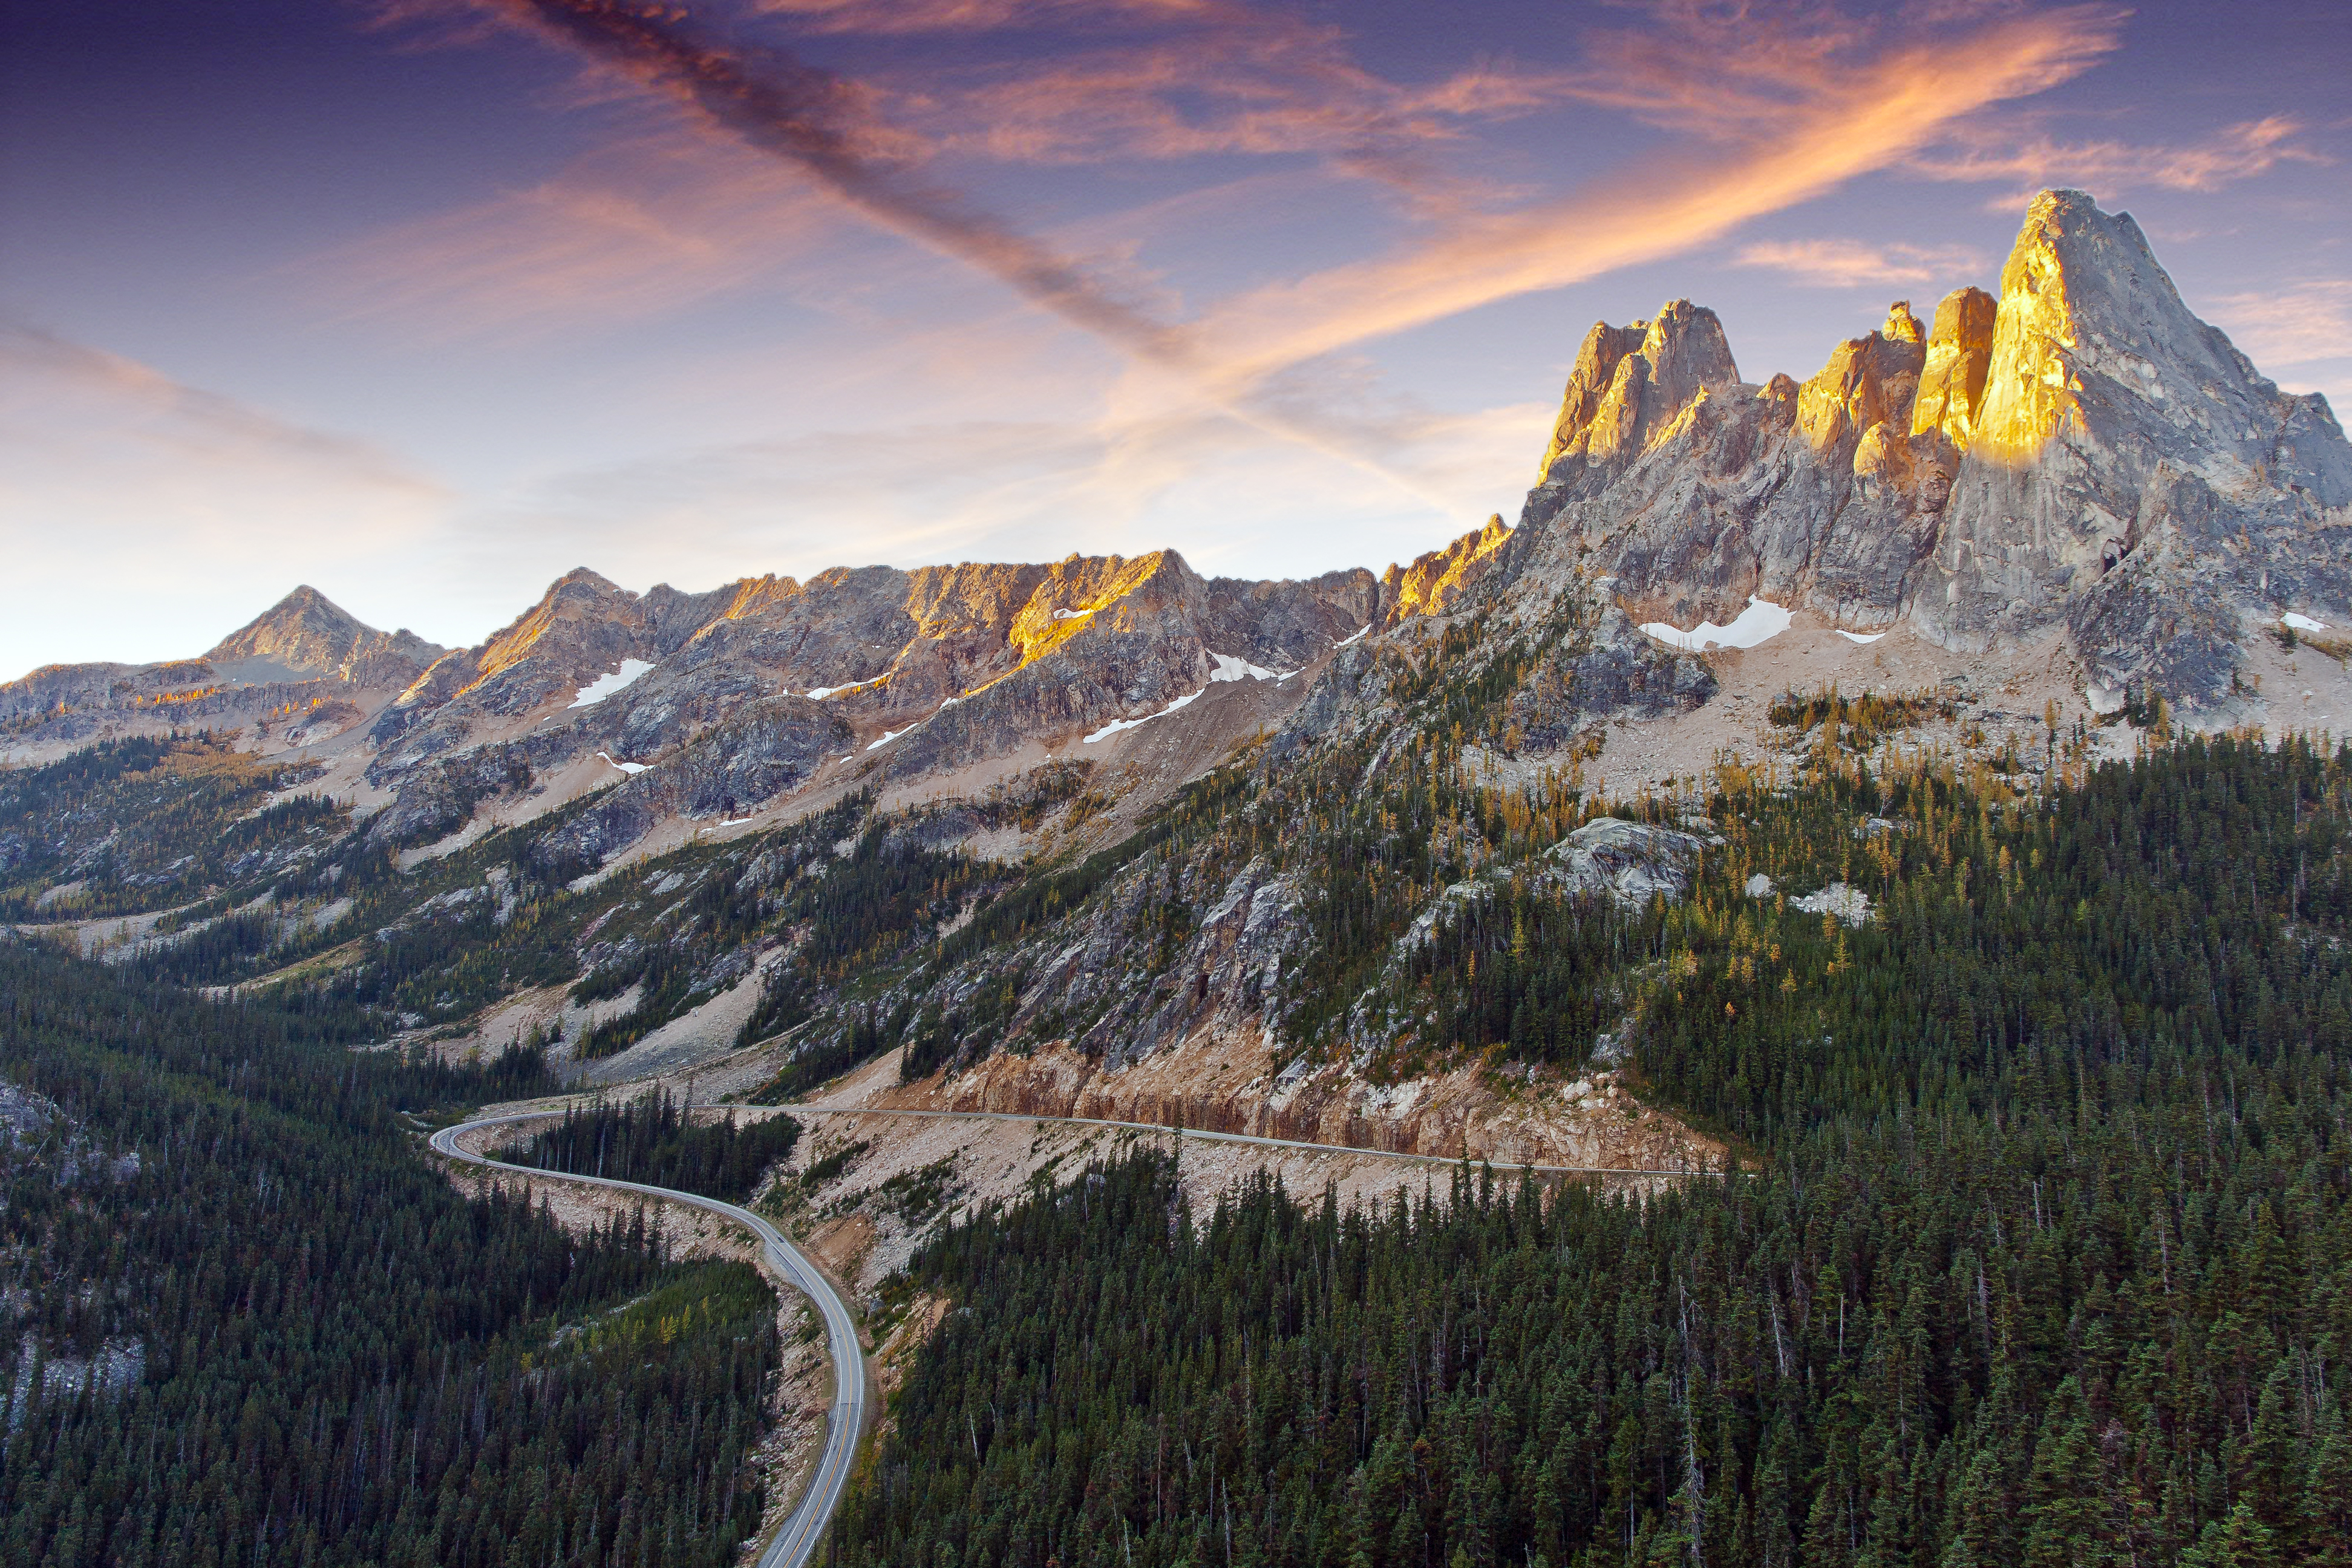
1. The best light is in the morning and evening. Day hikes get you to your destination in the middle of the day. Plan your campsites to include the most scenic places. This may involve longer or shorter days that you would normally do, but it’s all worth it! A guide book is good for descriptions, you can get many great ideas of what and when to shoot but if I’ve never been to an area before, I do an image search for the specific place and get ideas of what’s there. I plan my entire trip around where I want to be at sunrise and sunset to take pictures.

2. Minimum of what to bring with you:
a. One lens – I always bring a Zoom Lens, a 24mm to 104mm or a 28mm to 135mm are good starting spots. This makes it possible to capture a wide angle shot and also get in close with the telephoto end. Of course it’s nice to have several lenses, but then you have to carry them!
b. Polarizer – This is a filter that attaches to the end of your lens. It handles refracted light so that the sky and clouds look wonderful and is a must for getting stunning images of water and reflections.
c. Light weight tripod, they are cheap and easy to strap on your pack. You can always weigh them down if needed
d. Simple cable release. When you use the tripod any movement of the camera makes the image blurry. This device allows take pictures without touching the camera.
e. Extra batteries, charged the night before you leave!
f. Lots of memory! Its cheap and doesn’t weigh anything
3. Avoid the auto mode for image capture. When you set the camera on automatic mode, the camera does all the thinking for you. You are a lot smarter than your camera! Instead use the Manual Mode on your camera or the various Creative Modes if there is no Manual setting.

4. Bracket your exposure. Bracketing means that you are capturing the same exact scene, but with different settings. This could include altering your depth of field (how much of the scene is in focus) or how bright or dark the image is. Scenes often have a great disparity between the dark areas and the bright ones. Try multiple shots, where you capture the details of one then the other.
a. Using the manual mode, set your aperture and shutter speed based on what the light meter tells you, THEN take several more shots of the same thing with slightly different exposures. If you have a manual setting, simply shoot over and under the recommended exposure.
b. If you are using a creative mode you can “trick” the light meter by pointing the camera a little bit above (or below or right or left) your intended subject, press the button half way, hold it, then lower or raise the camera back to your start spot and press the shutter the rest of the way.
5. Shoot in the RAW format. JPEG format compresses (and looses data from) the images, where as RAW records all the data and allows you to handle areas of over or under-exposure. It took a lot of effort to haul all your gear out there, not to mention yourself! The scenery is fantastic, the weather is perfect, who knows if you will ever have a chance to return…so shoot in RAW!
6. Four simple tips on Composition
a. The Rule of Thirds. Imagine a tic-tac-toe grid over your image. Try to get your subject on these lines, away from the middle. Get points of interest where the lines intersect.
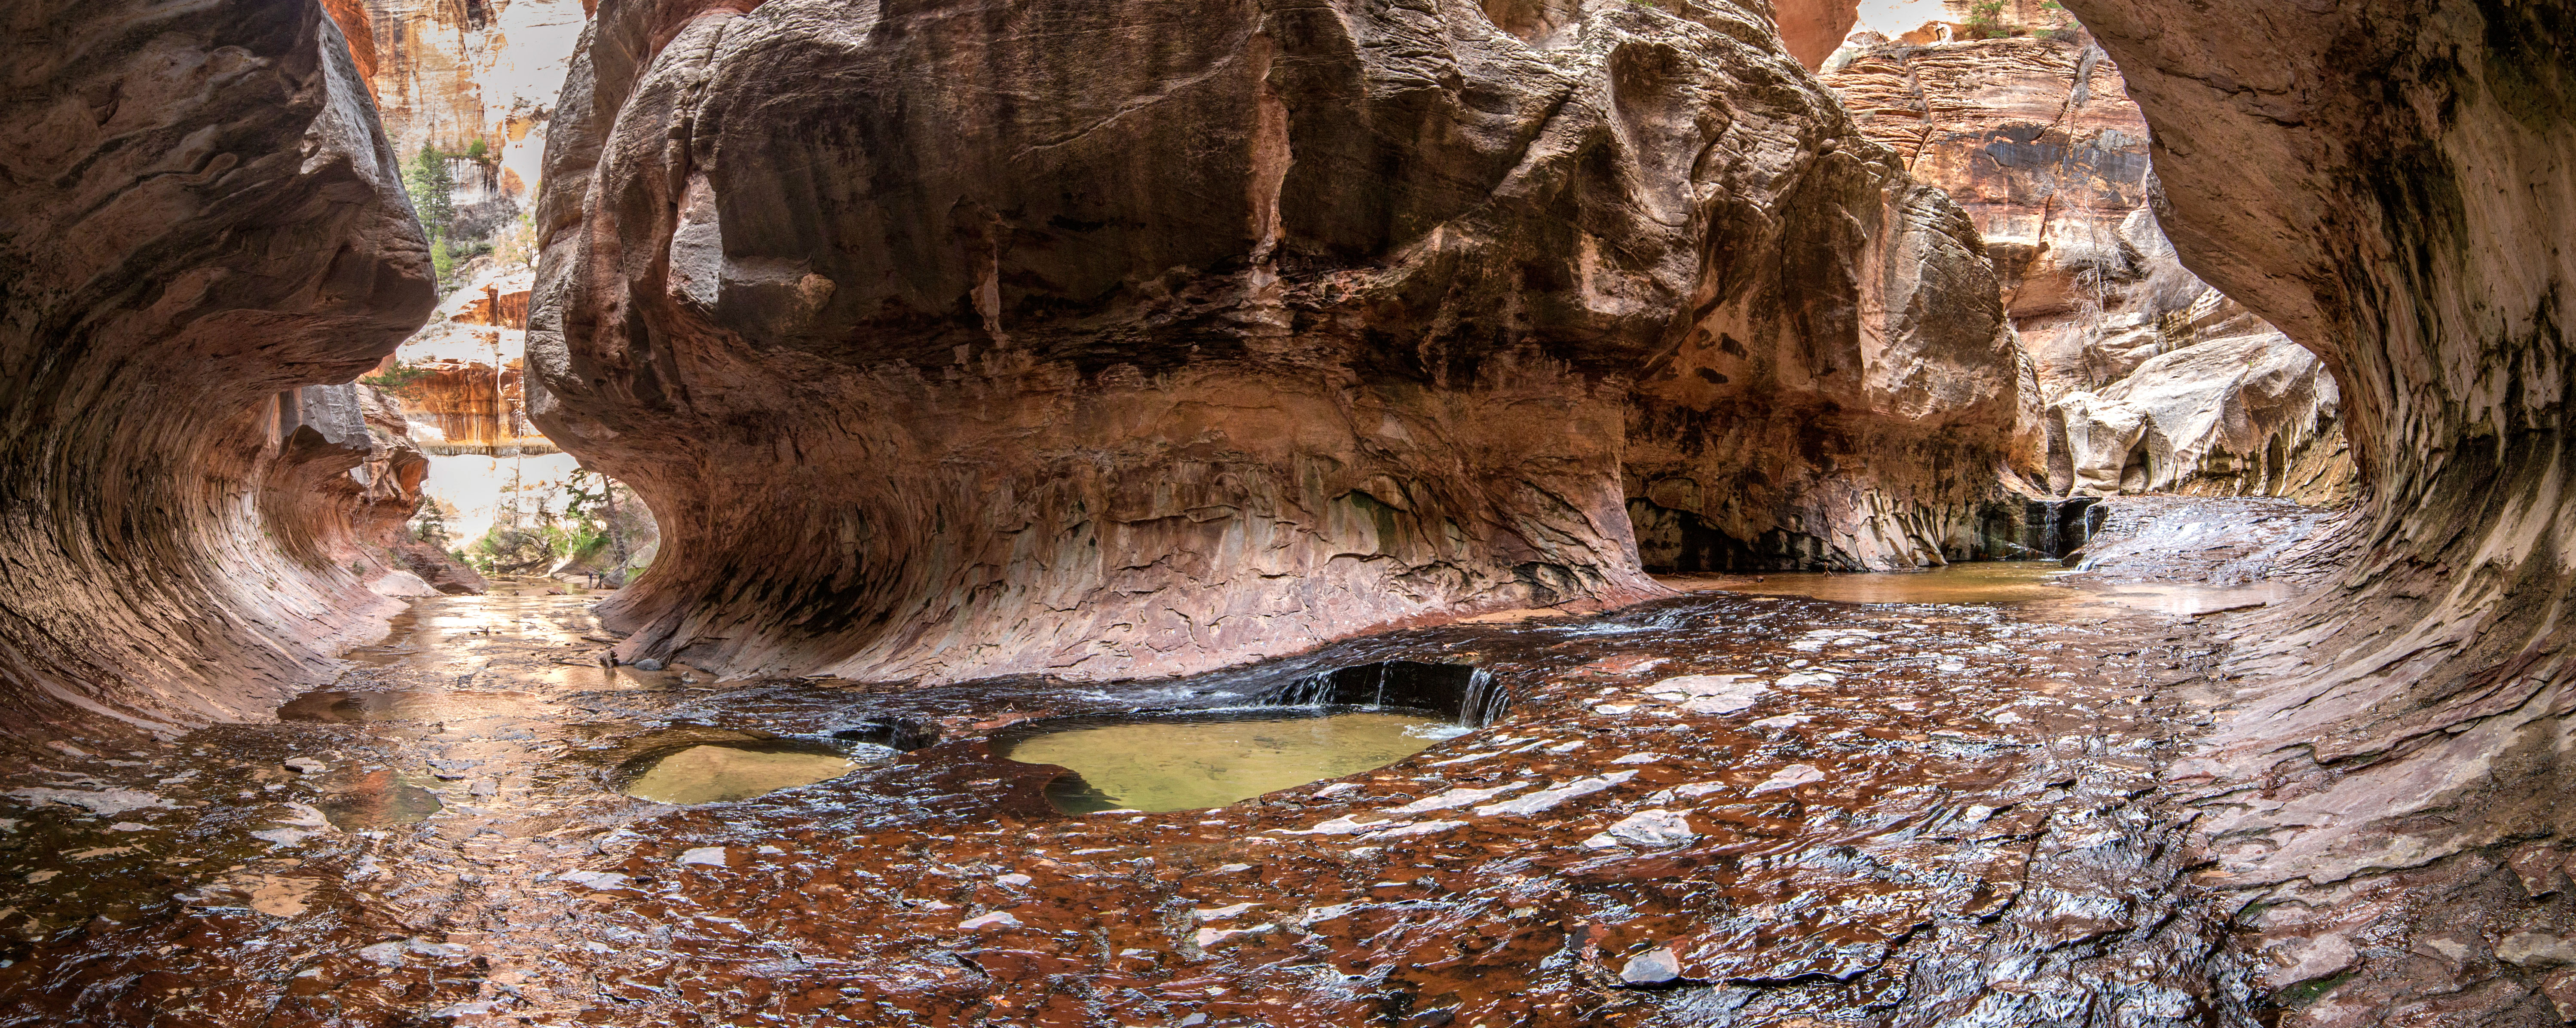
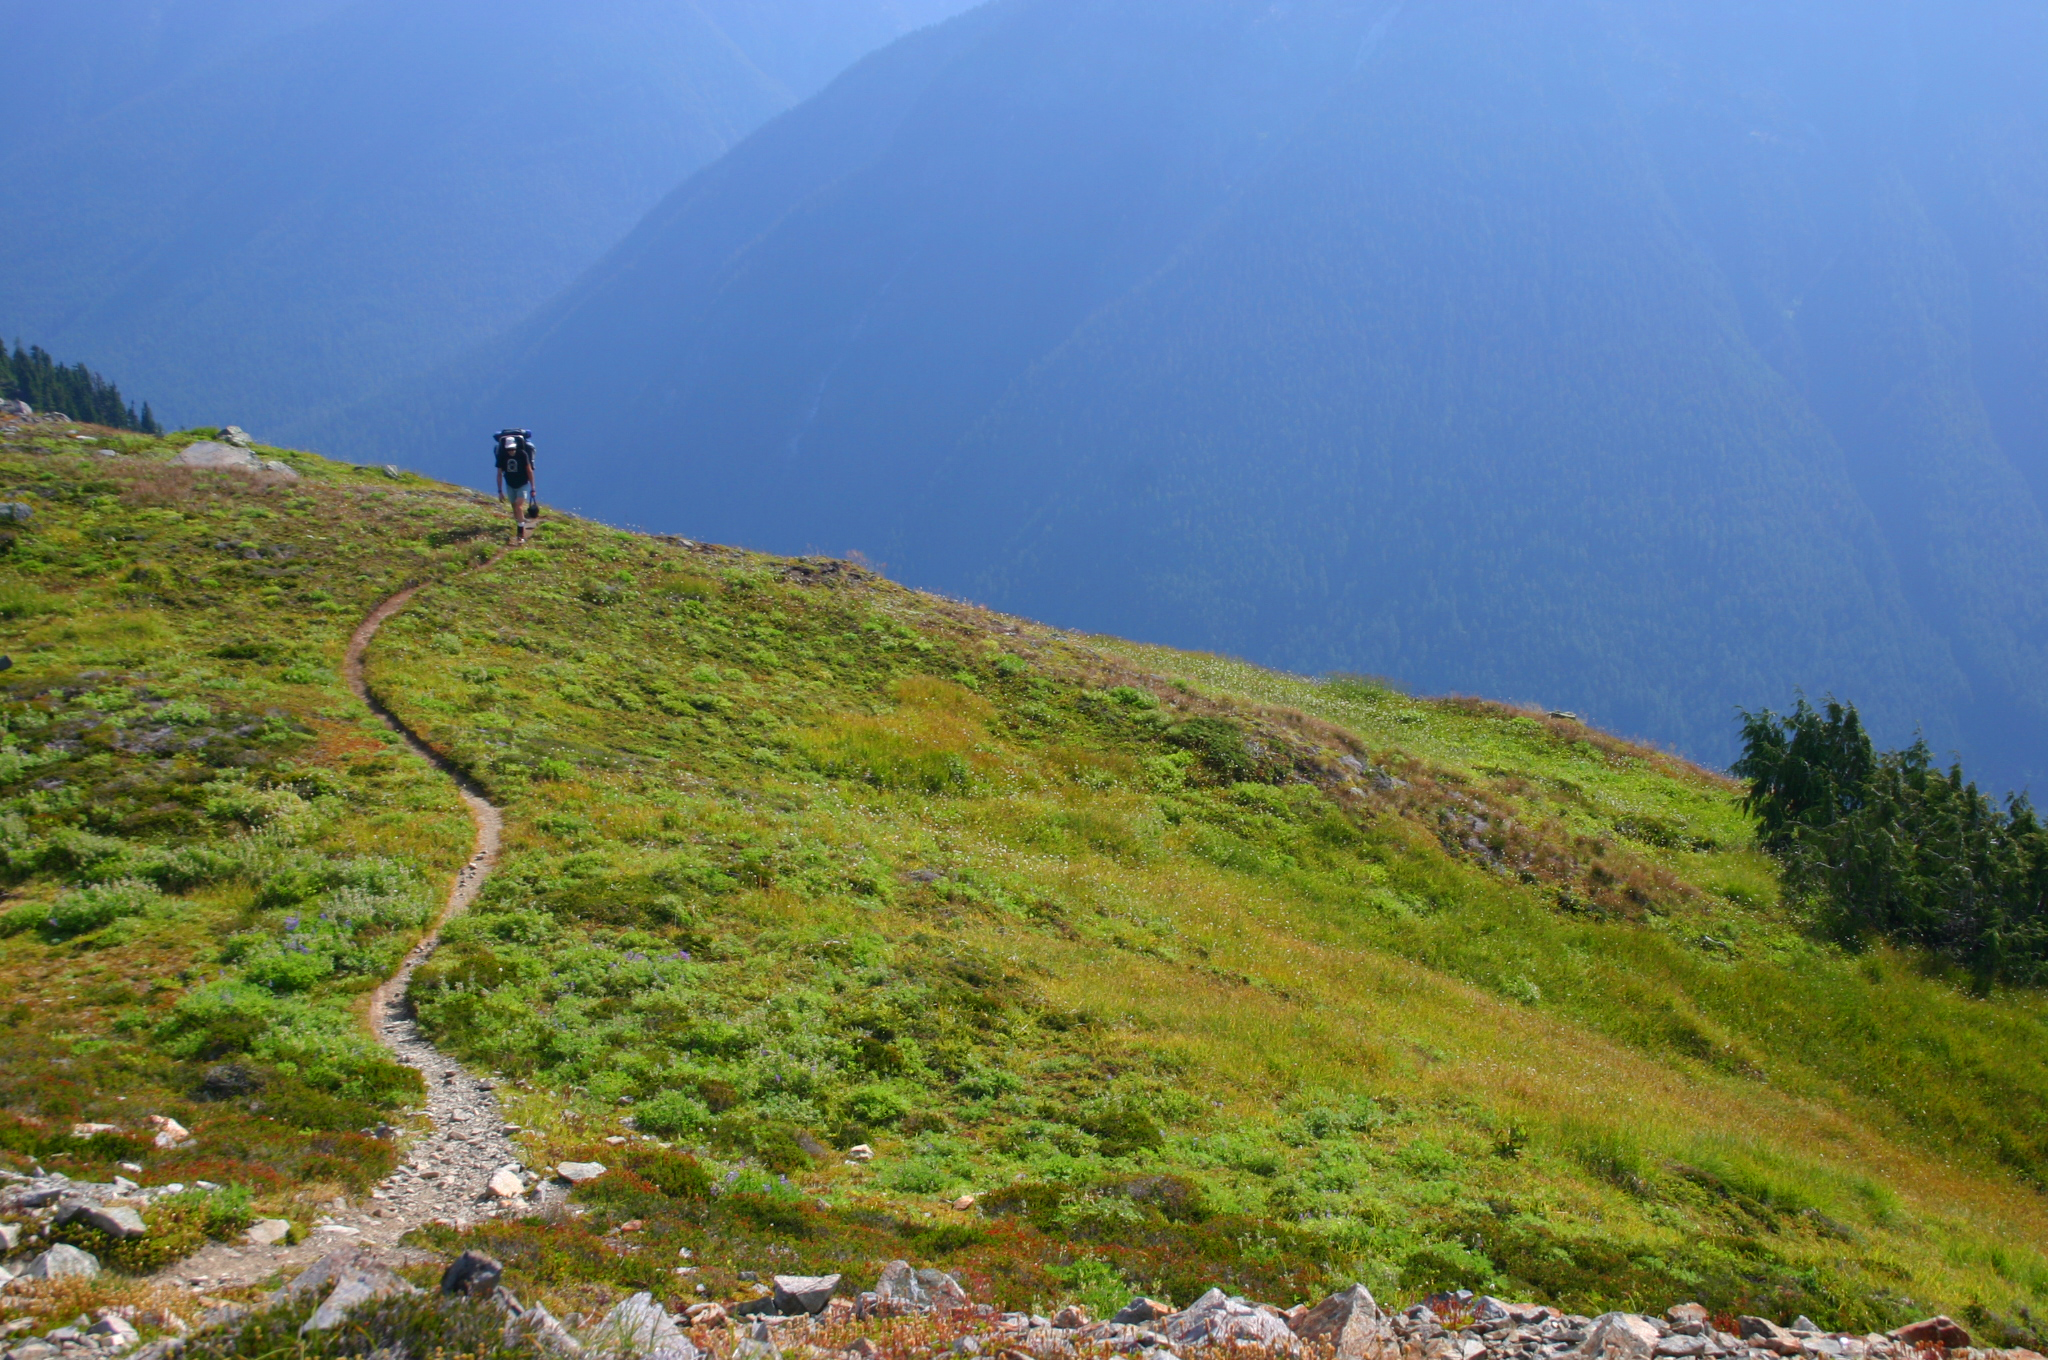
b. Look for lines. Trails, clouds, trees, and more can create leading lines that add a wonderfully simple and compelling element to images. When you see a line anywhere walk all around it composing shots from different angles.
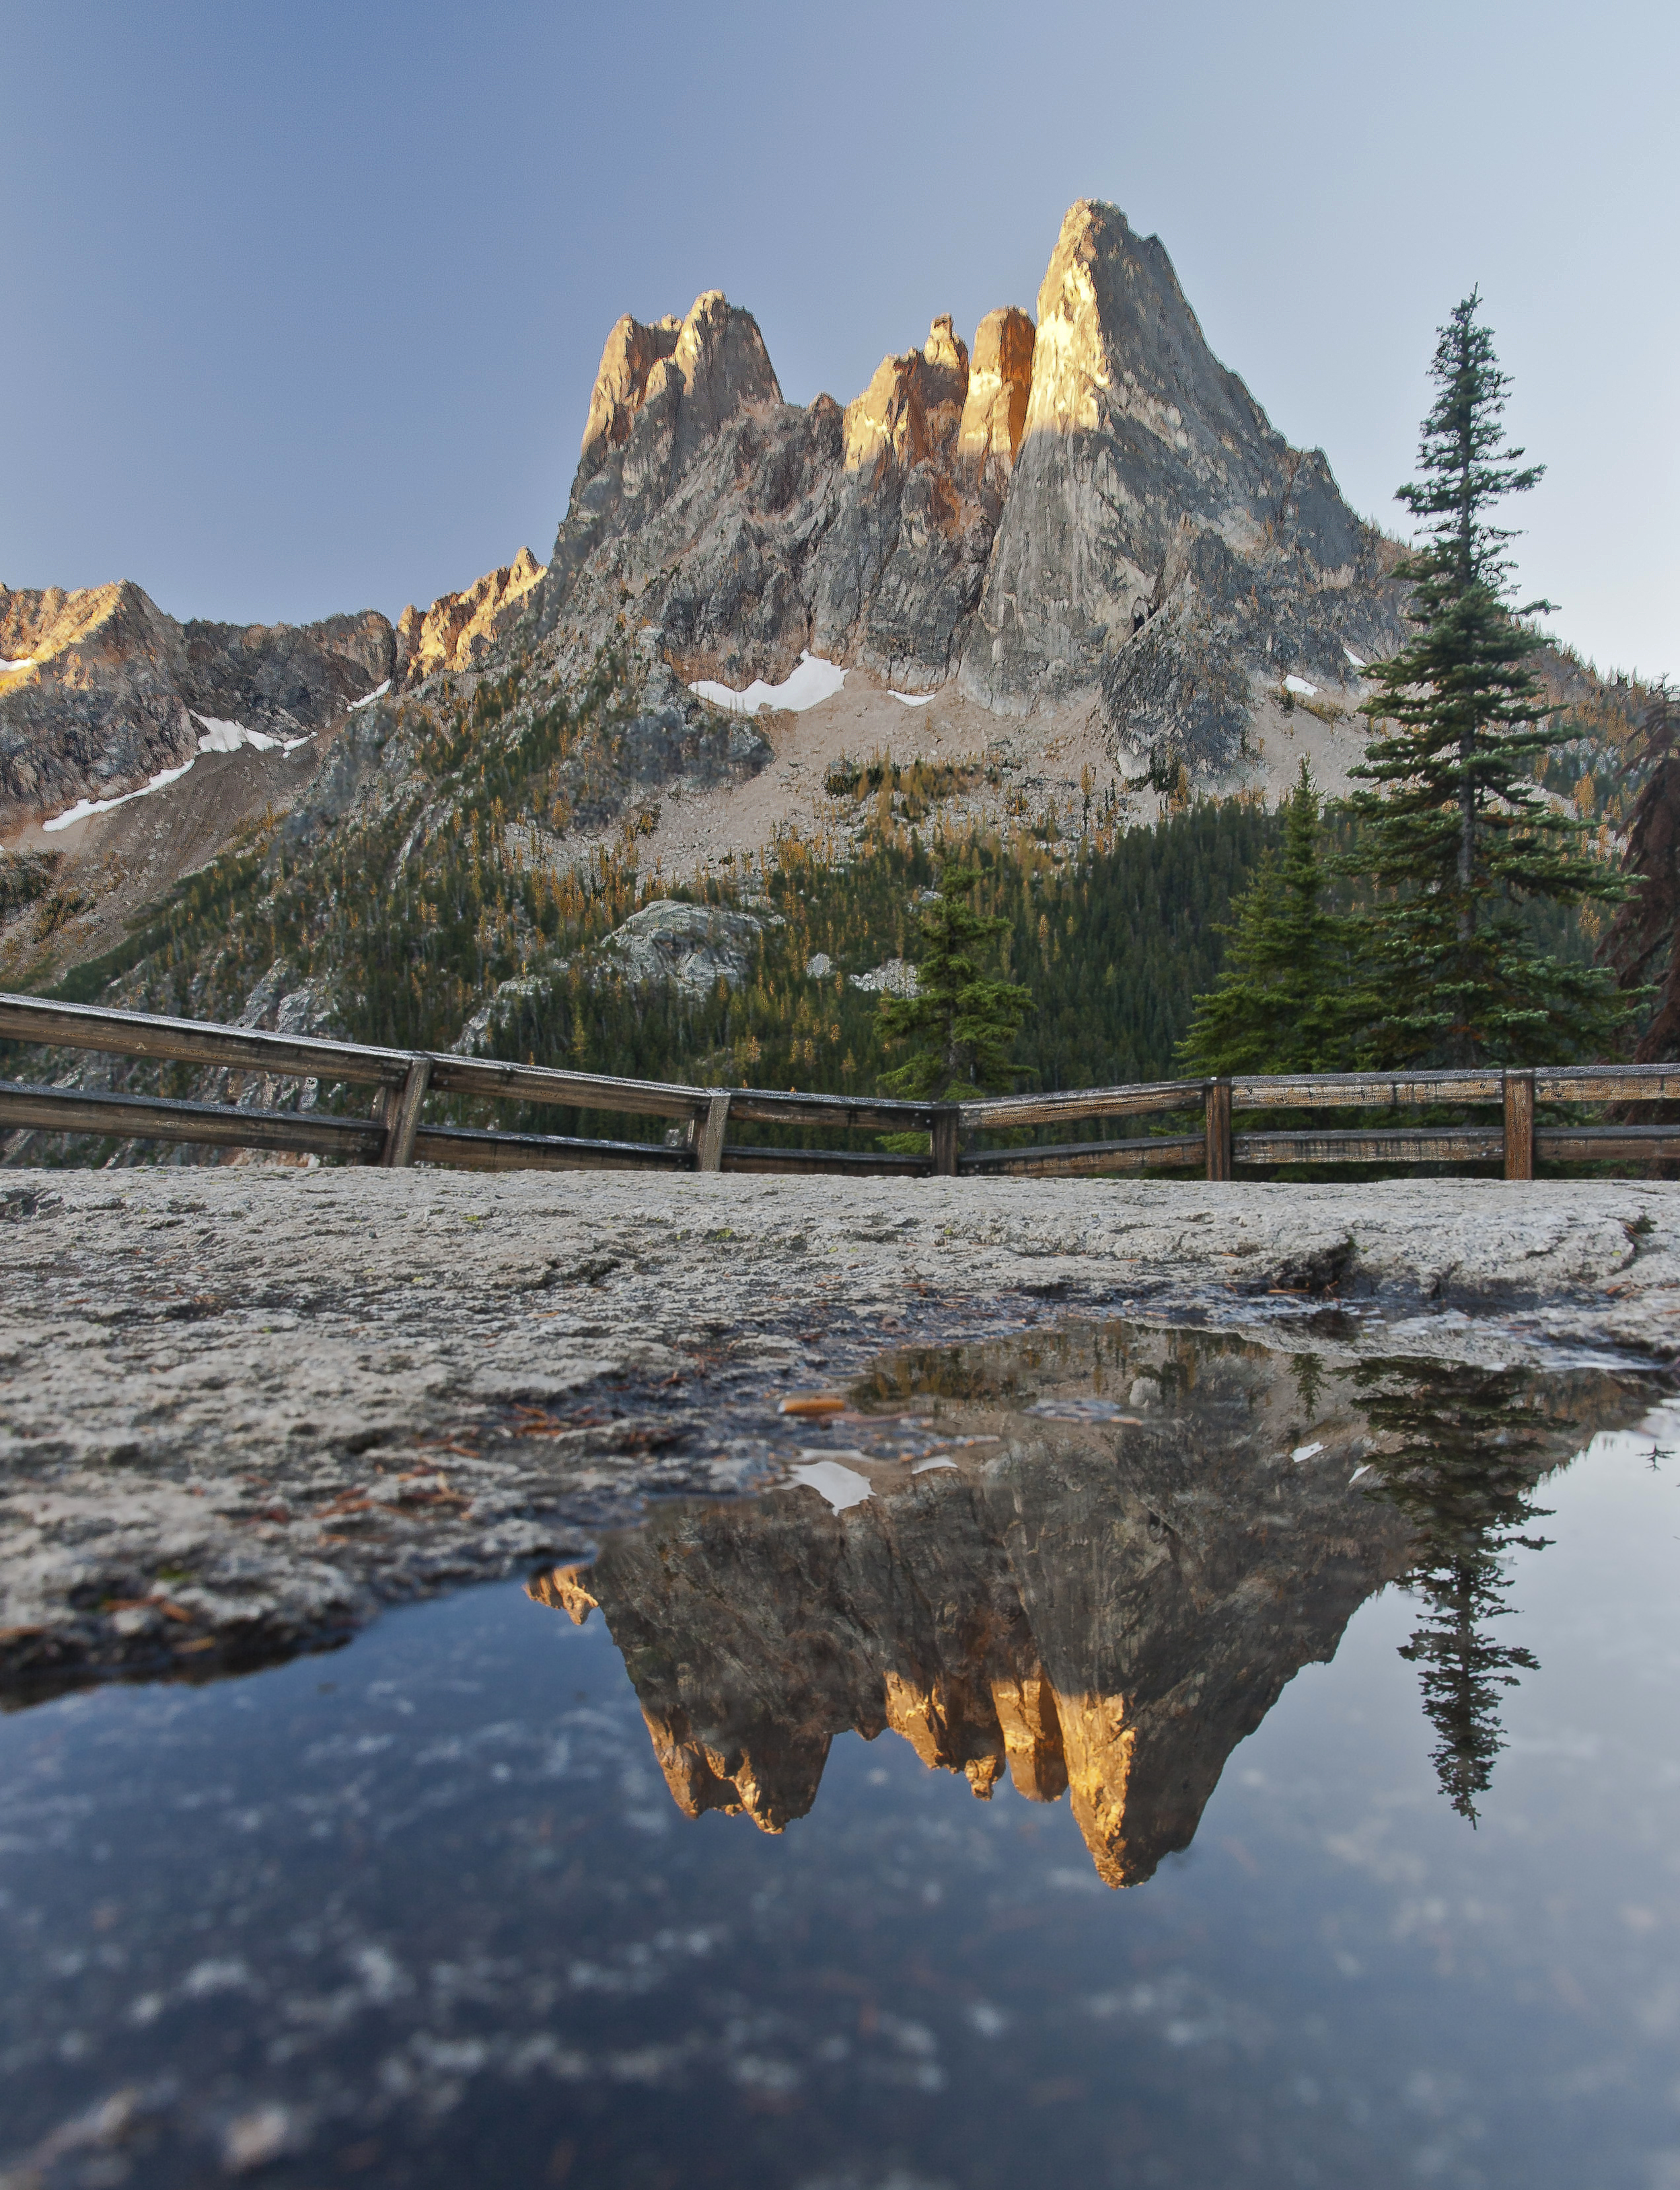
c. Reflections. Even a small puddle can make for a fantastic reflective composition. Get down on the ground for the best scope.

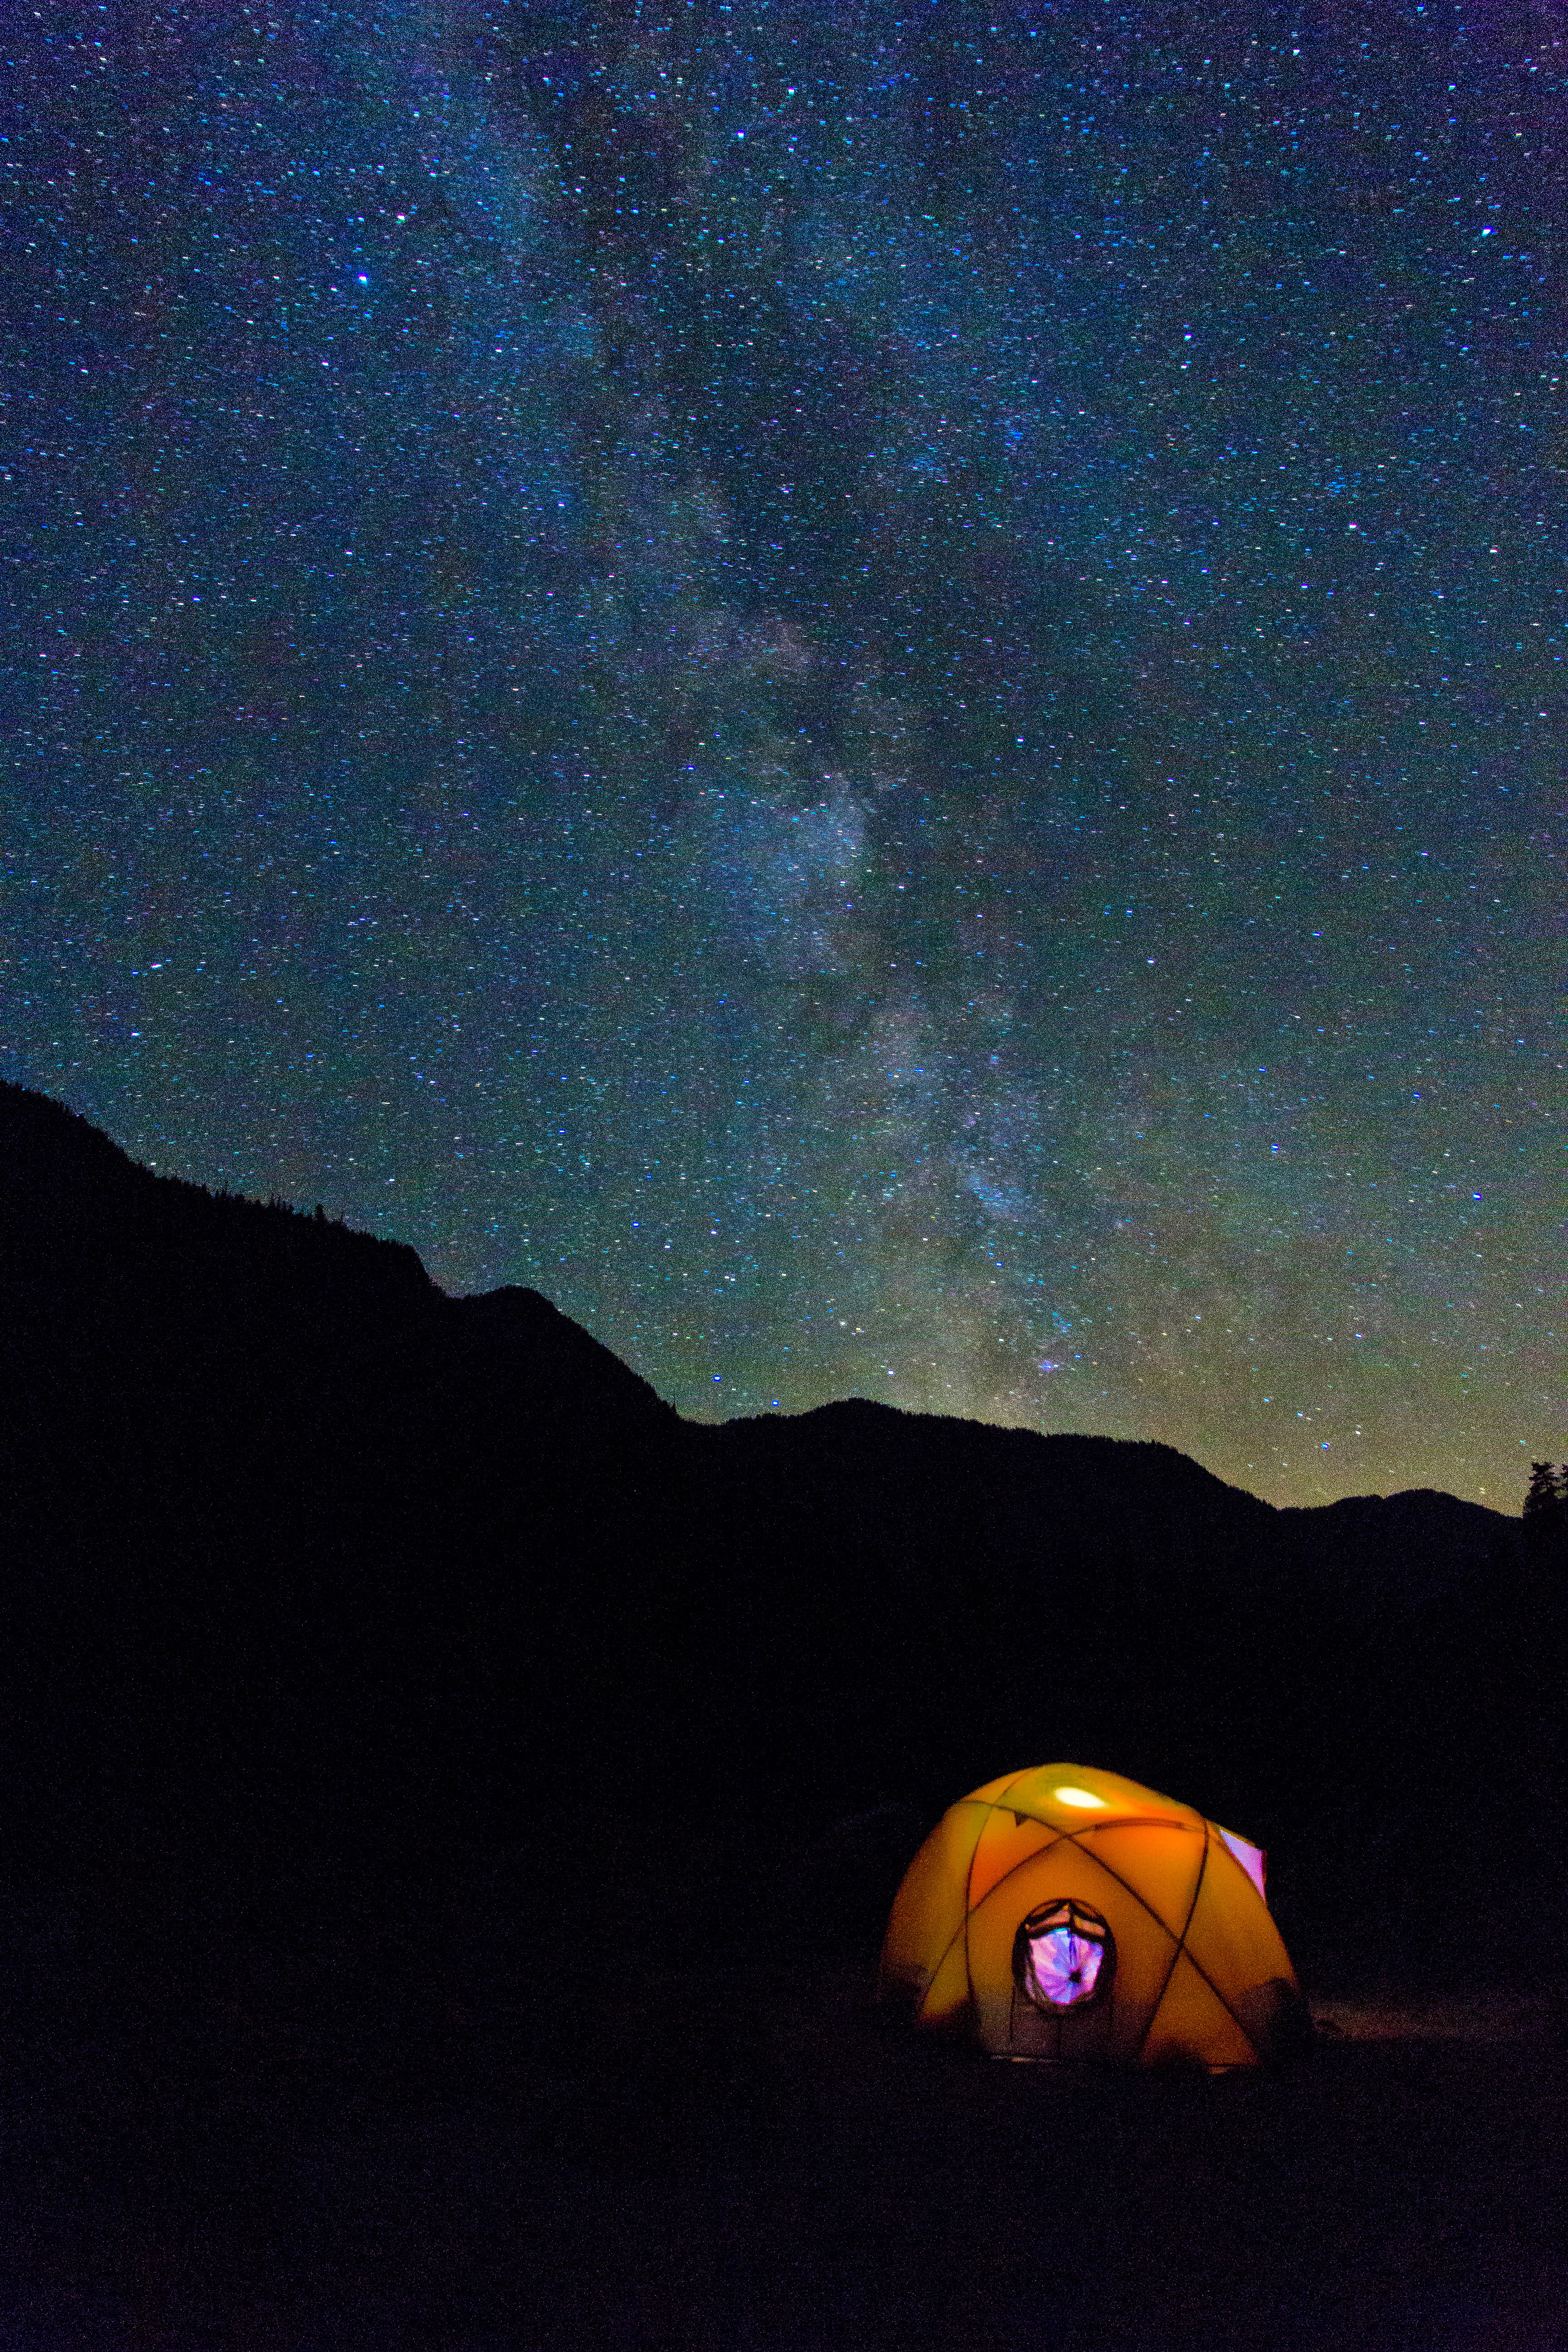
d. Near and Far. Pictures of an unbelievably awesome horizon will be 1,000 times better if you include something close. A tent, people, trees, flowers, any and all of these make a vista much more interesting.


Great shots with great tips accompanying them 🙂 . Thanks for sharing them 🙂 .
Thanks for sharing these tips and your knowledge. Maybe one day my photos will be as amazing as yours!
Great photos and tips. 😀
I enjoyed reading your tips.
Great captures!
Great landscape photography tips. The photos are awesome.
Glad you liked the tips! Thank you!
Great tips and beautiful images!
Thank you for affirming for me how I capture landscapes. I am an avid photographer with just a few years experience. I have found that being an information sponge works for me! Thanks again and nice photos…
You are most welcome!
Pingback: 500th Post | North Western Images - photos by Andy Porter