Last week I was preparing materials for my latest photo class, on Photo Composition. I included basics on Subject and Theme, Rule of Thirds, selective focus, leading lines, framing and all the stuff I’d learned over the years, reading “How to…” articles and photo books.
Then I started thinking about what I actually do, in real life, when I am out taking pictures.
And I realized that while I do utilize all these things, what I really do is to focus my attention on adding what I call Elements of Coolness.

Isolation Lake, Enchantments
Looking at pictures taken by other people I am often awestruck at the magnificence they managed to capture. And after a while I began to notice that the images I admired the most had one, or in many cases, more than one really awesome aspect to them.

Generally the more Elements of Coolness in the image, the more remarkable the image is. Photos with several stay imprinted in my brain.

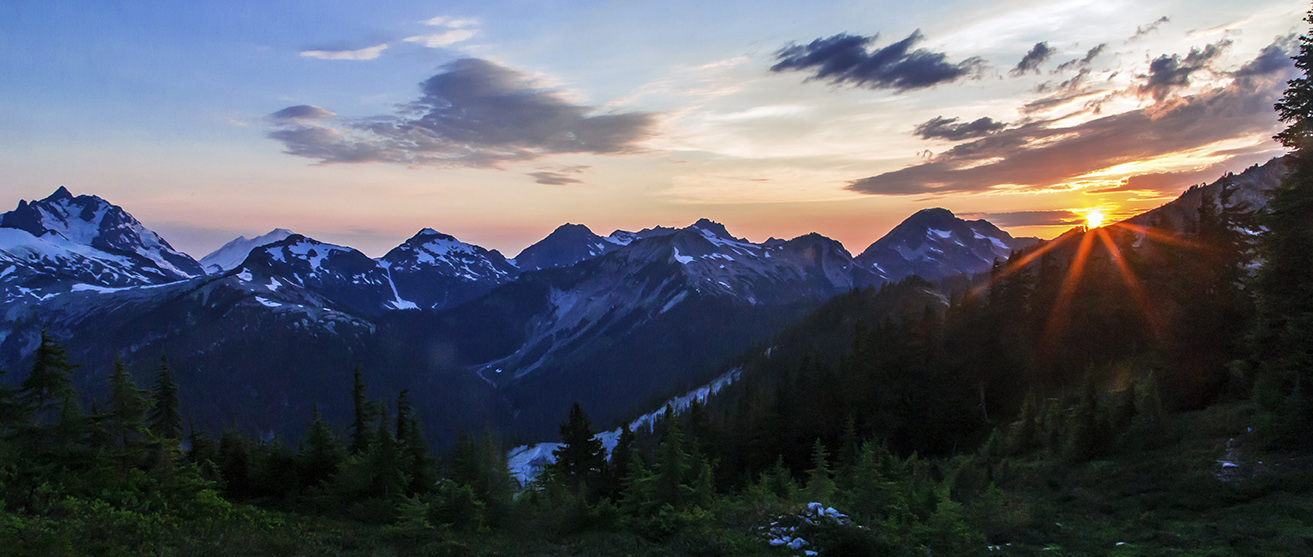
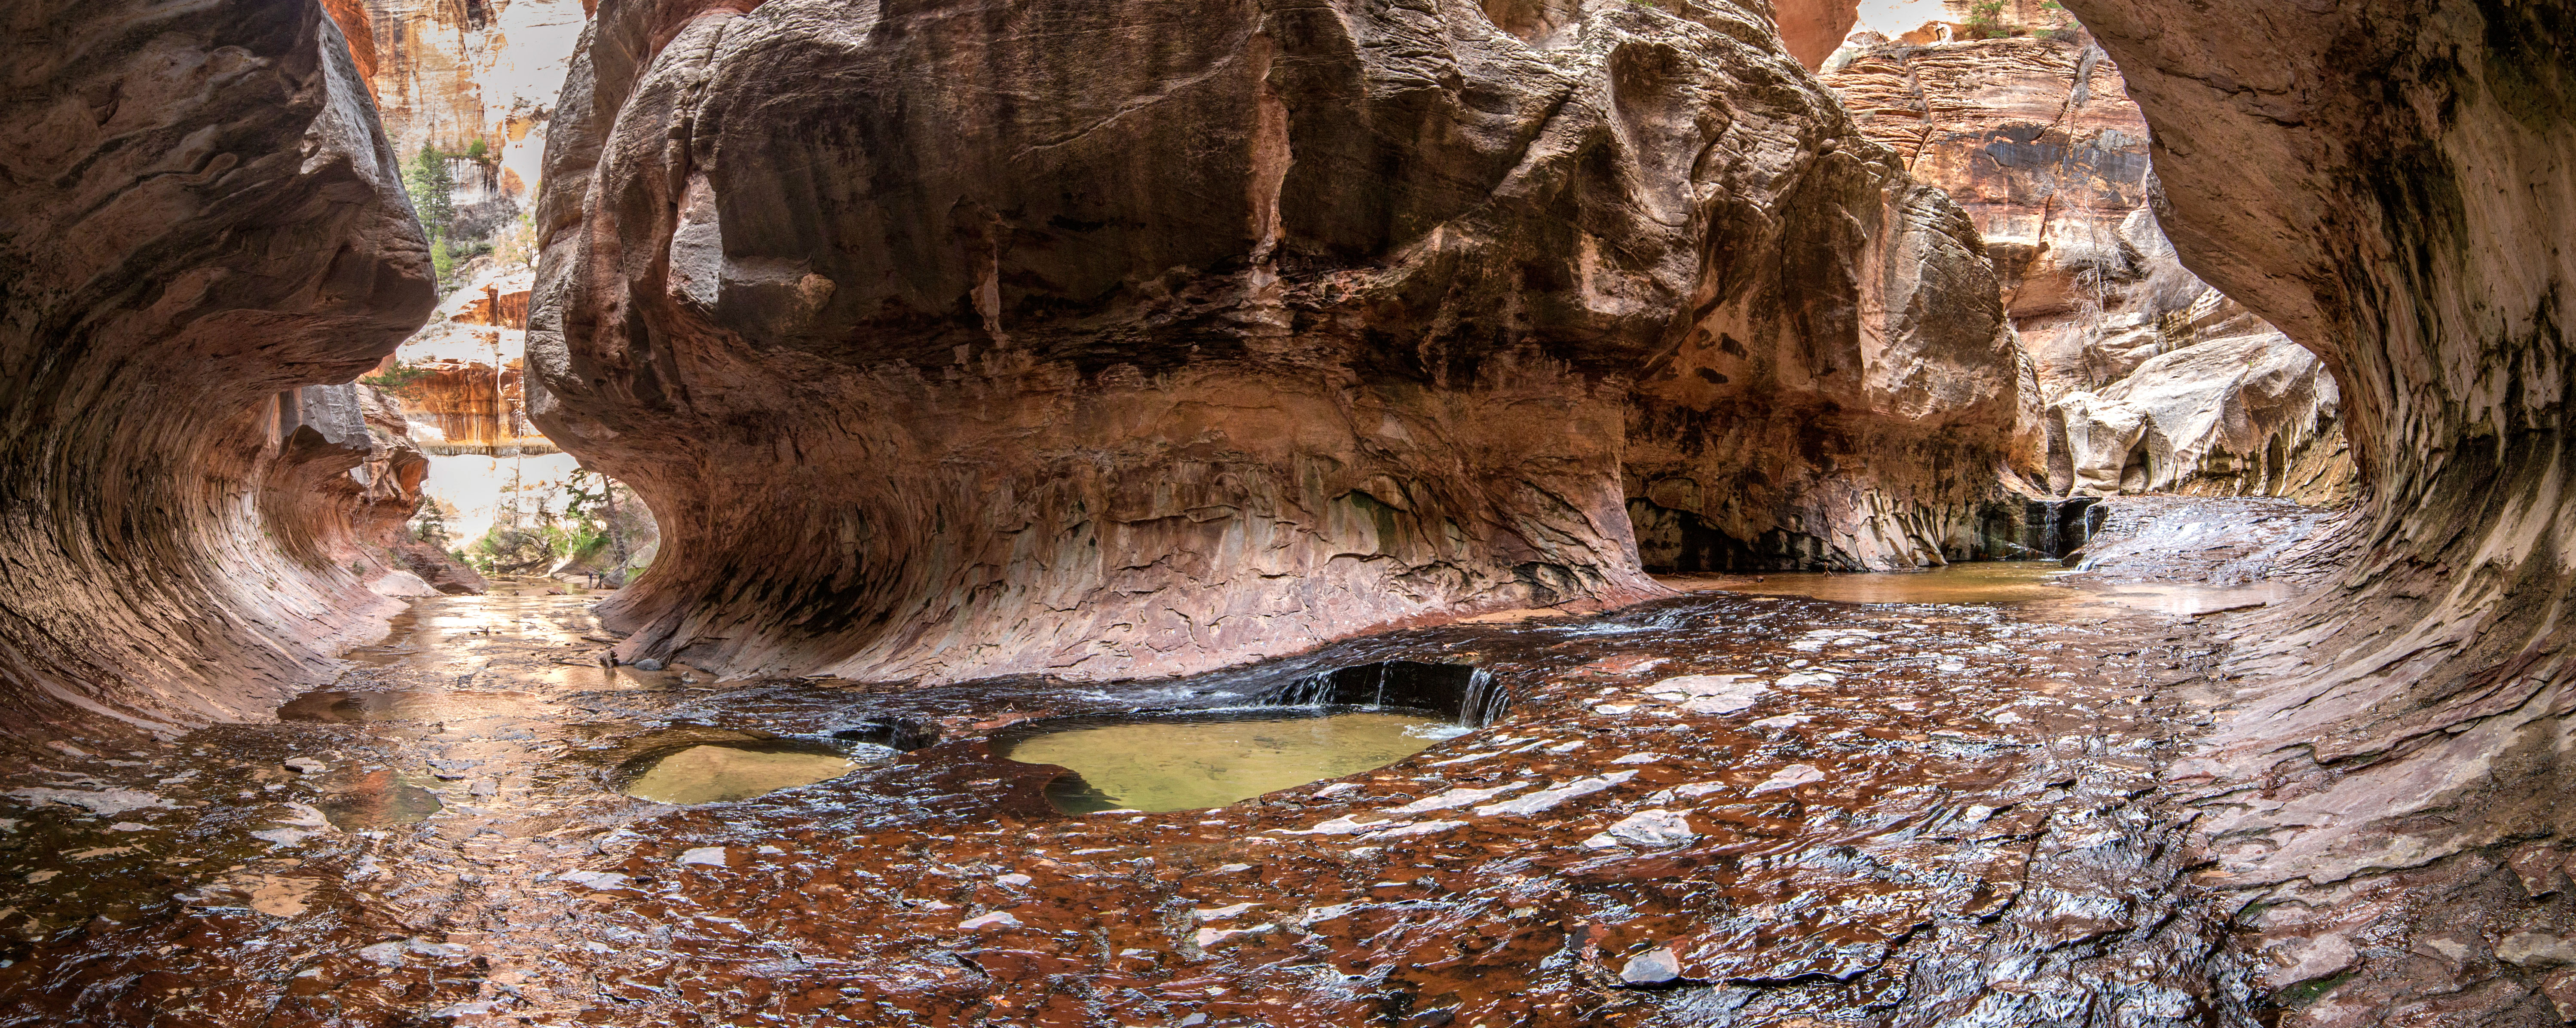
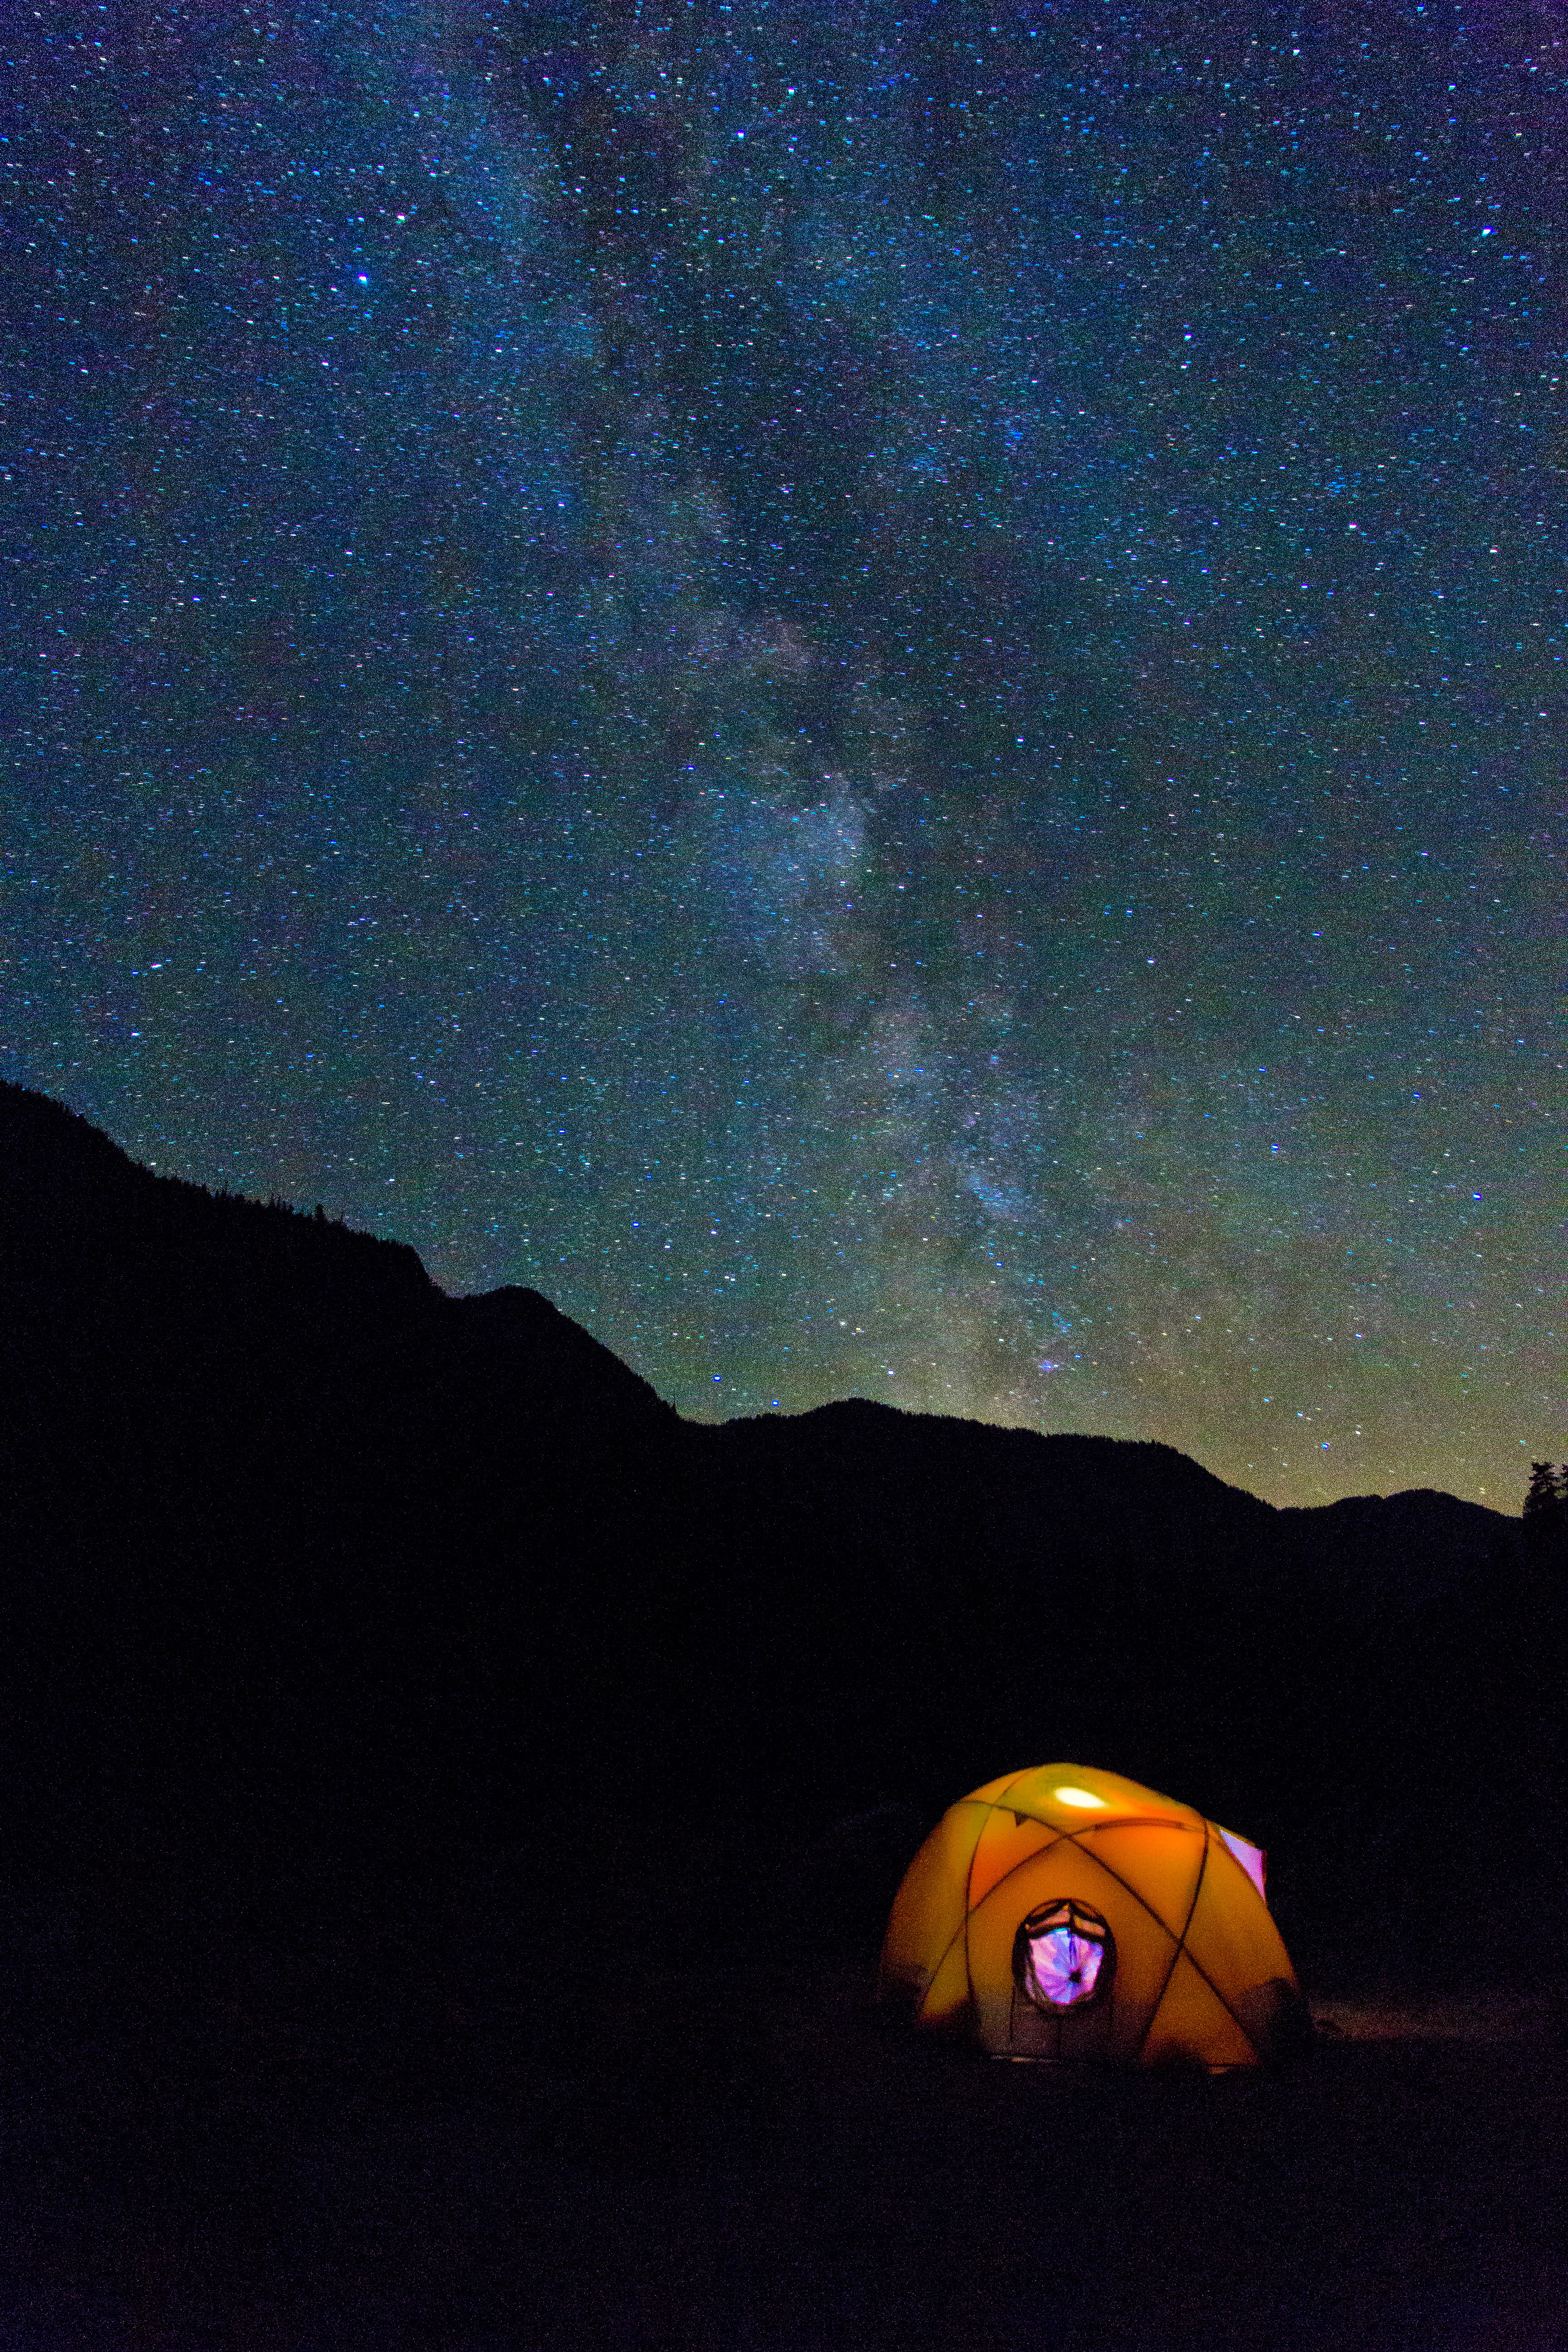
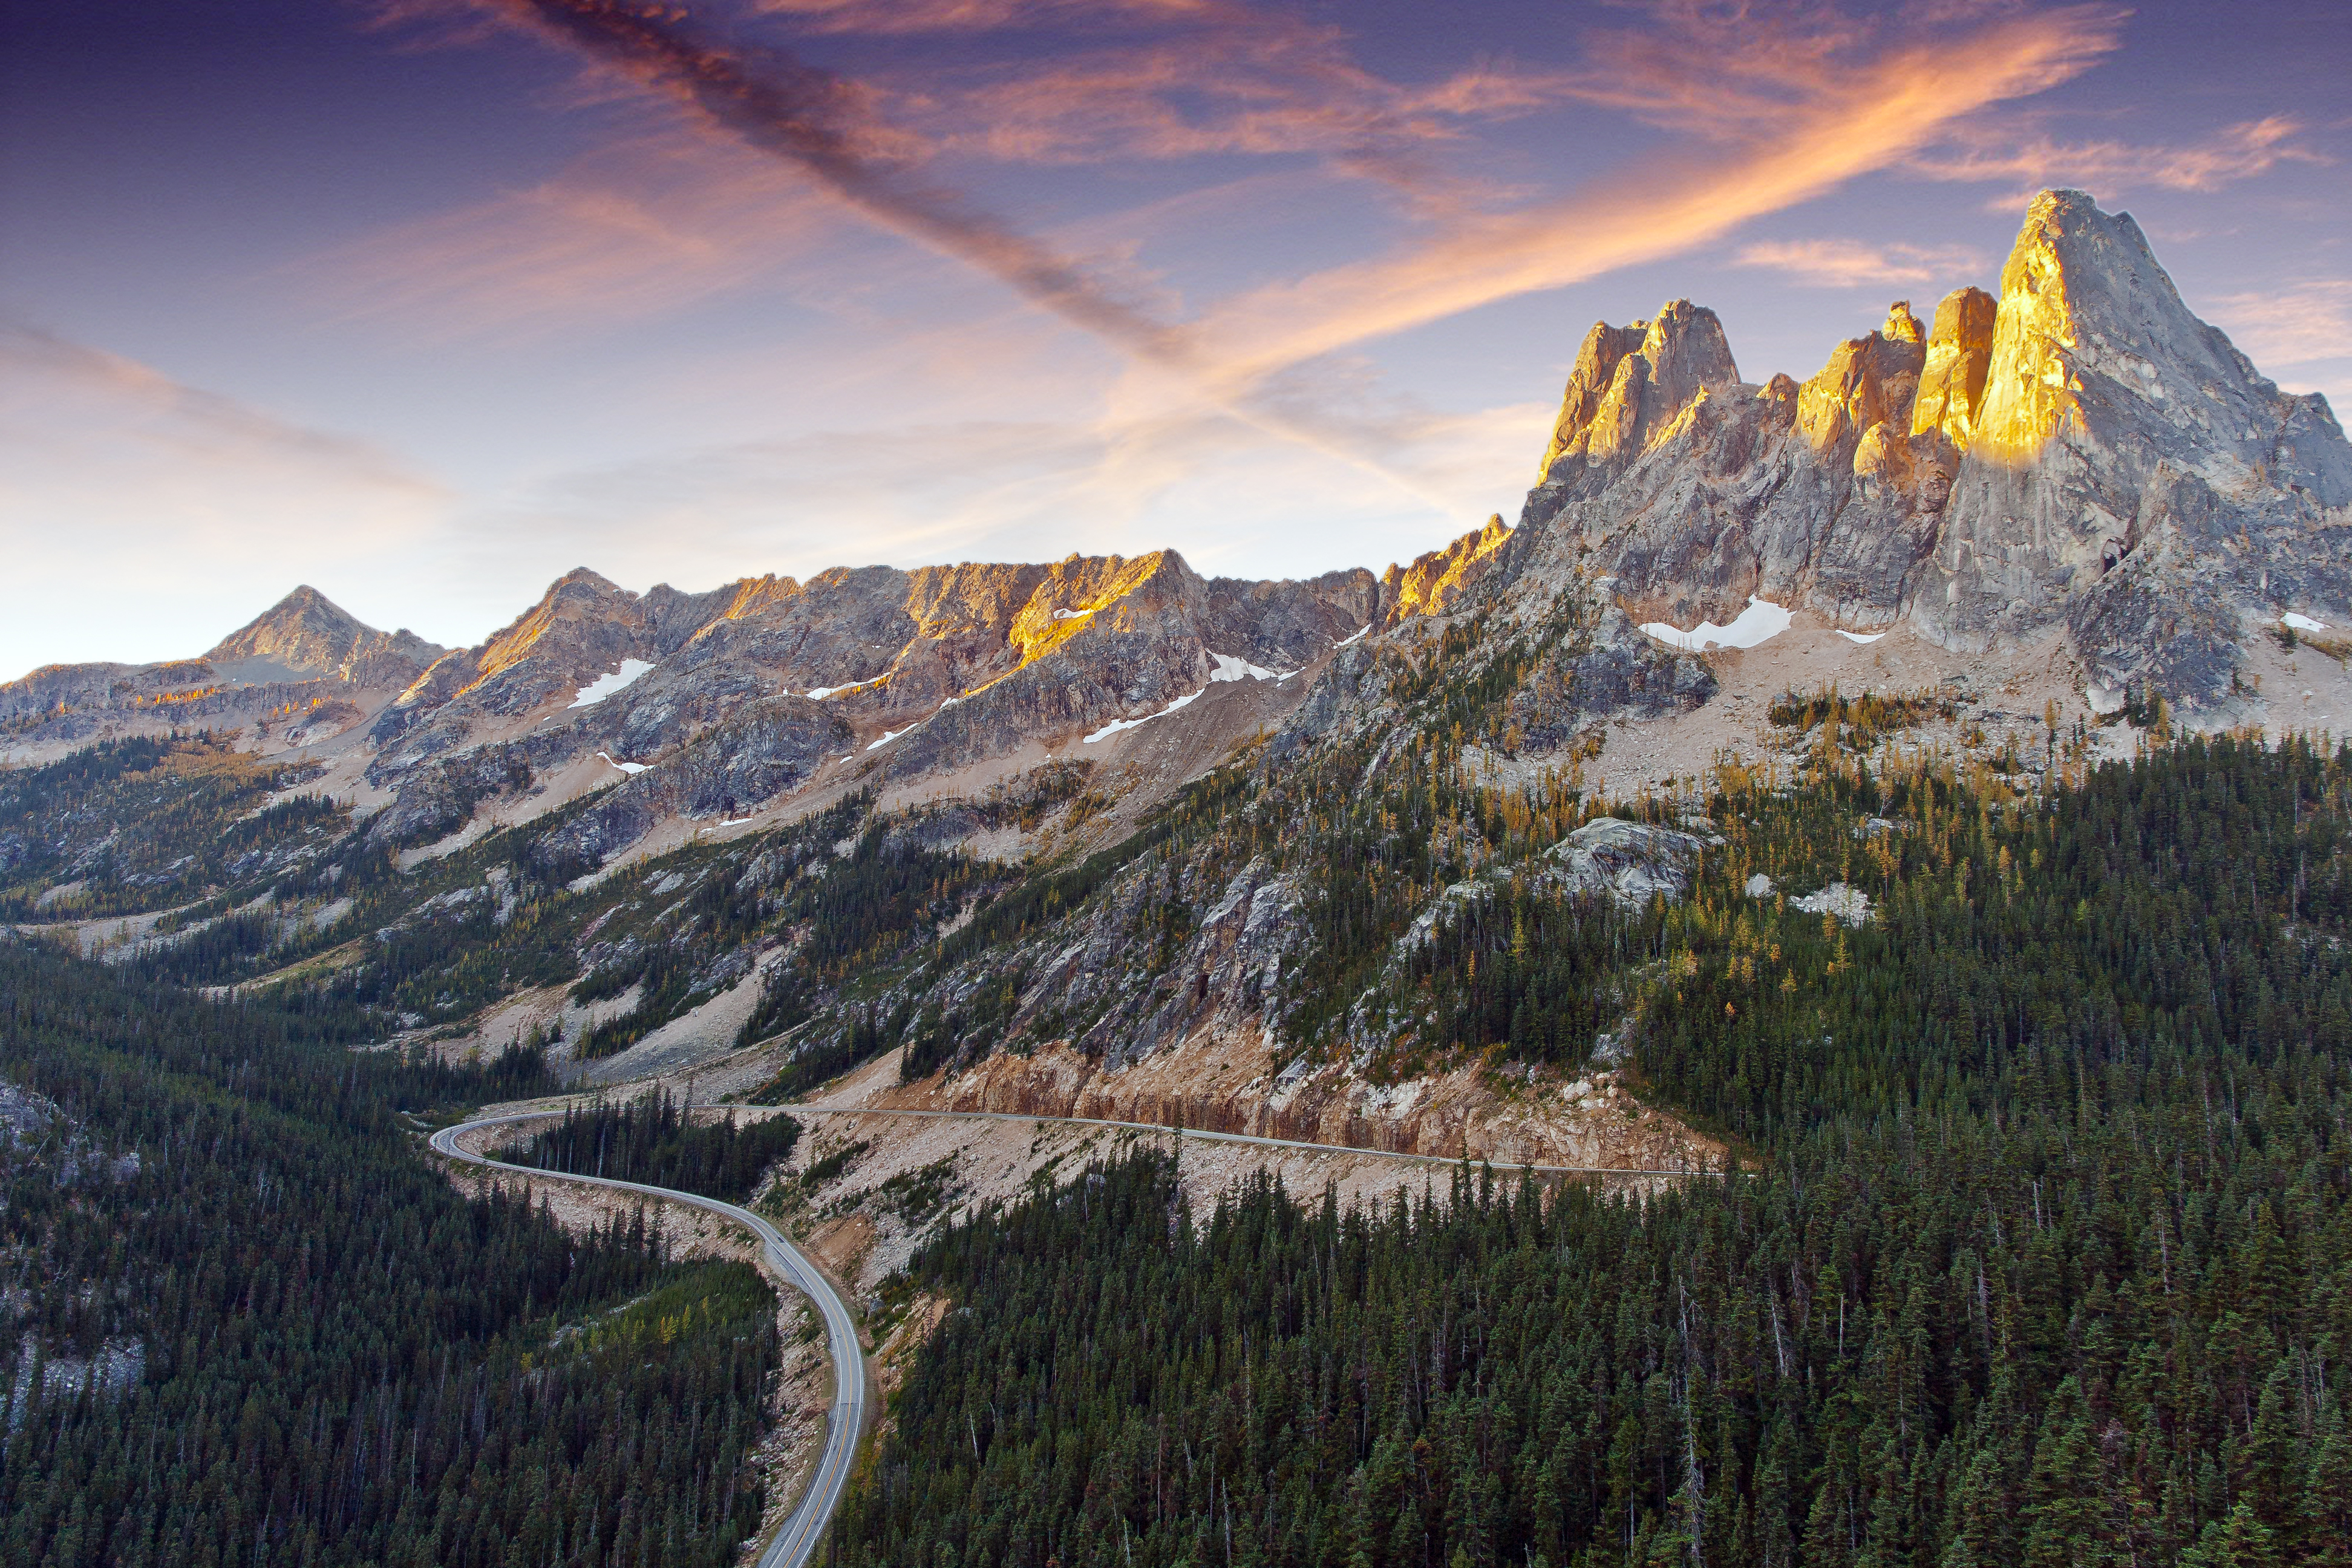
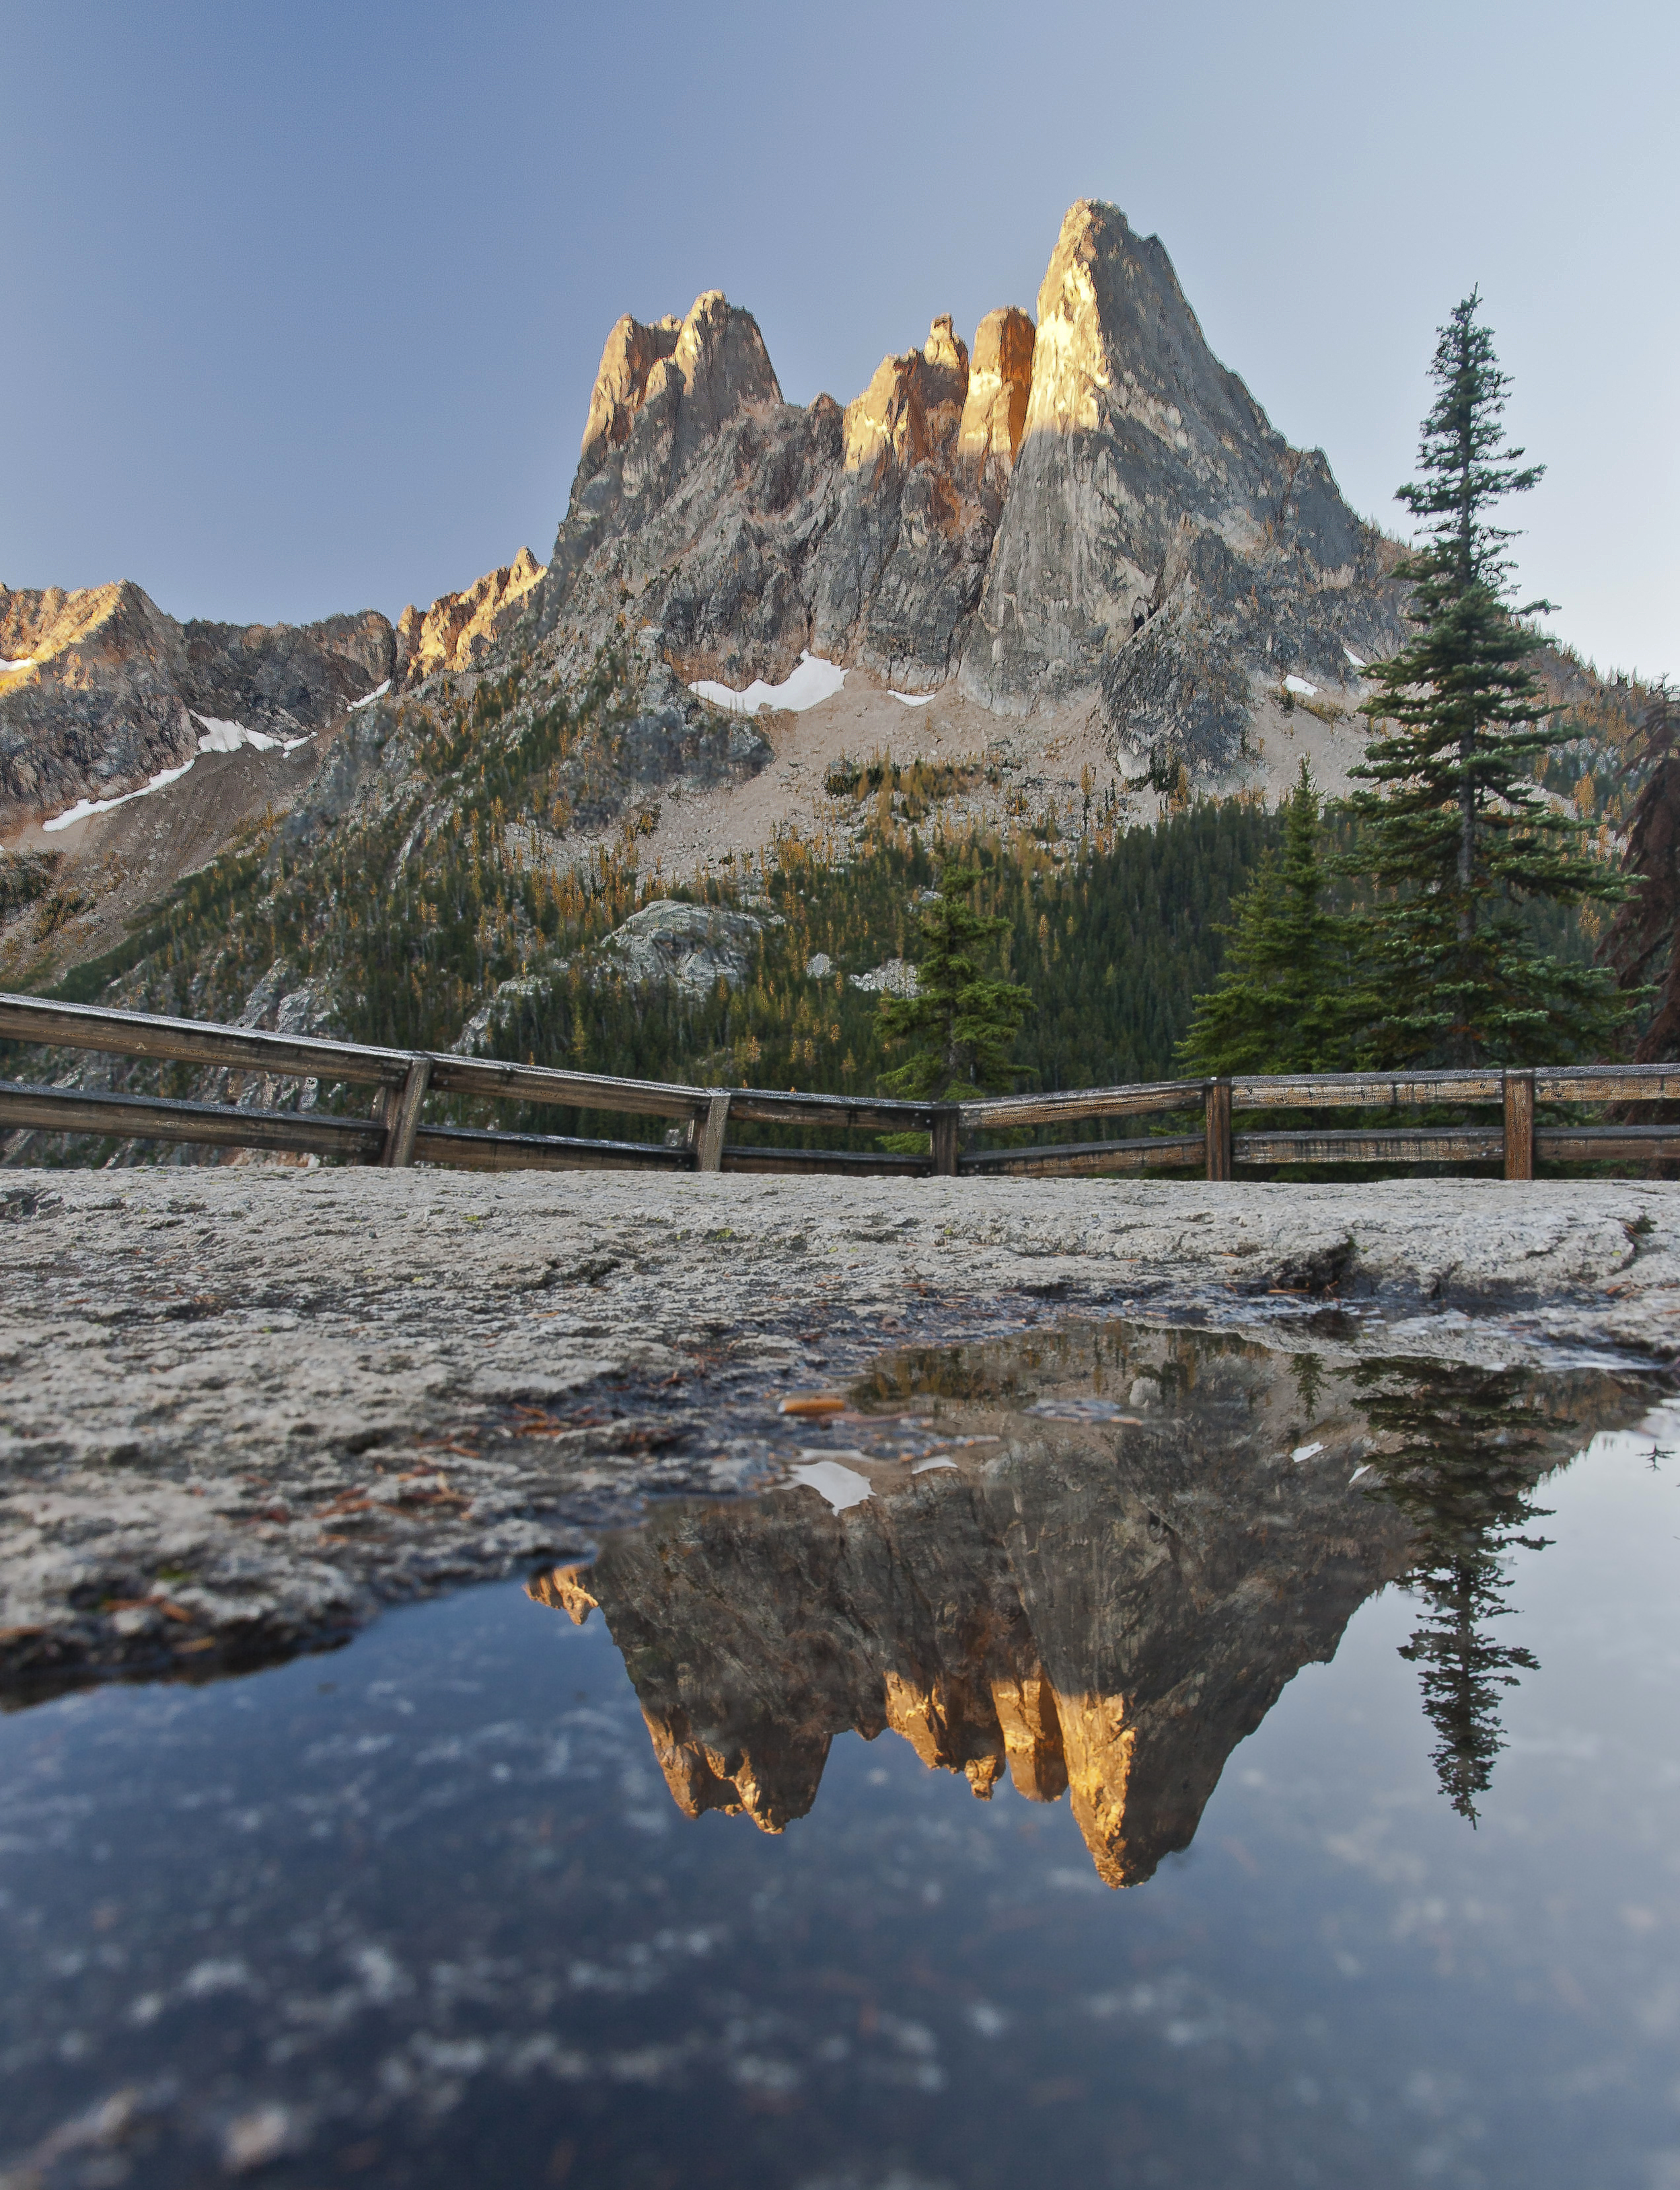
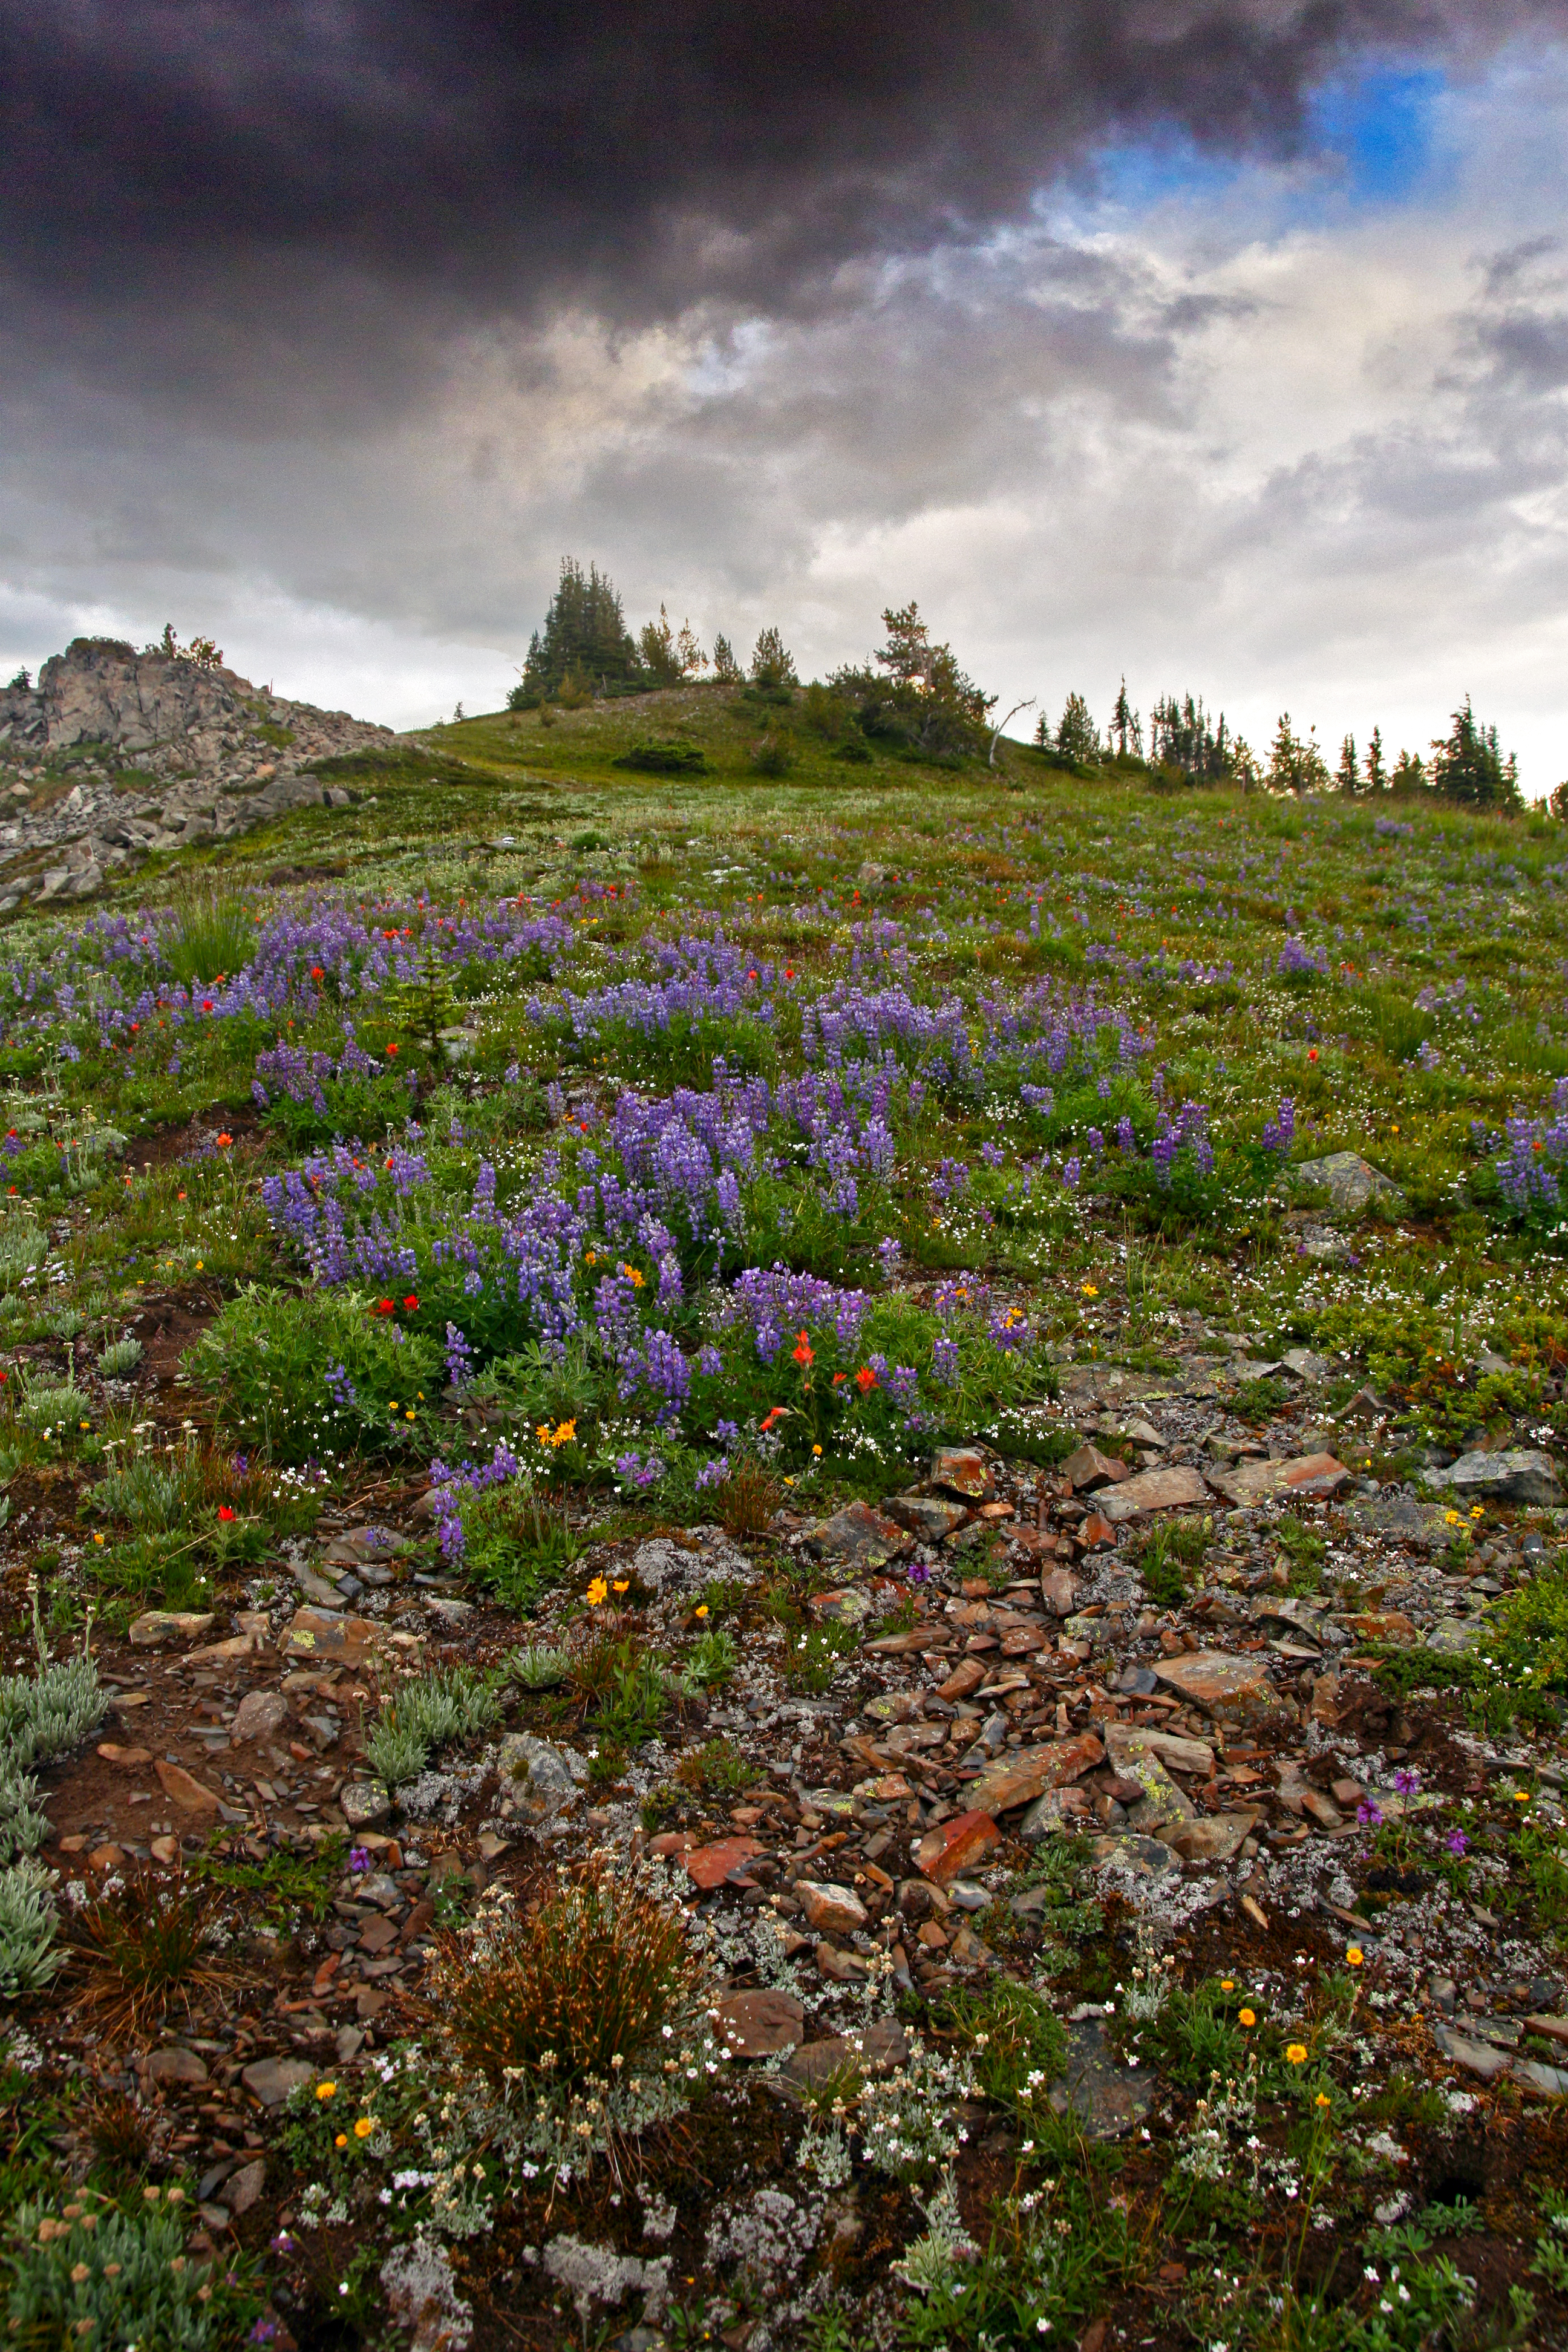
What is an element of coolness? Well, a reflection adds a very cool aspect to a photo. Bright colors do it for me (I’m a Color Junkie). A wide view from high on a ridge, wildlife, an awesome sunset, fireworks, people doing crazy stuff, flowers, mountains, stars, hot air balloons, the moon, a stormy sky…all of these are Elements of Coolness.

Sequim Balloon Festival

July 4th Carnival

Sunset on the Port Townsend Ferry

North Cascades Mountain Goat
So, when I am planning to head out to capture images I have (of course) a plan of what I am going to take pictures of, as in flowers, or mountains, or whatever. Mostly I am considering how I can add cool components to the shots. I await sunrise or sunset. I watch the skies and look for crazy clouds or weather. Water and reflections are a magnet for me. I get out there and scan for lines or patterns.

Samish River
I plan outings based on the moon cycle, flowers blooming, trees changing, sun setting and stars shining.
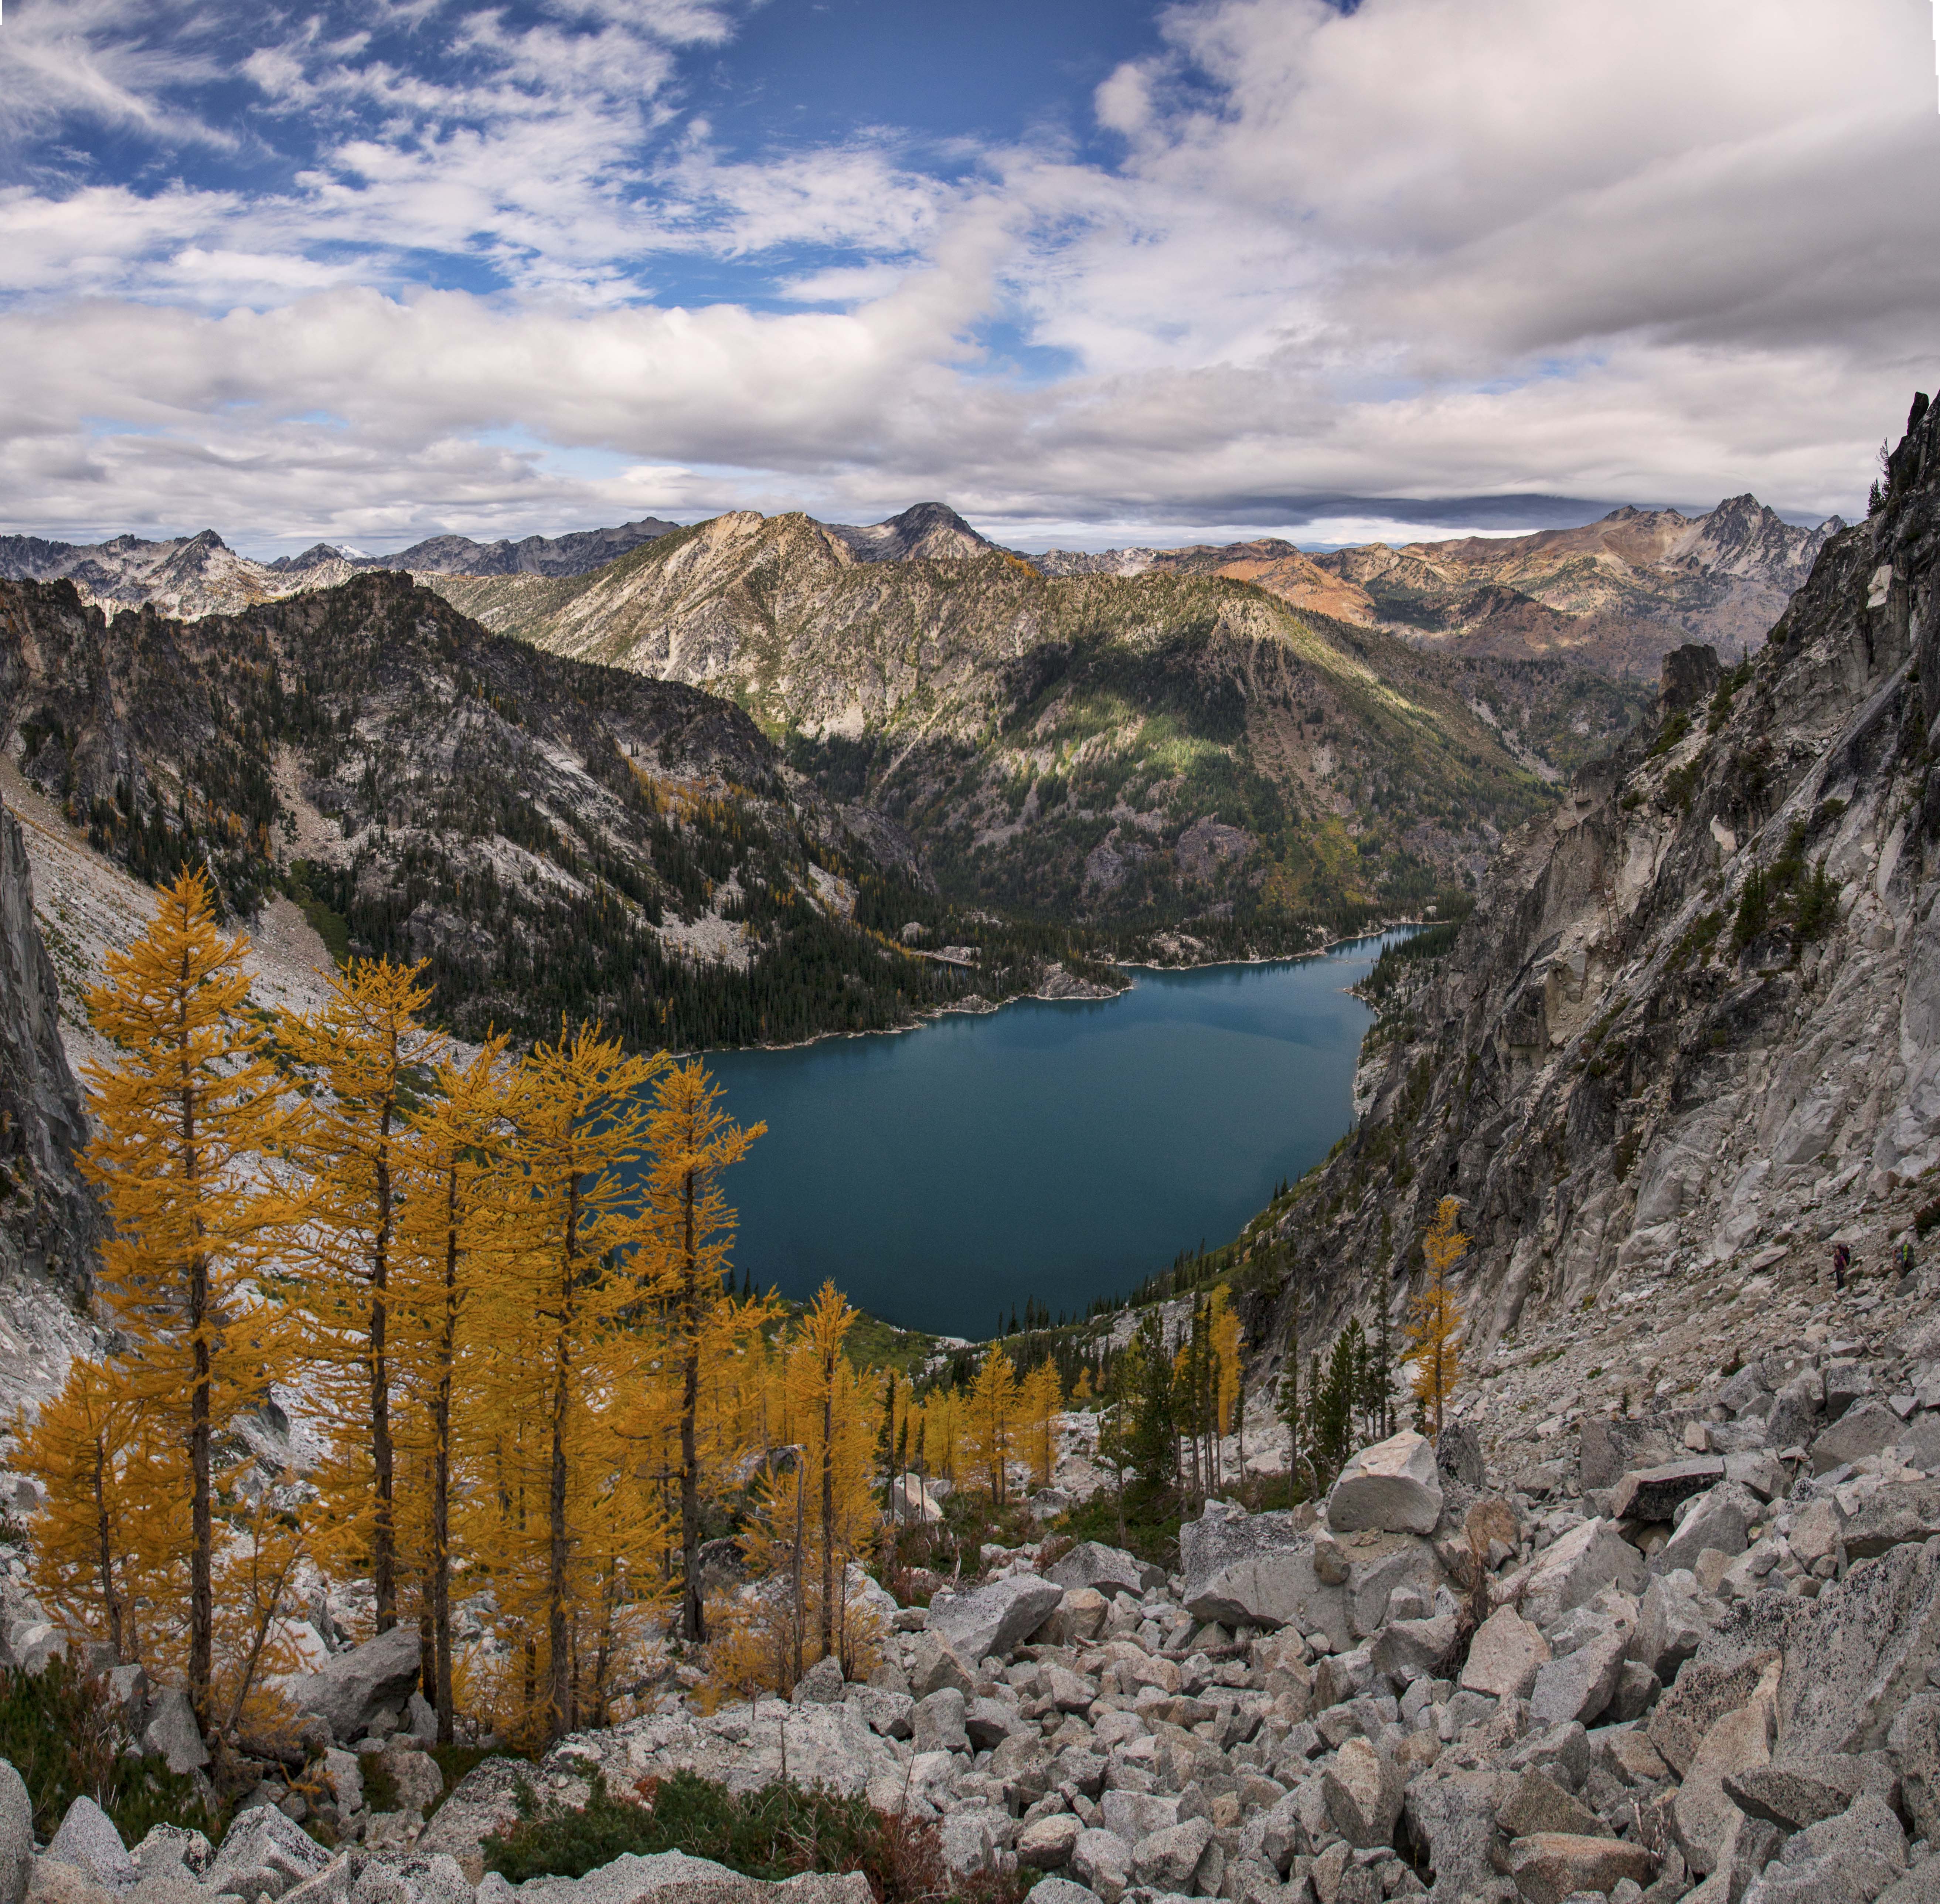
Colchuck Lake, Enchantments
My goal is to add as many elements of coolness as I can to the image. Sometimes its luck, like when I visited Palouse Falls this spring and happened to choose a night when some intrepid soul had started a camp fire down in the basin at 1am!

Palouse Falls
But more often than not I am able to add coolness elements by going back several times. Once you’re at a place once you get a feel for the place. When you return you can even bring things with you, like more people, or a dog…or a photogenic tent.

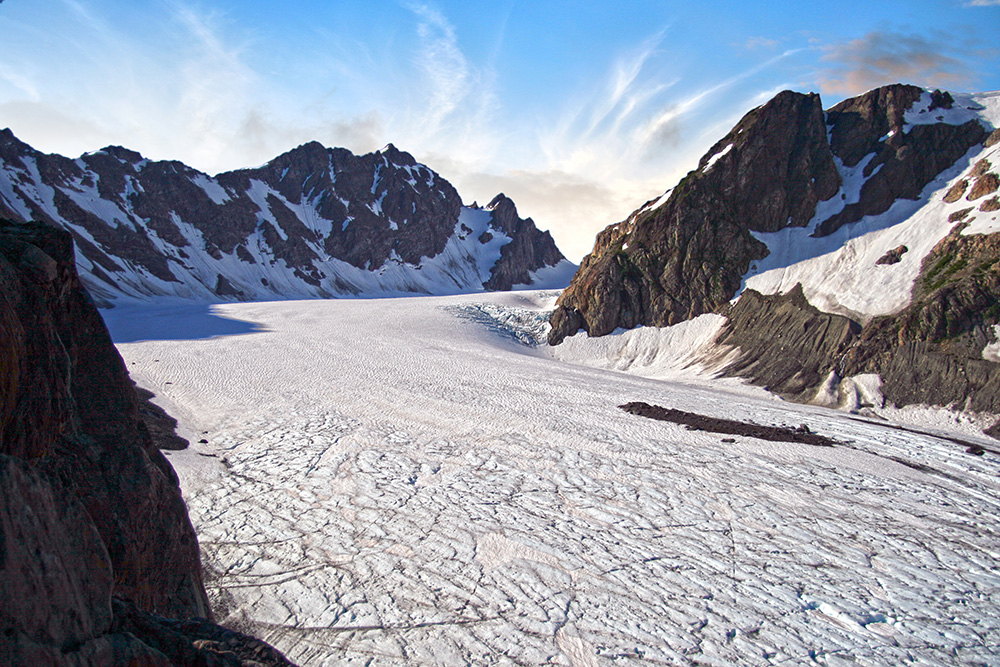
Sahale Glacier Camp
I went to photograph lookout towers several times and had issues with illuminating the inside. A headlamp just wasn’t cutting it. So, on my latest trip I hauled a special flashlight that opened up and threw out a nice broad, softer light.

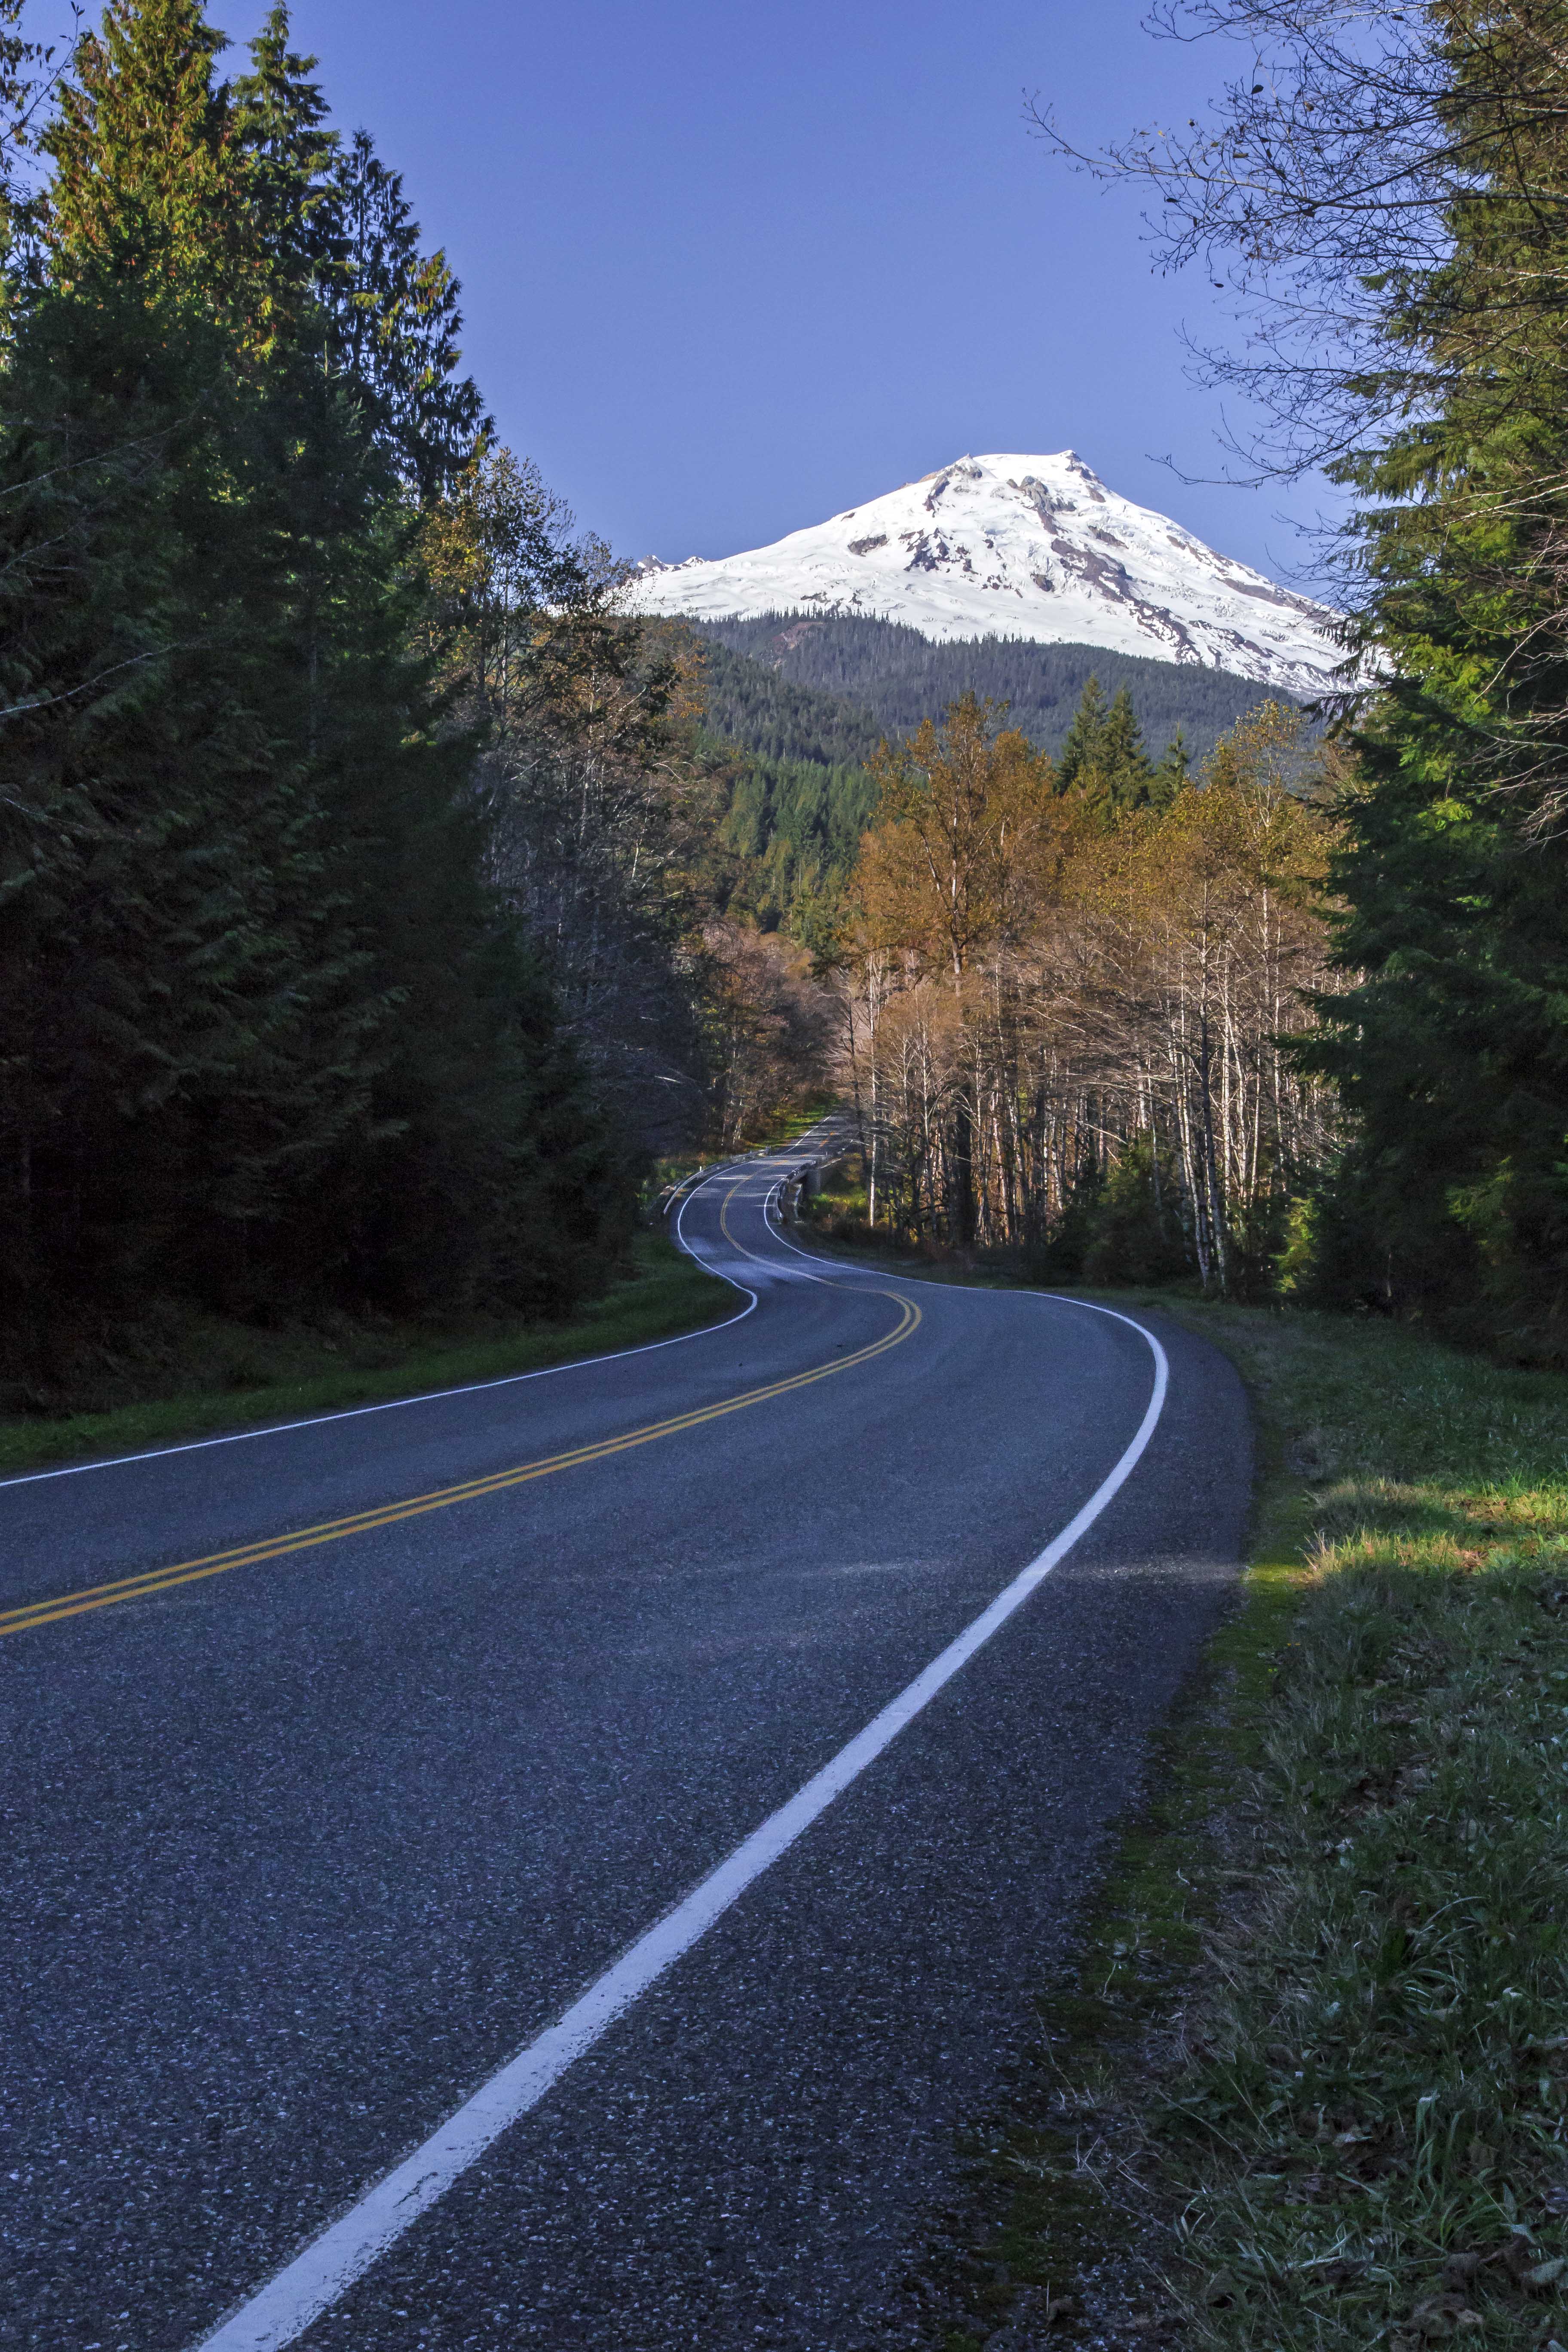
Park Butte Lookout and Mount Baker
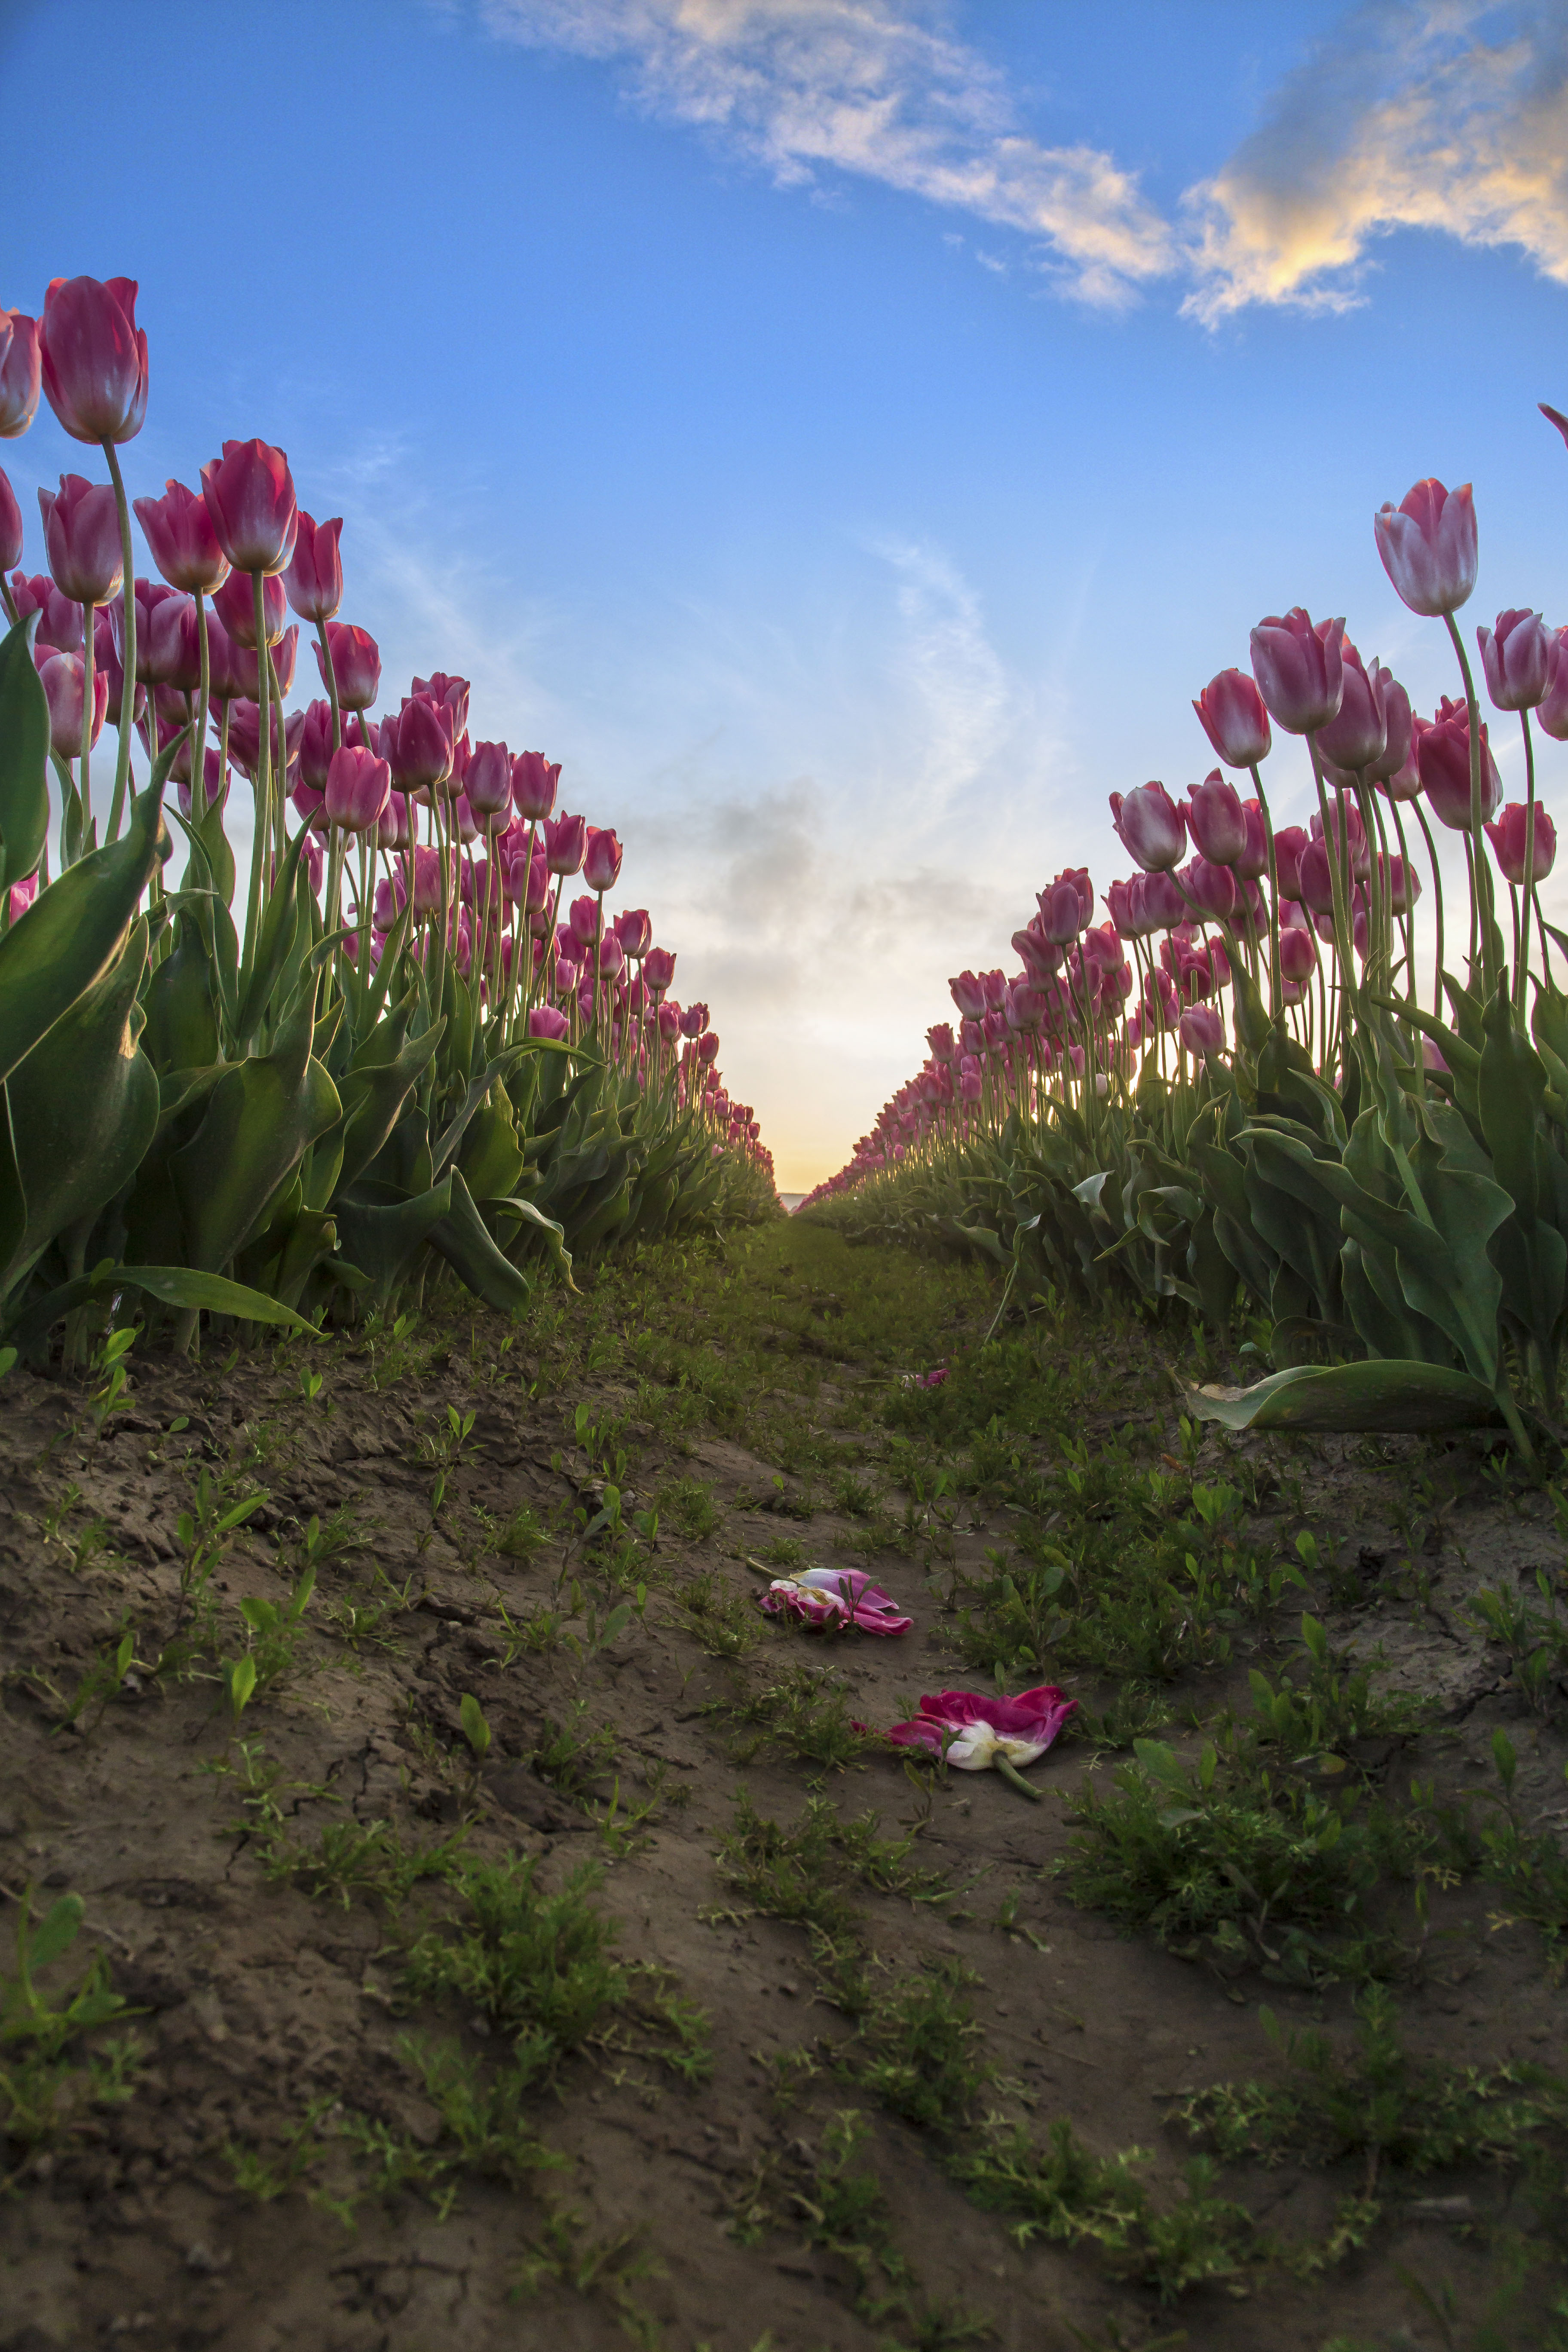
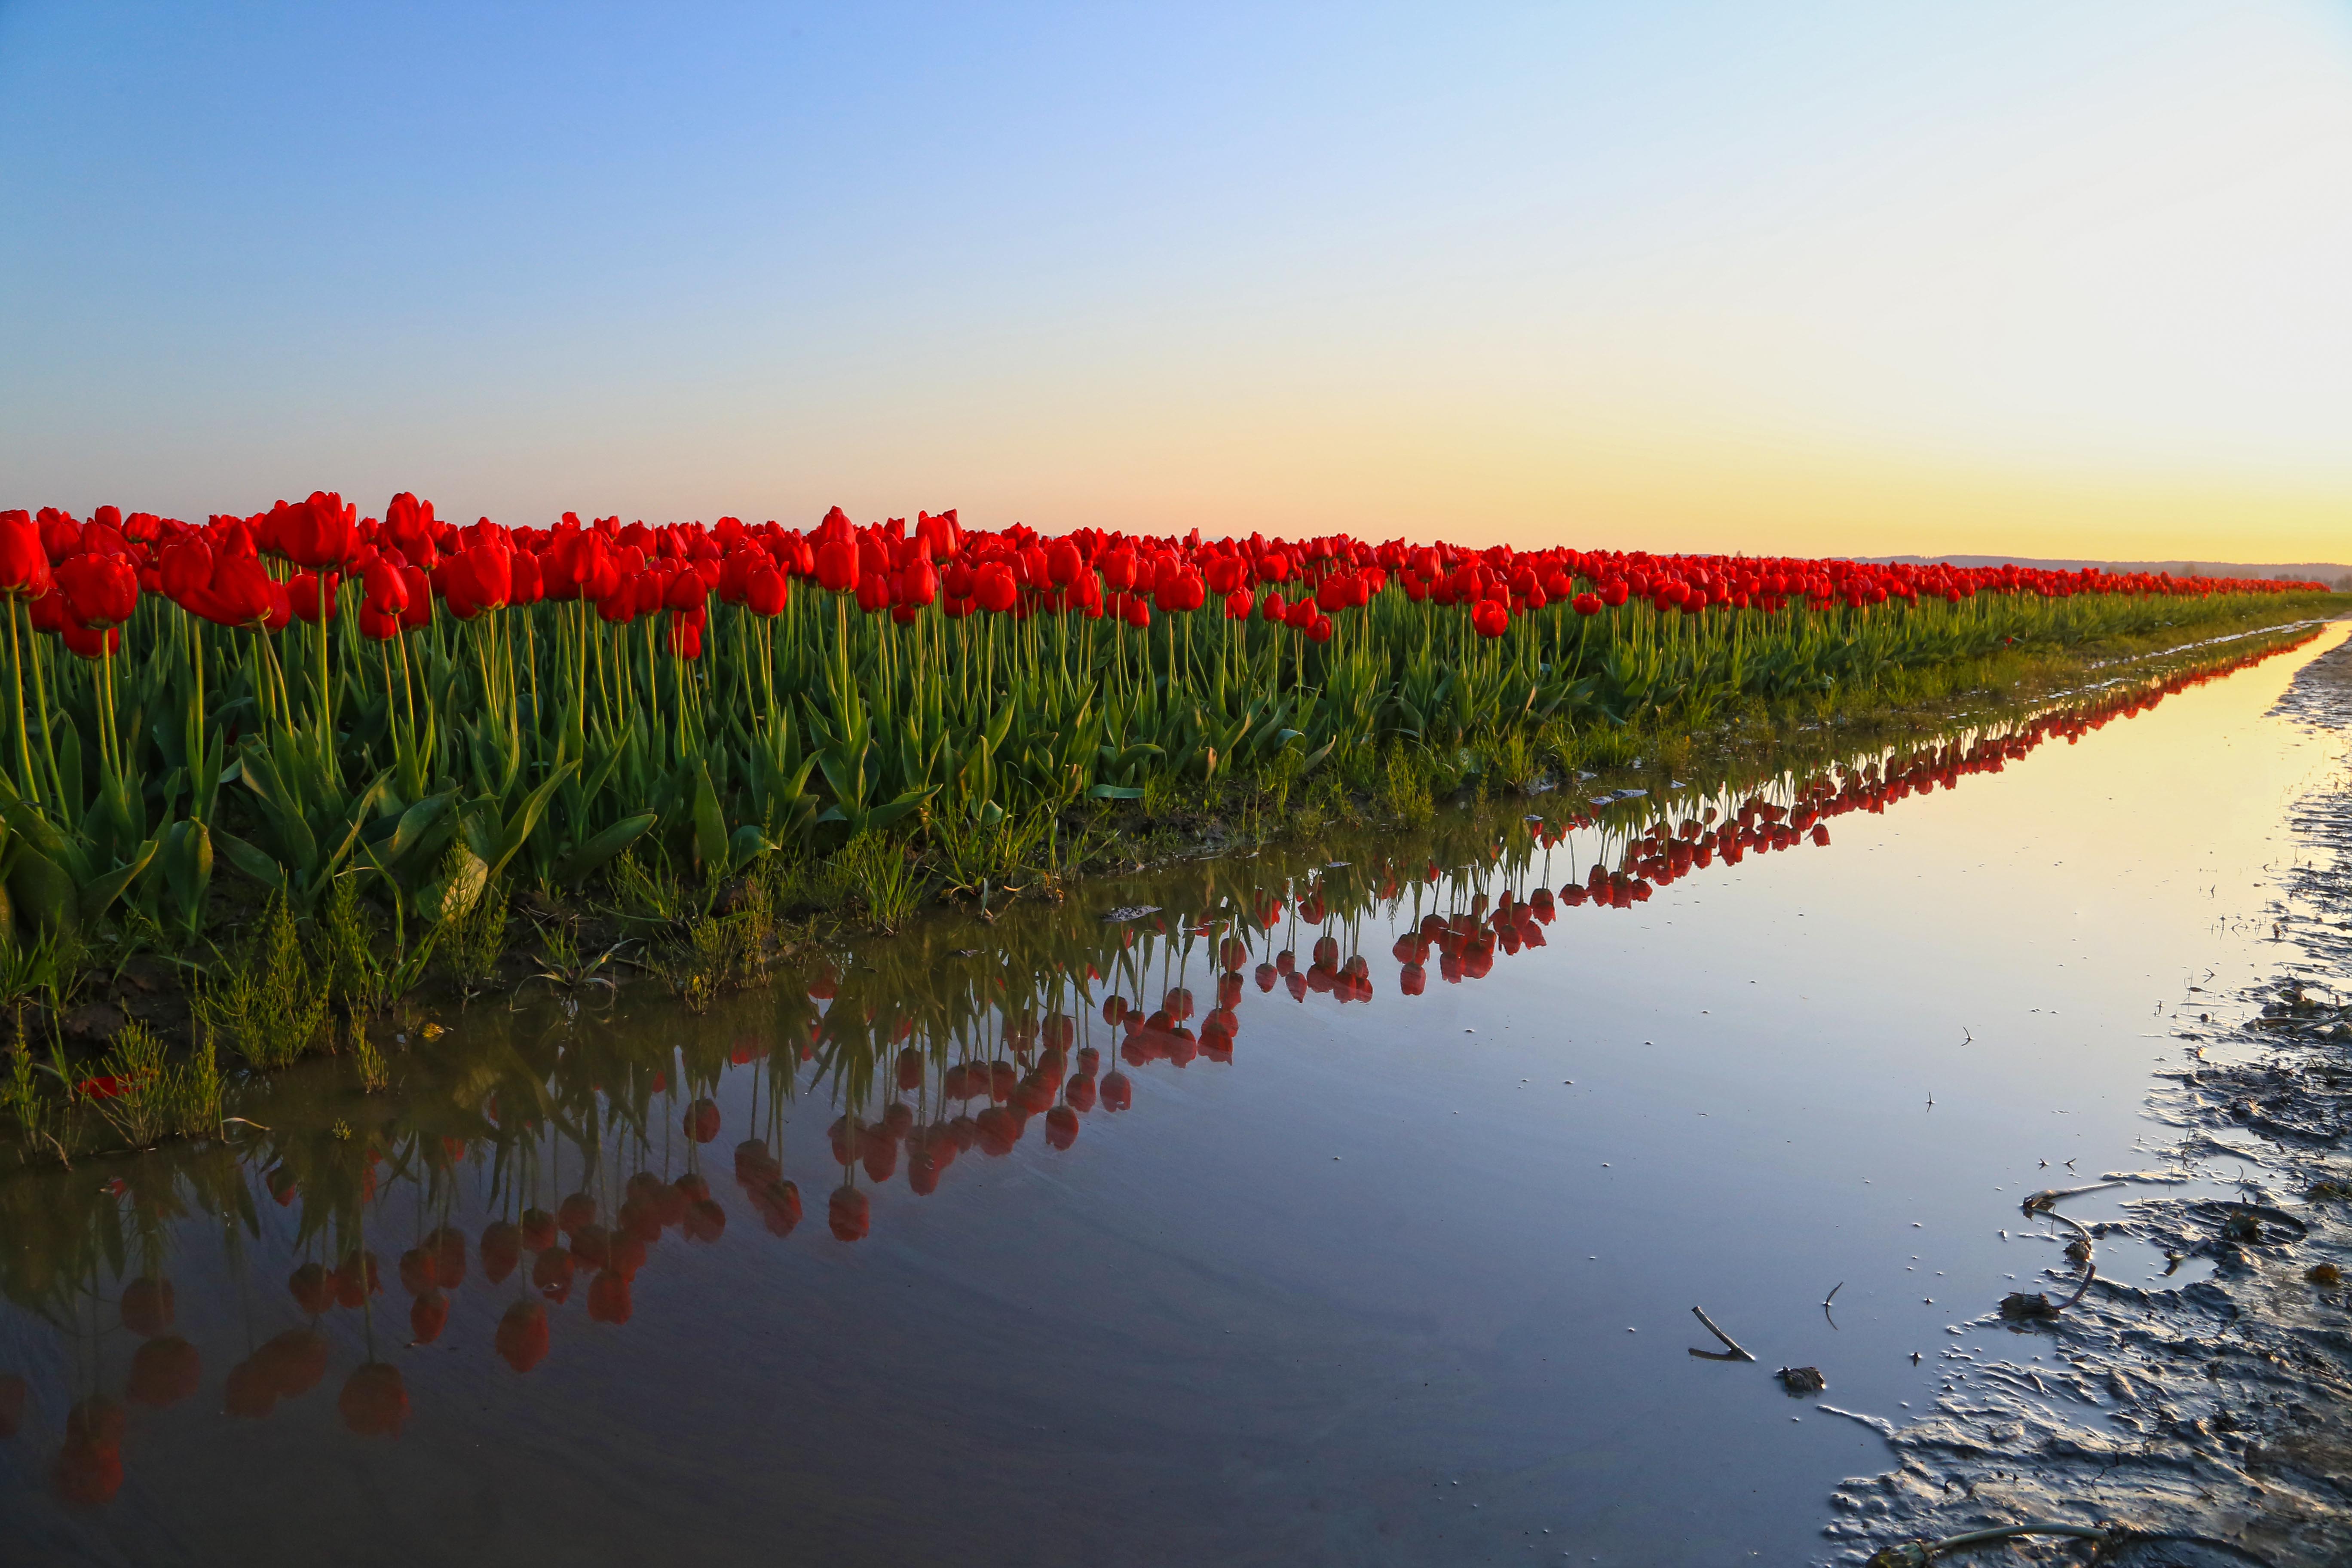
Next time you see an image that you fancy, count up how many elements of coolness there are. Sometimes there is only one, like a picture of the tulips, but when you start adding more elements, wow, the image really takes off.

Tulips at Sunrise
Start a list of your own. Think in terms of how you can add cool elements. Work out learning new techniques for image capture (like nighttime shooting) so that your list is bigger. And Voila!, you will soon have cooler images of your own.