The New Moon is marked every month on my calendar. As it gets closer I start watching the weather service map, looking for where there will be clear skies. Last month was a complete dud, the 5-night window only saw overcast and rain.
But this weekend the sky was clear. I had three people sign up for my Night Sky Photo Tour on Saturday night.
Officially the New Moon is tonight, June 16th, but if you are close, one or two days plus or minus, you will get the lighting you want.

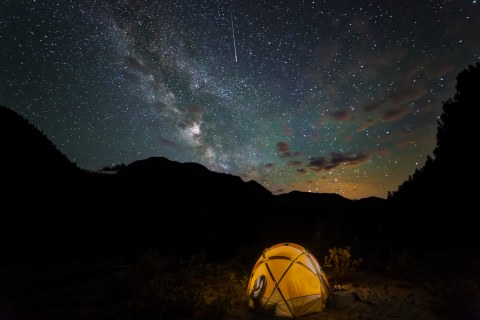
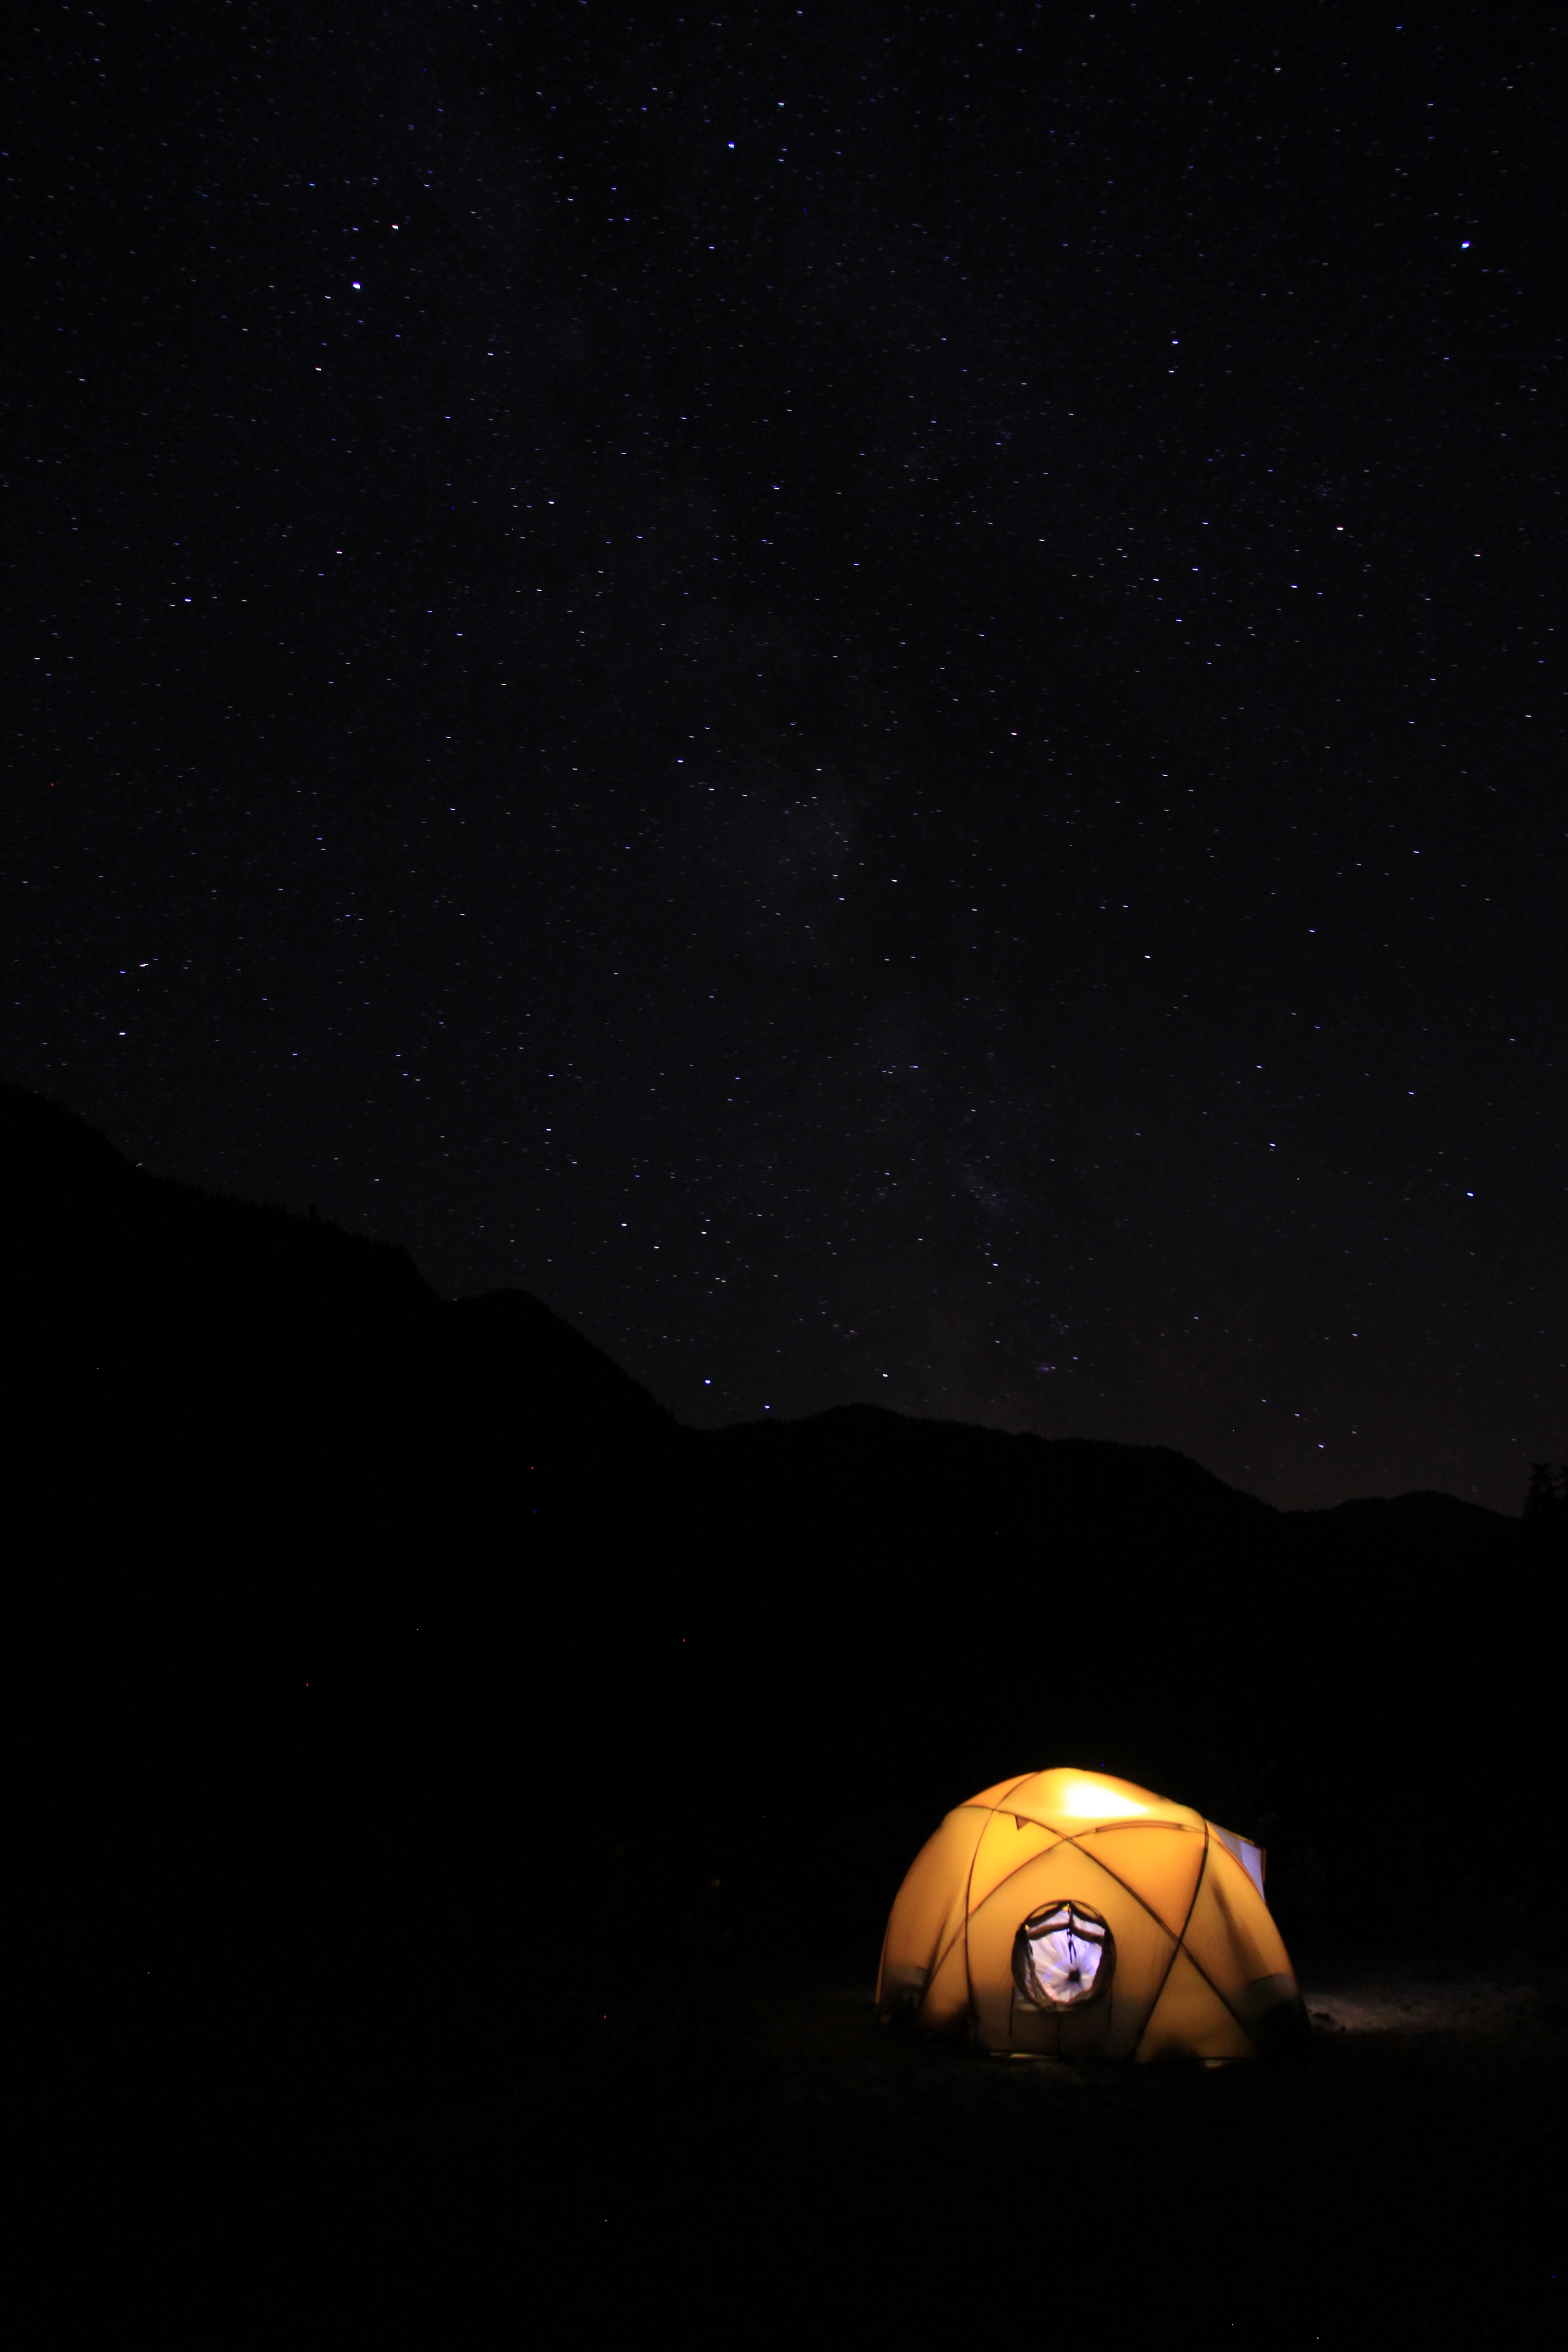
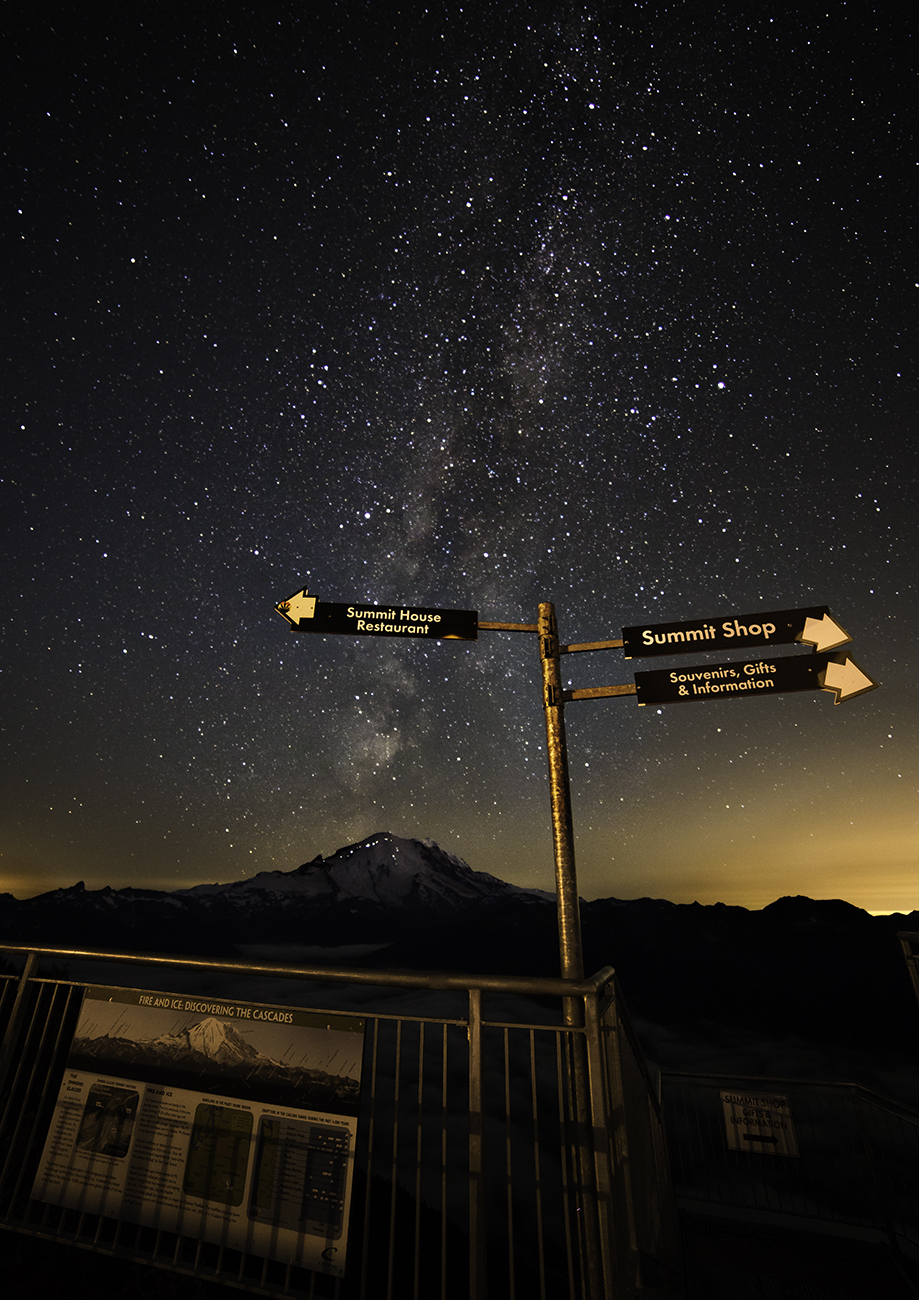
Camped under the Milky Way
This first shot I have been dreaming of for some time. My son is 10 years old and he likes to go camping with his friends, swimming and being goof balls. Of course they always bring their electronic devices. I made sure to tell them to save some battery life for dark.
The strip of the Milky Way appeared directly over the tent. The exposure to capture the stars is 30 seconds long, but that’s way too long for the light from the I-pad. So I had them sit and turn it on for a second or two and then quickly off.
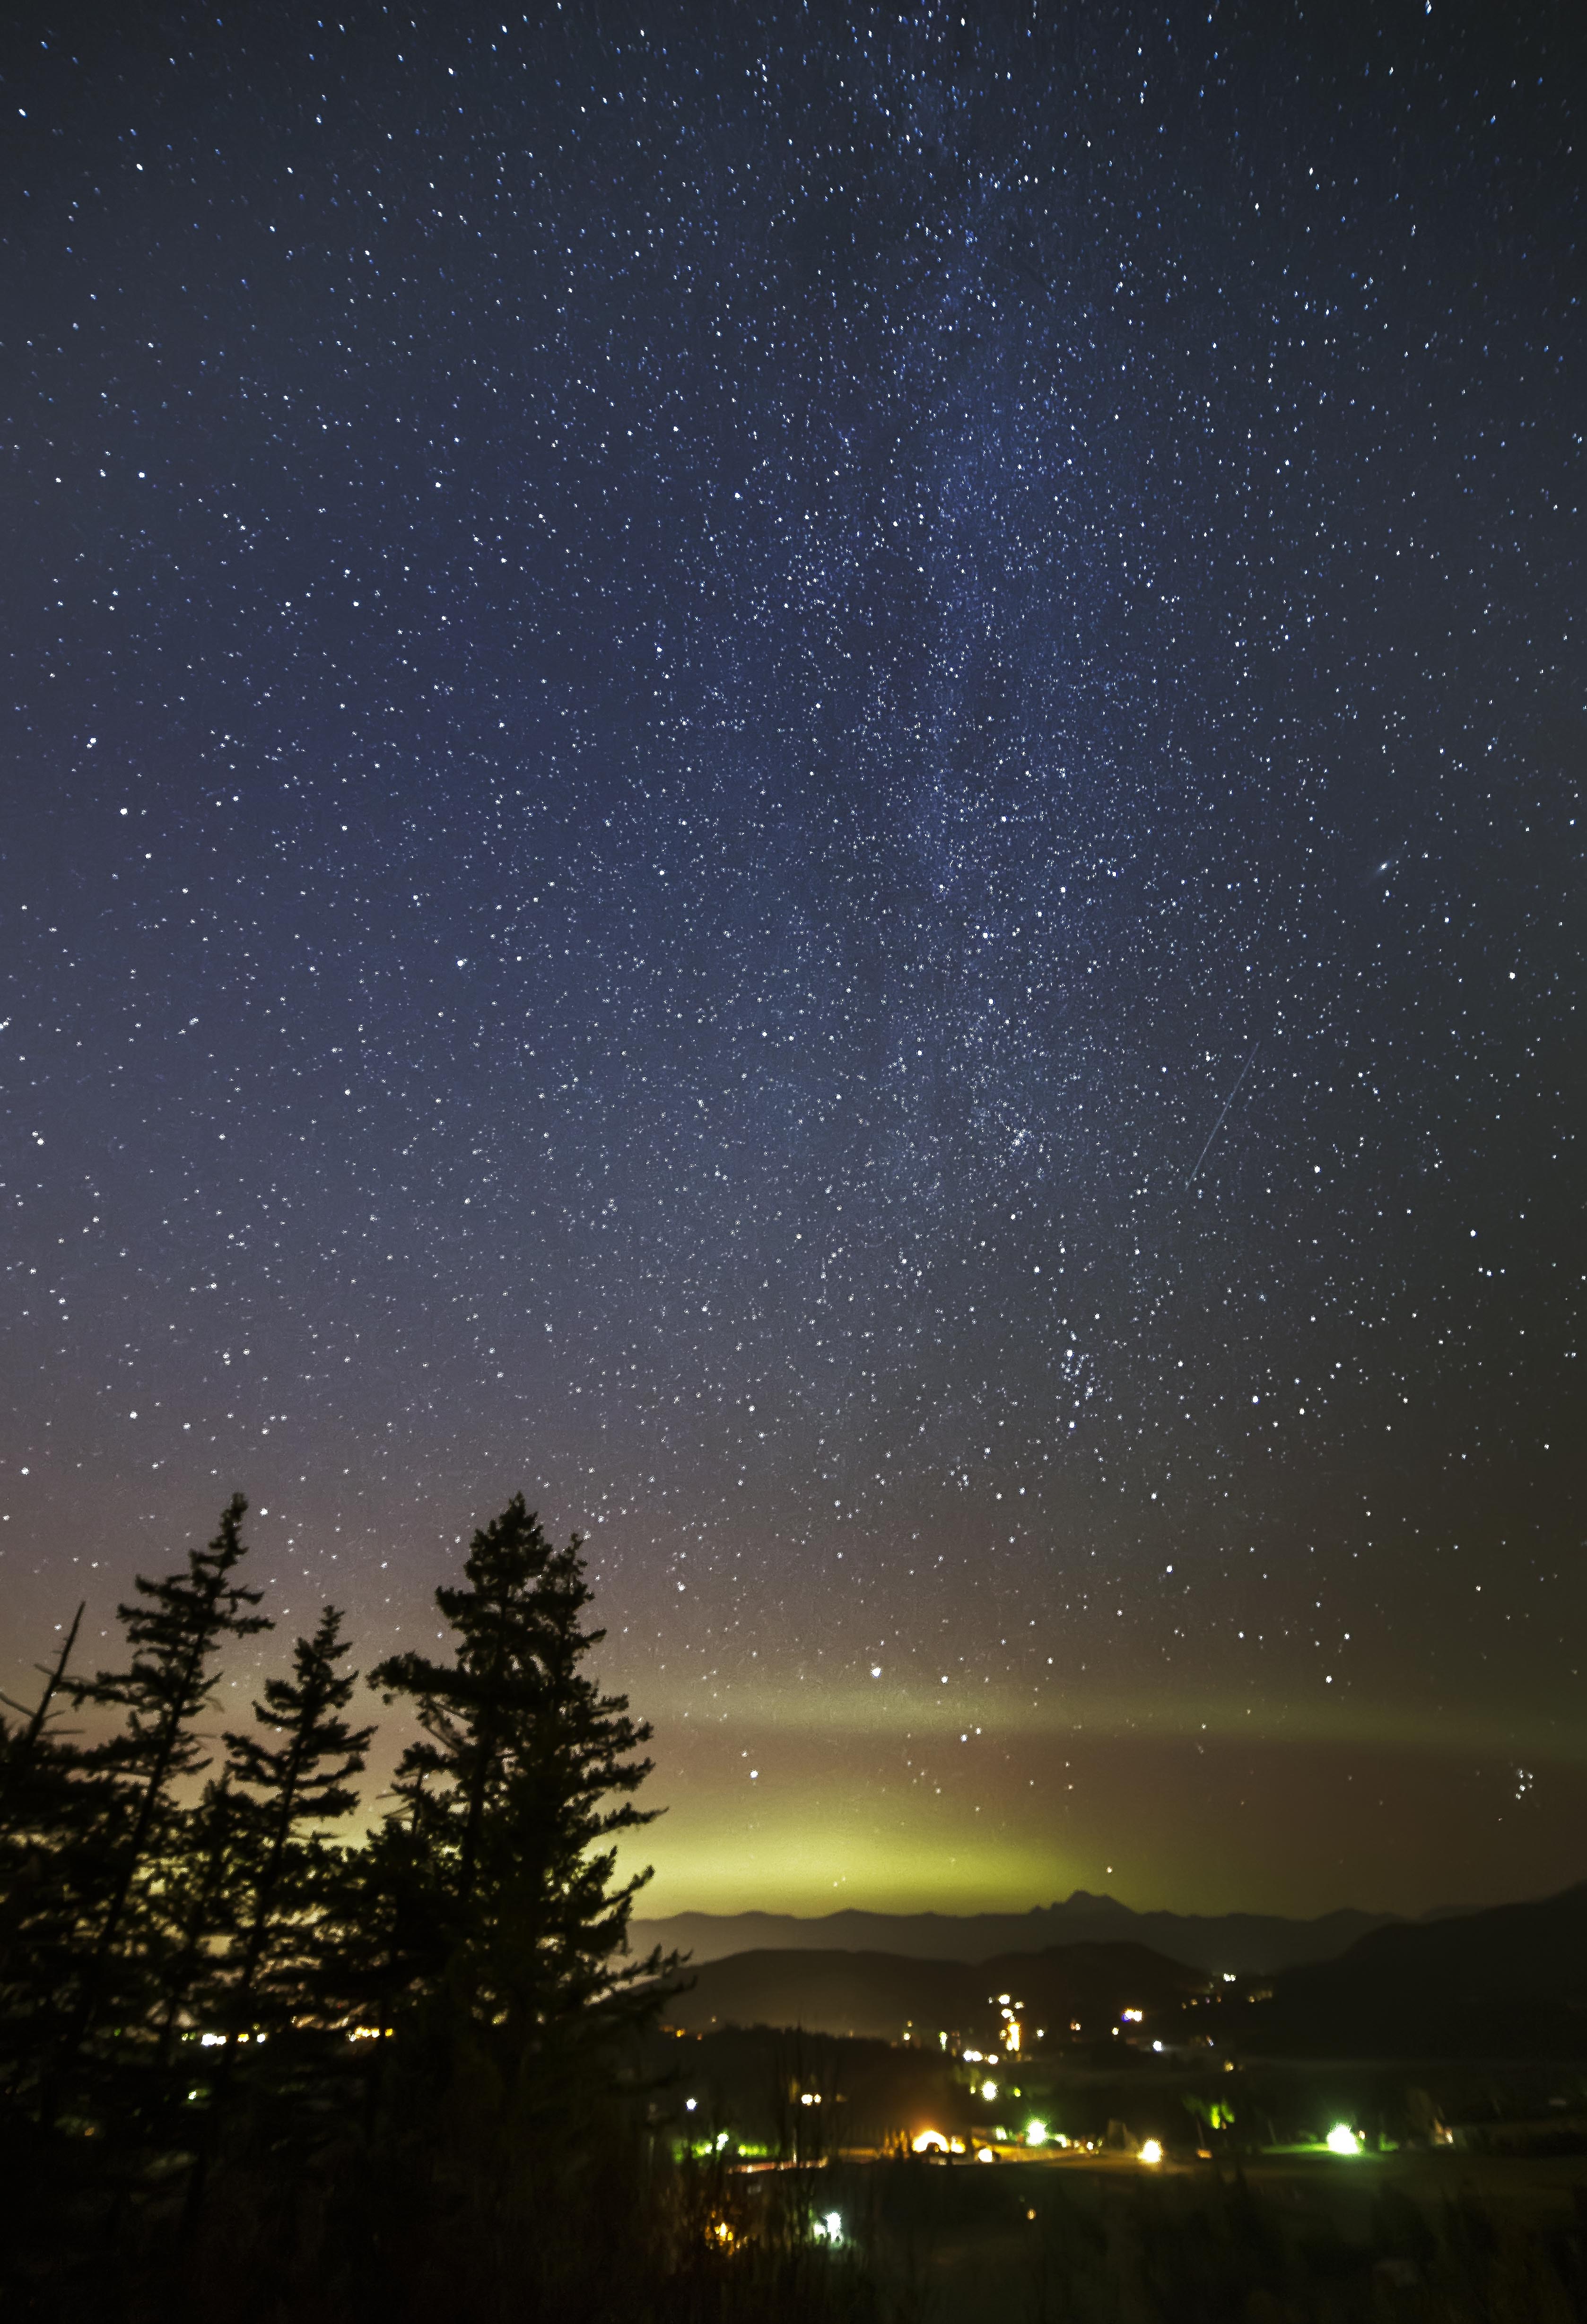
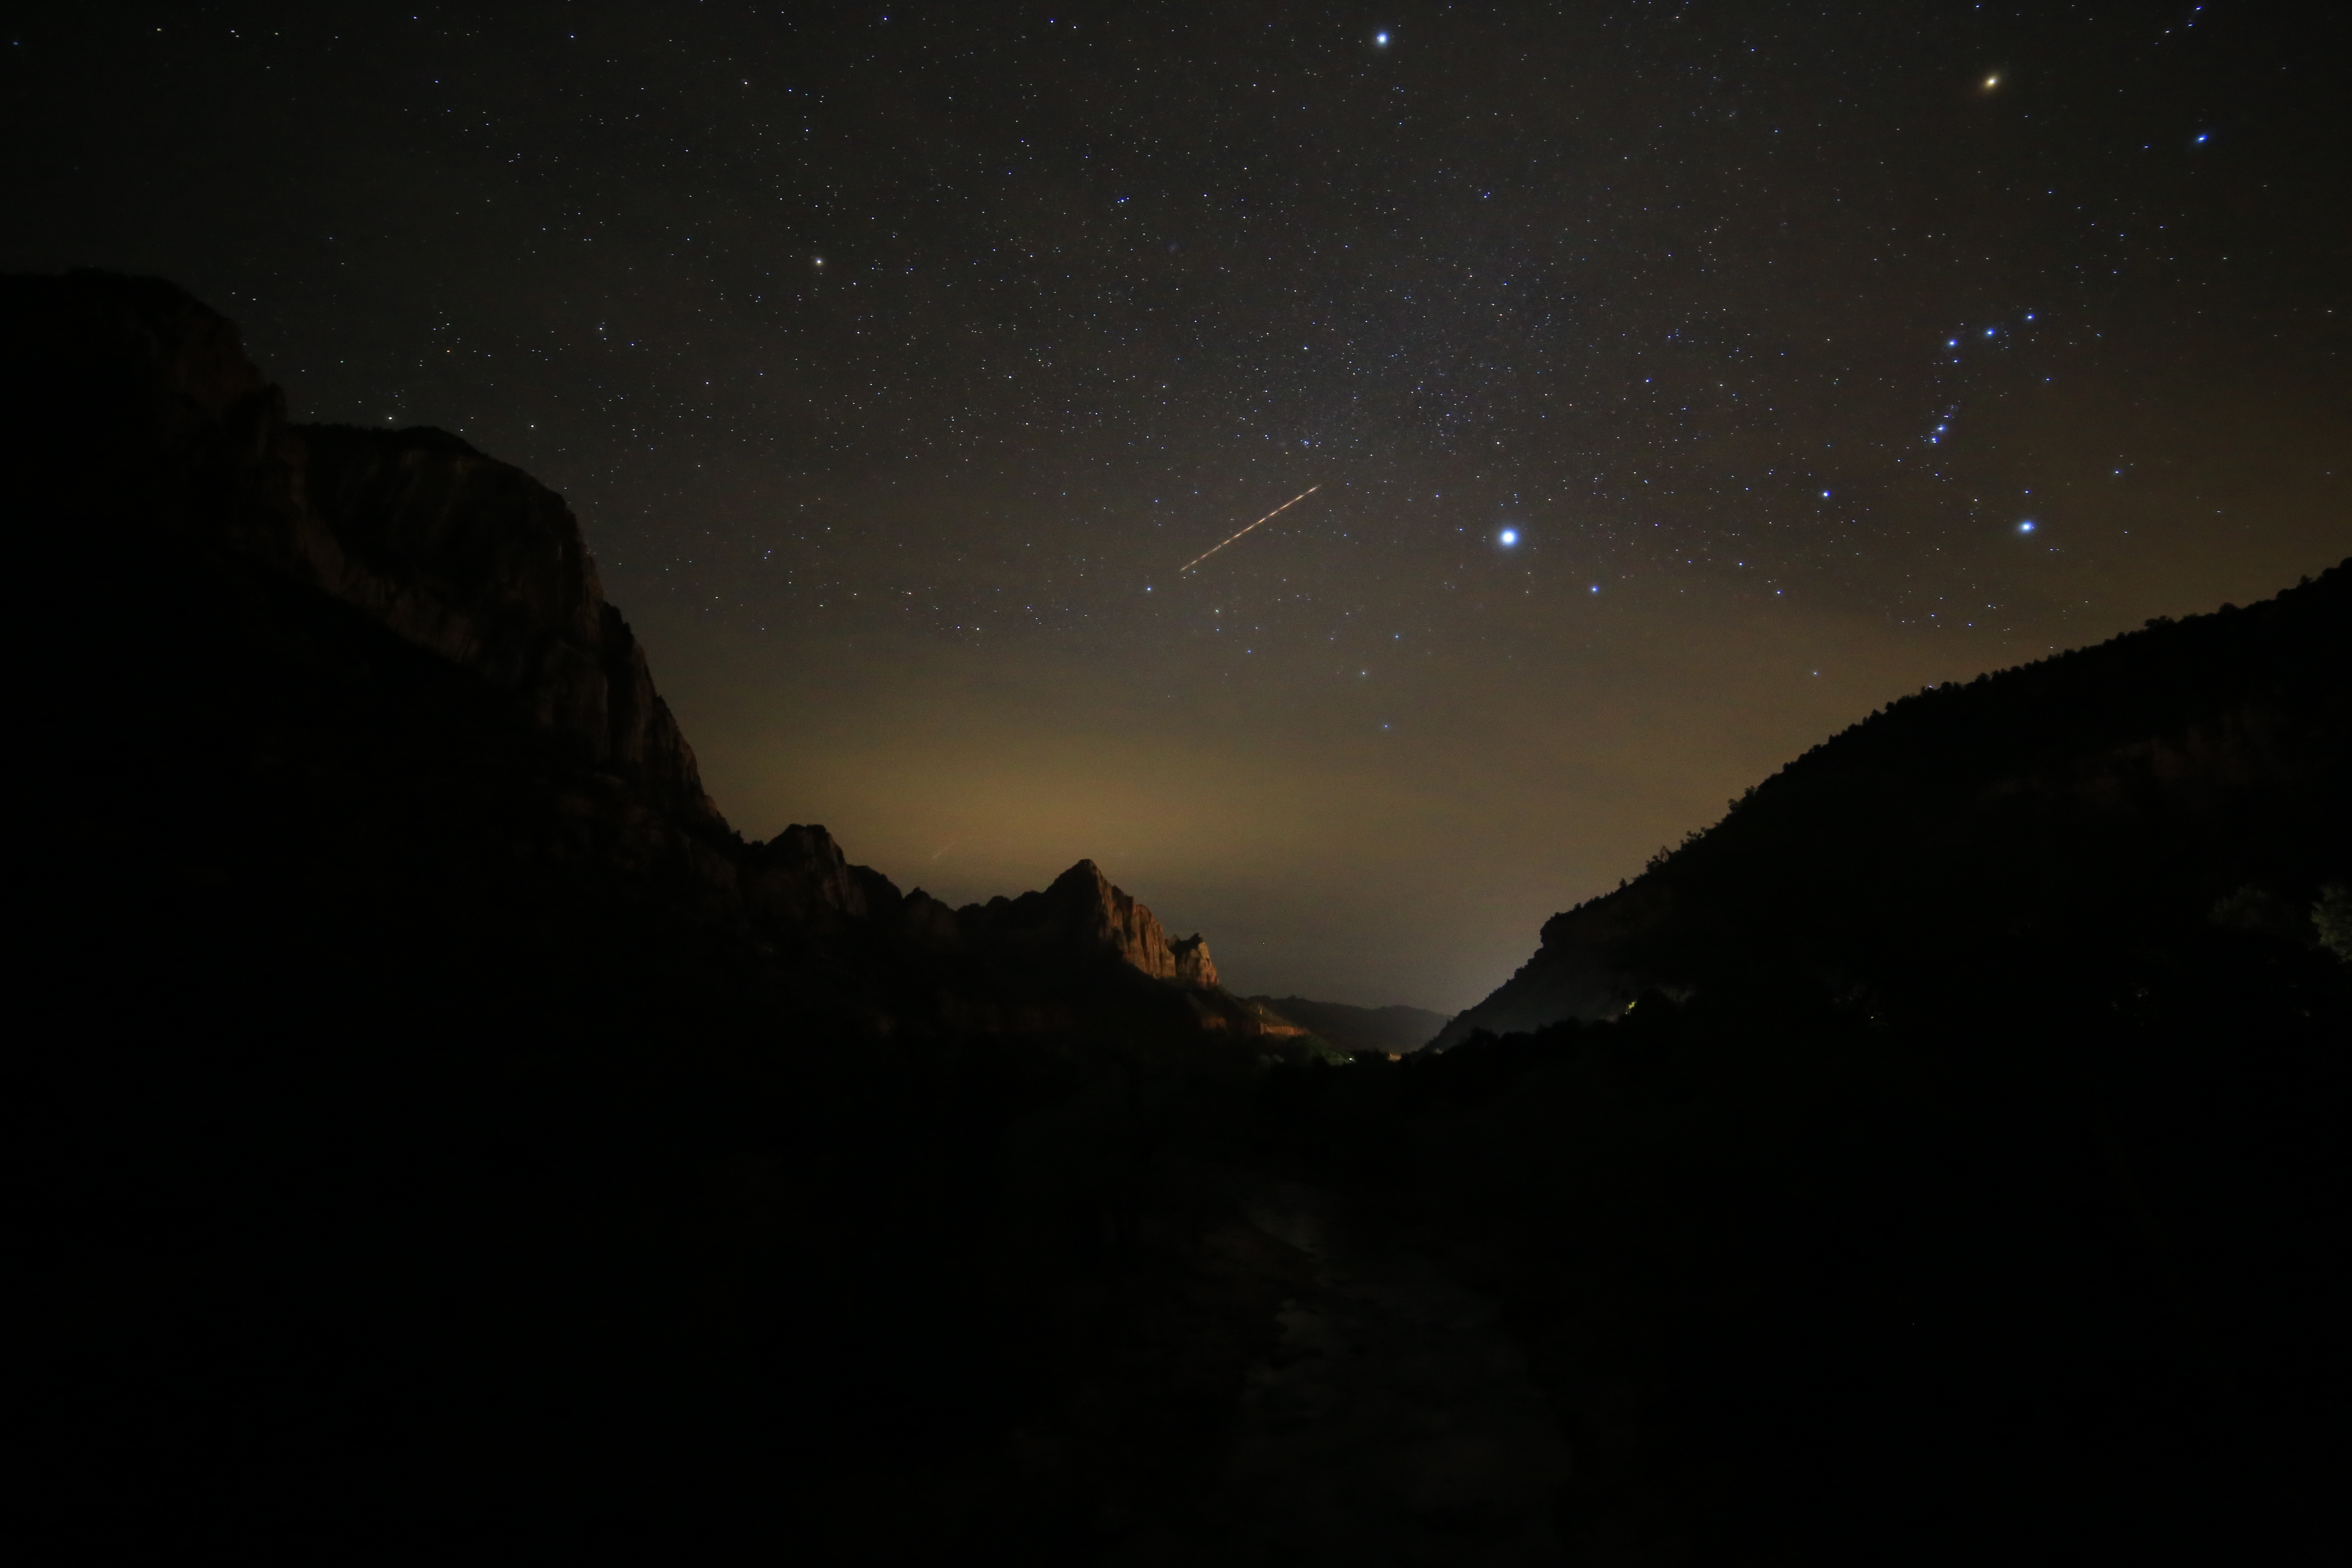
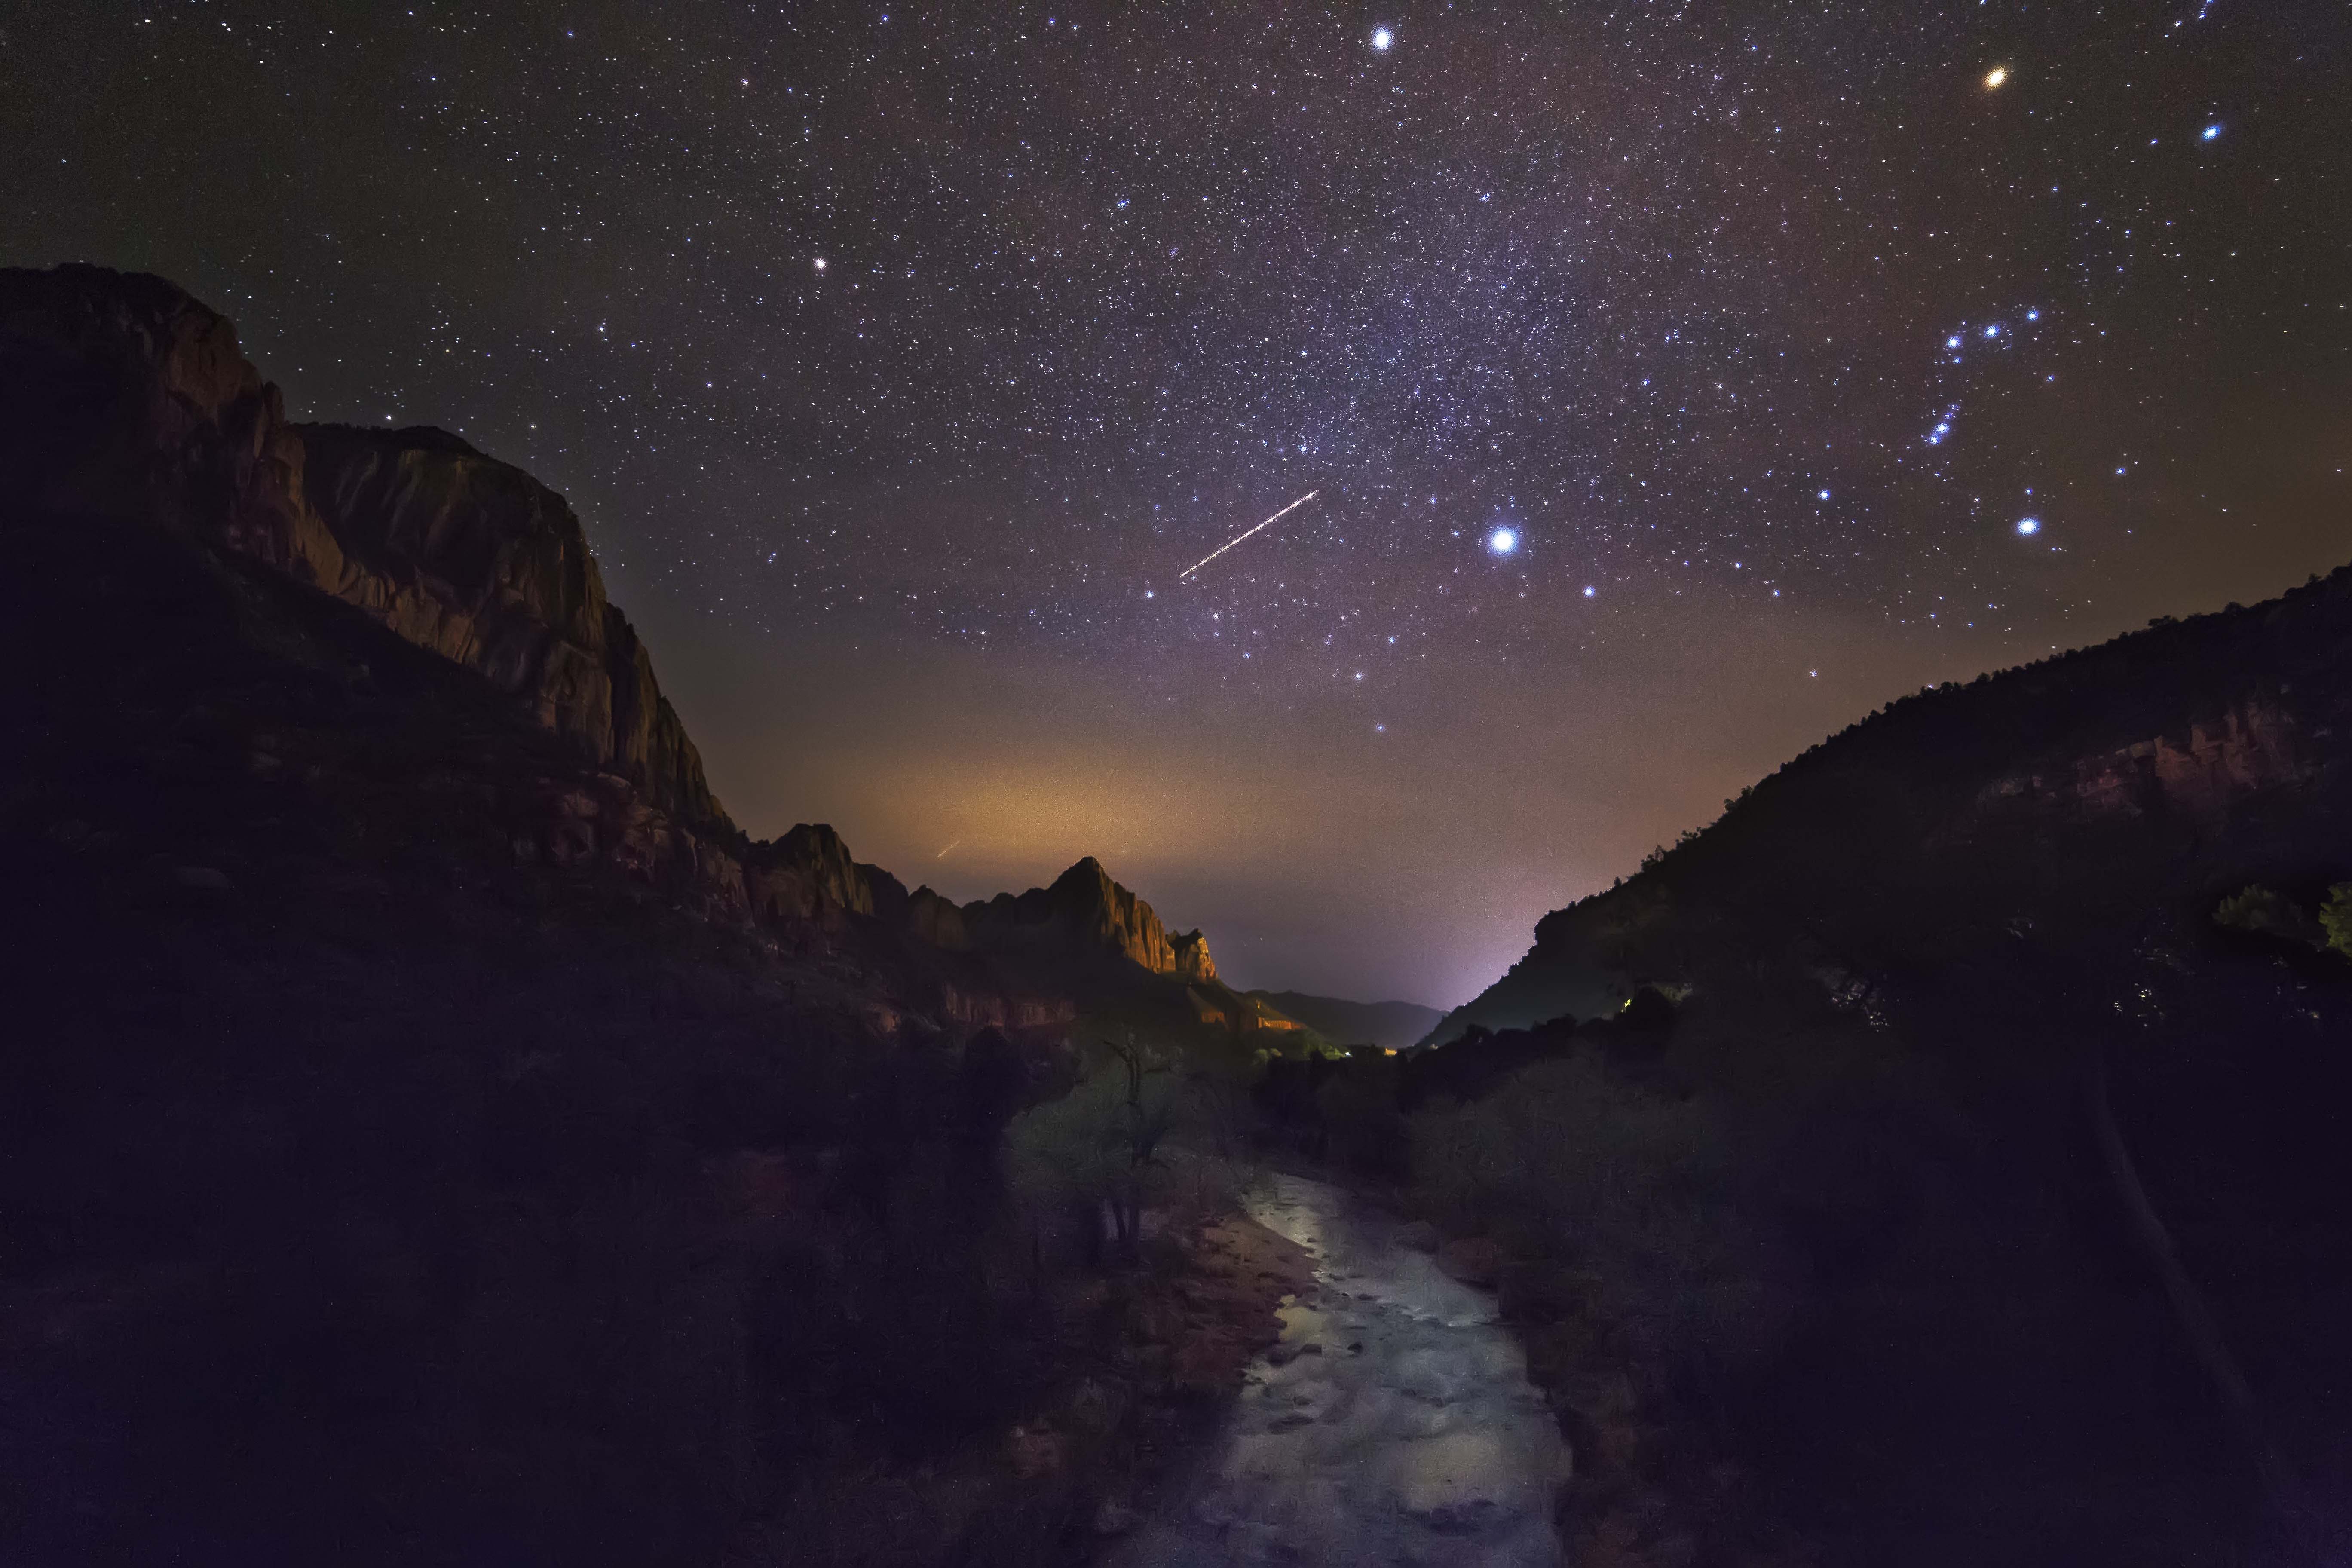
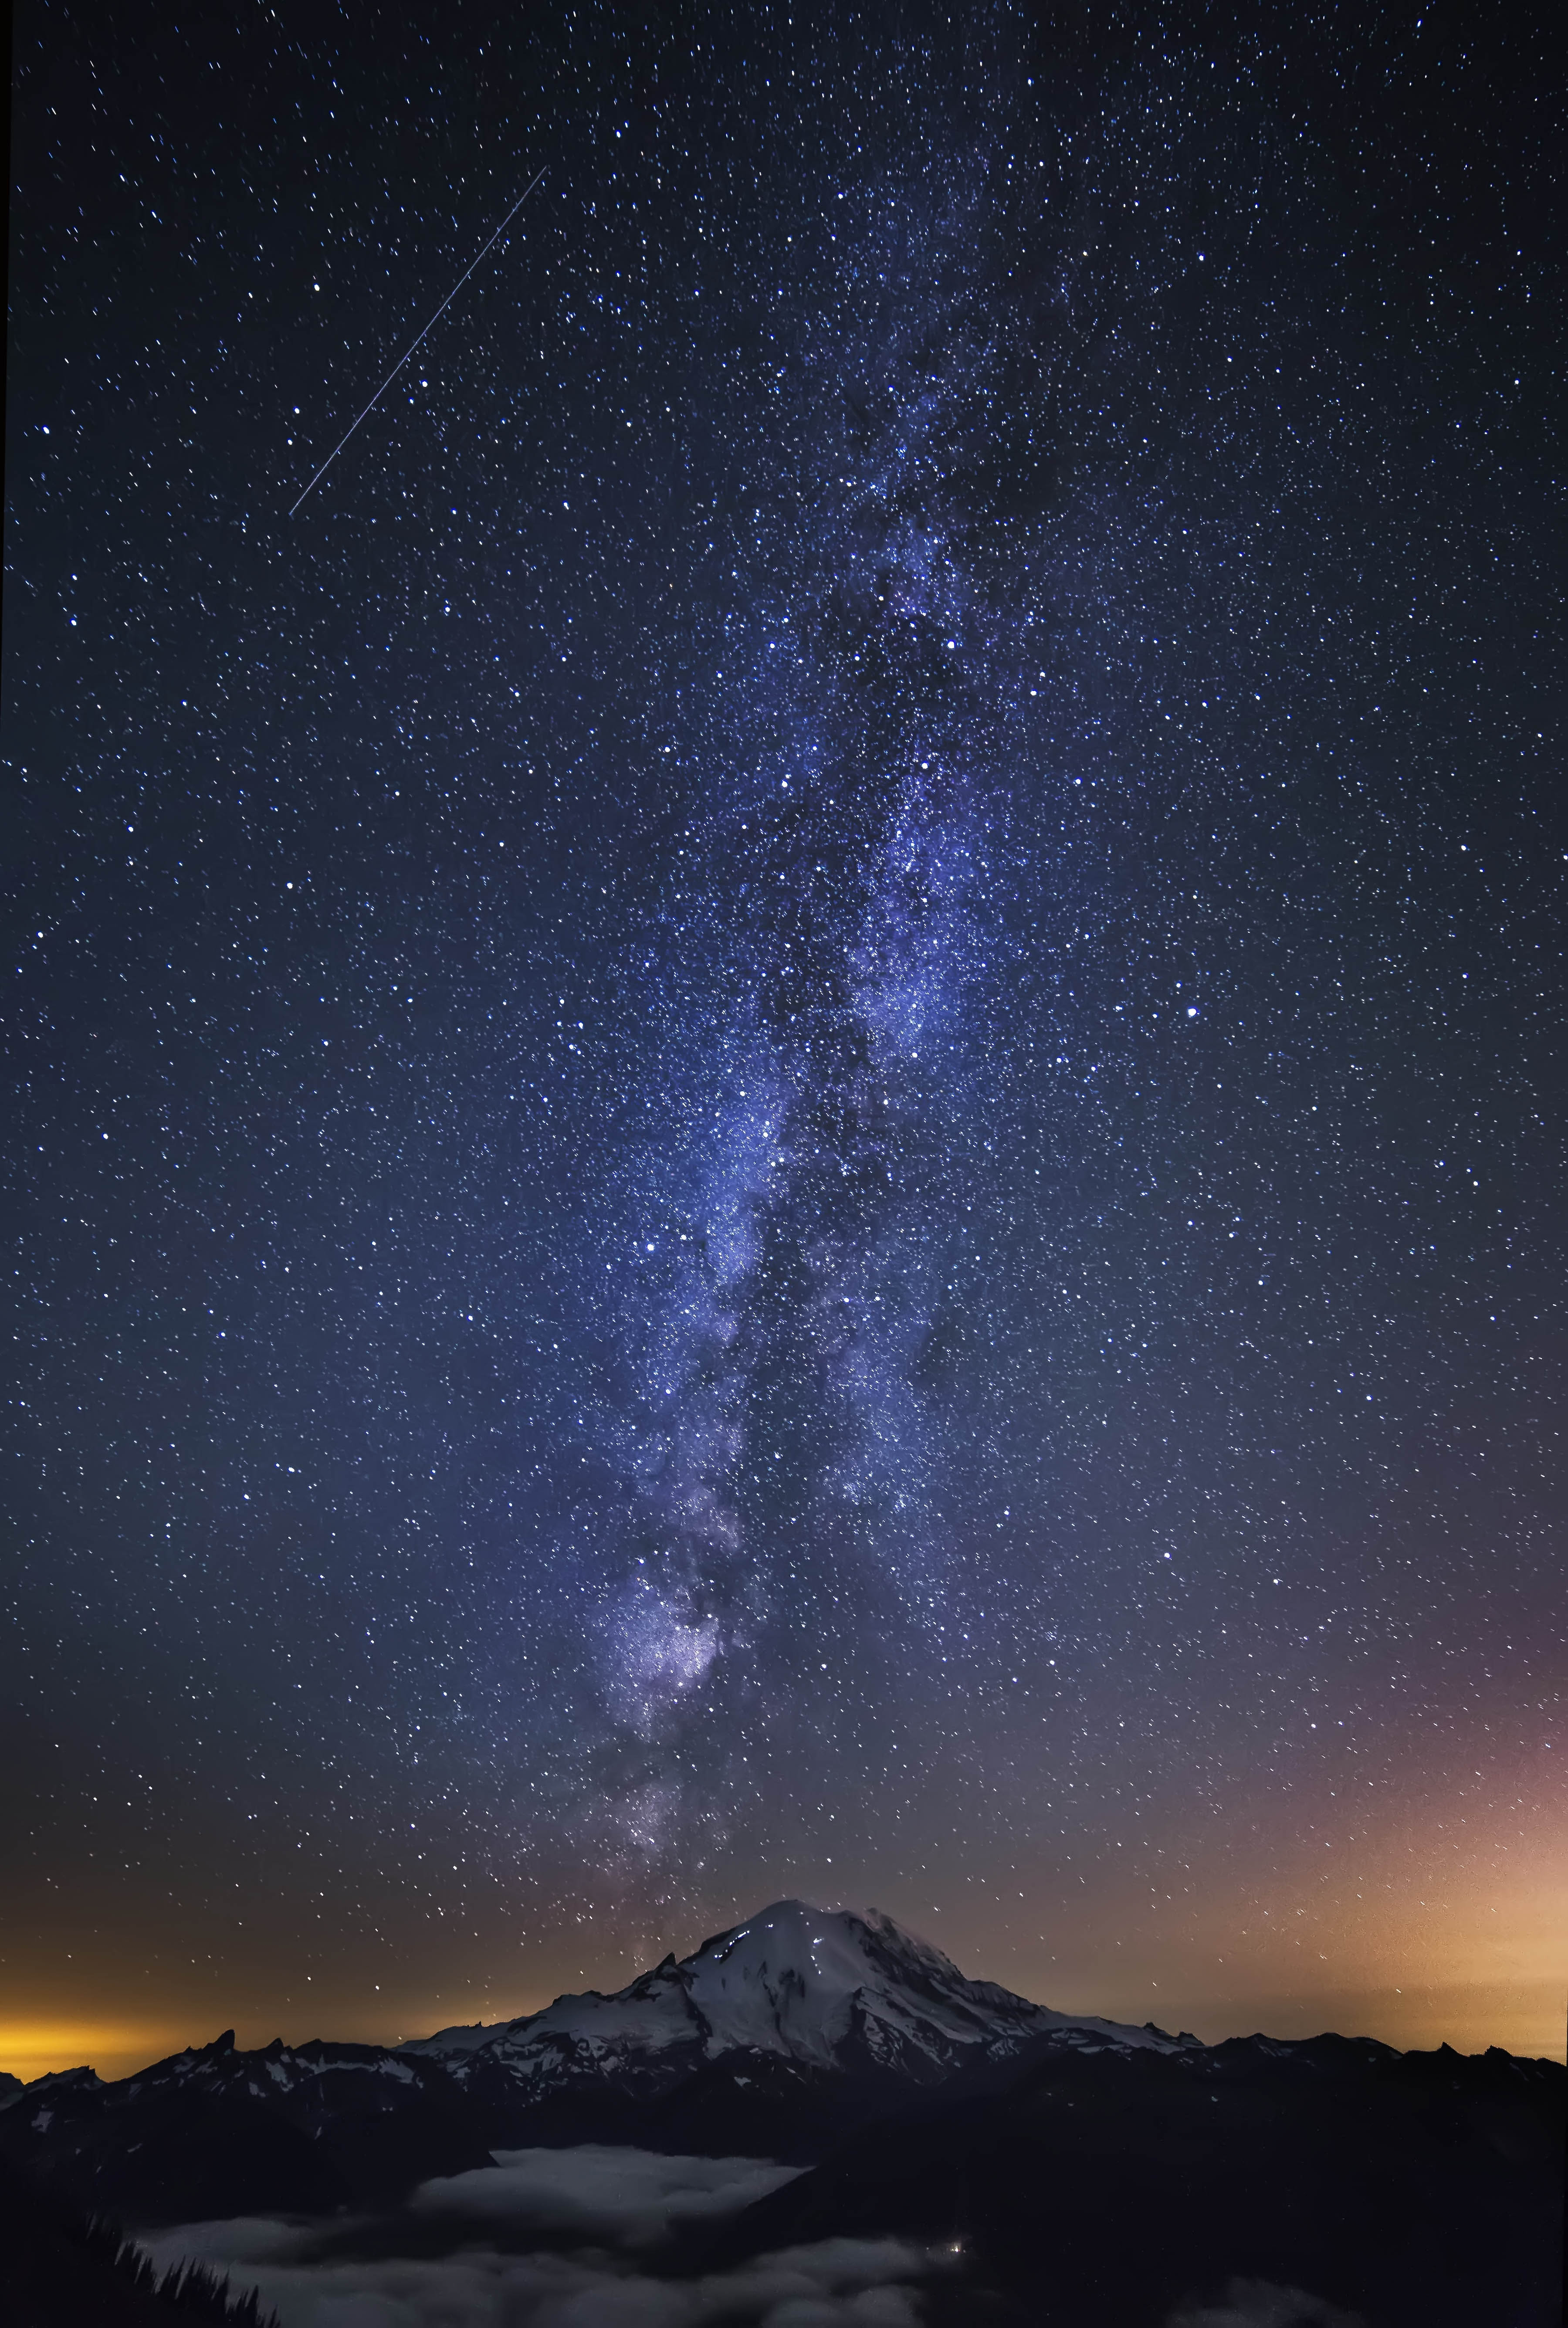
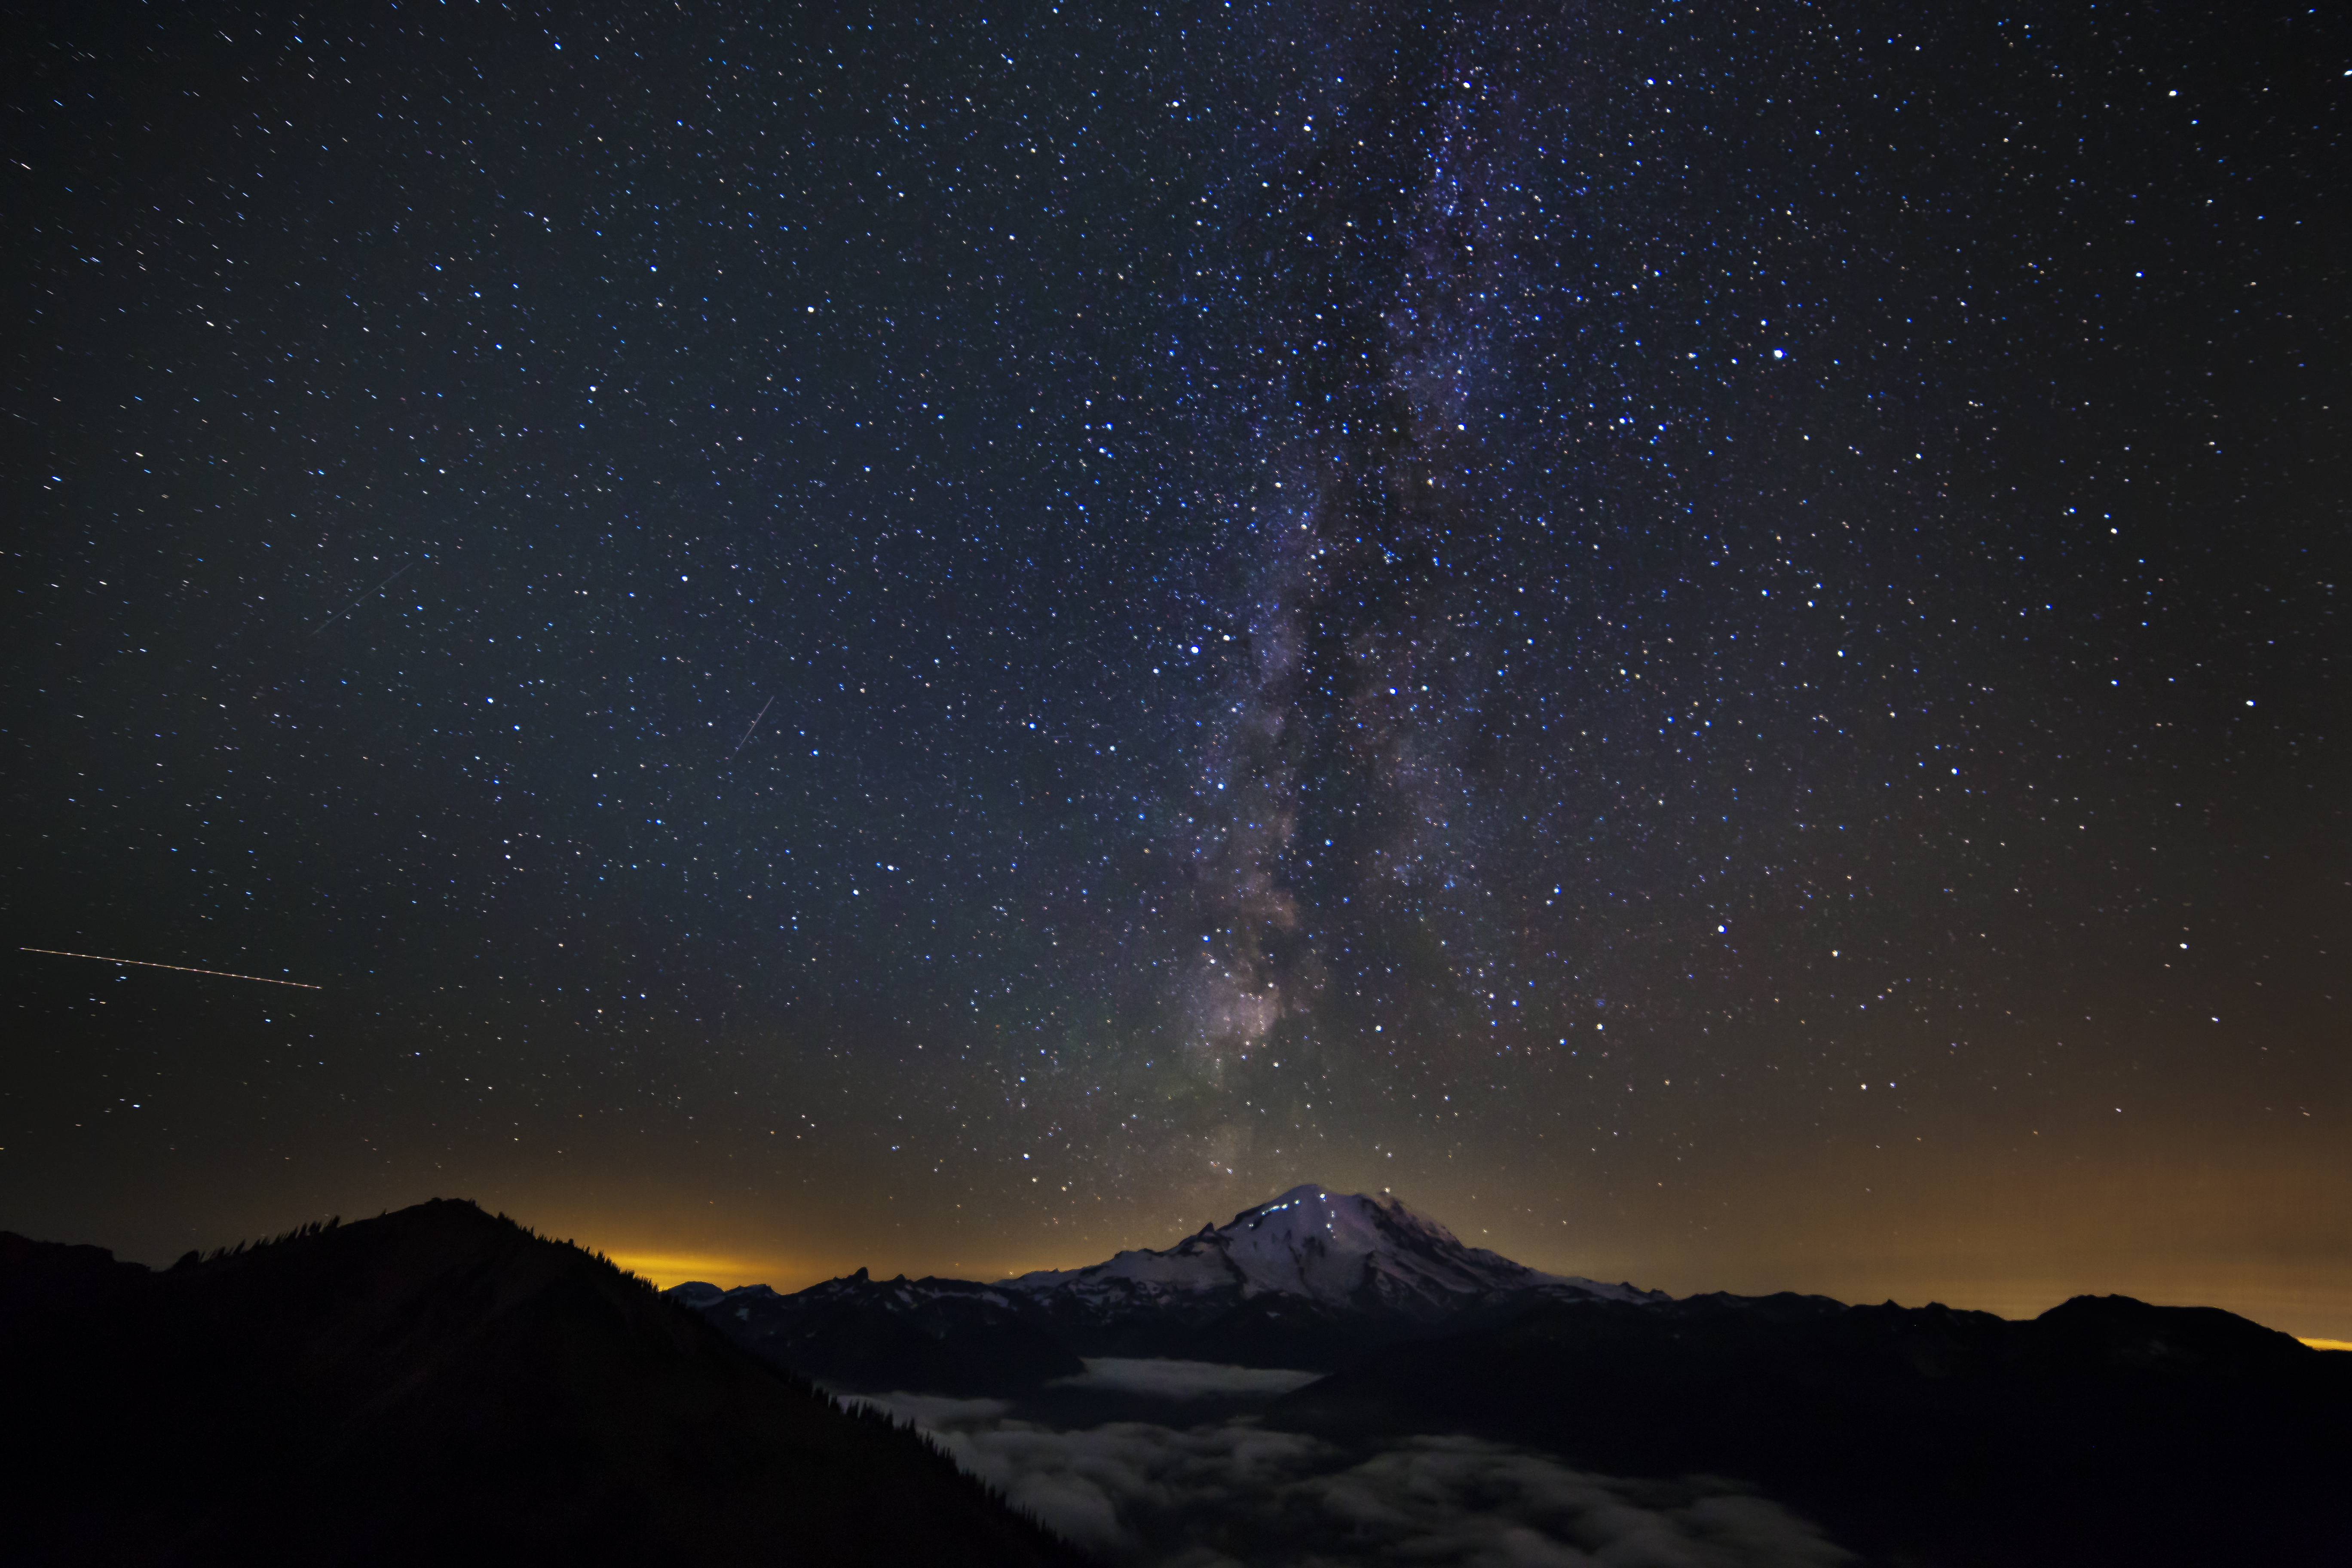
Then I spent some time circumnavigating the tent. I got a shooting star in this one.

Milky Way and Shooting Star
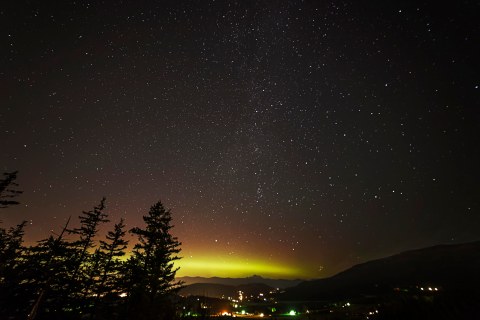
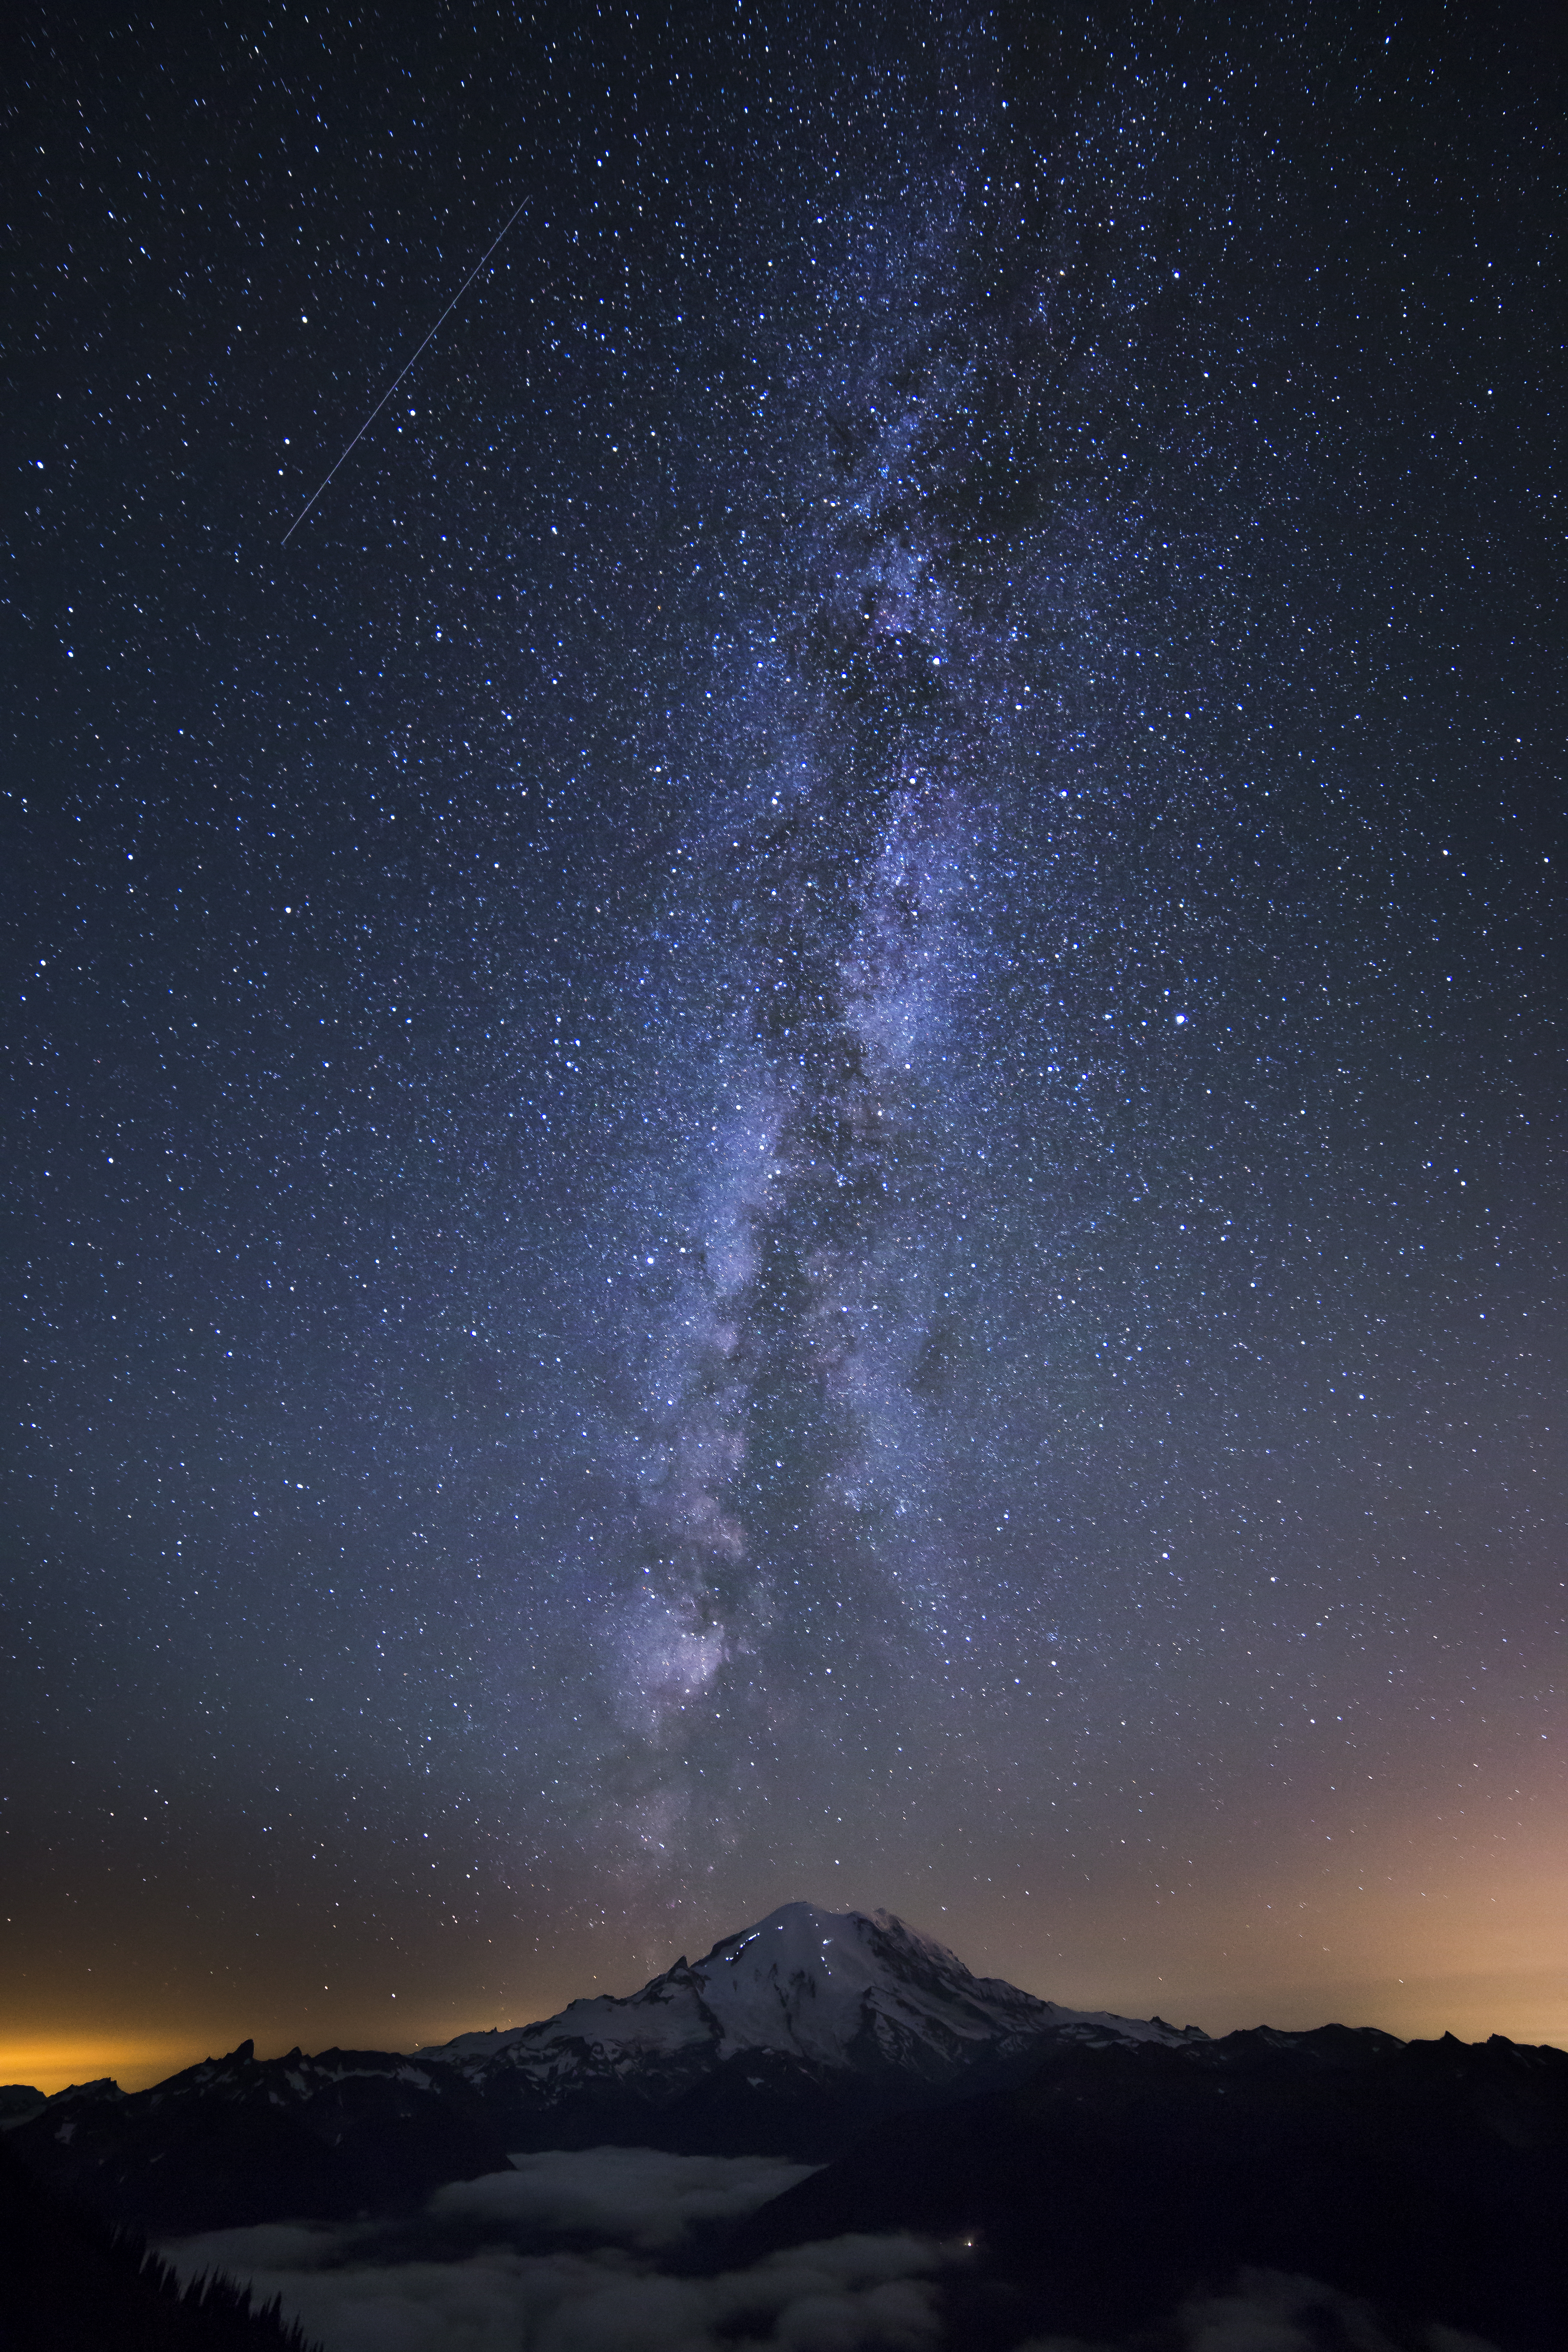
and then as I faced north I captured this image. The pink glow is actually the Aurora Borealis! How cool is that!

Glow of Aurora Borealis
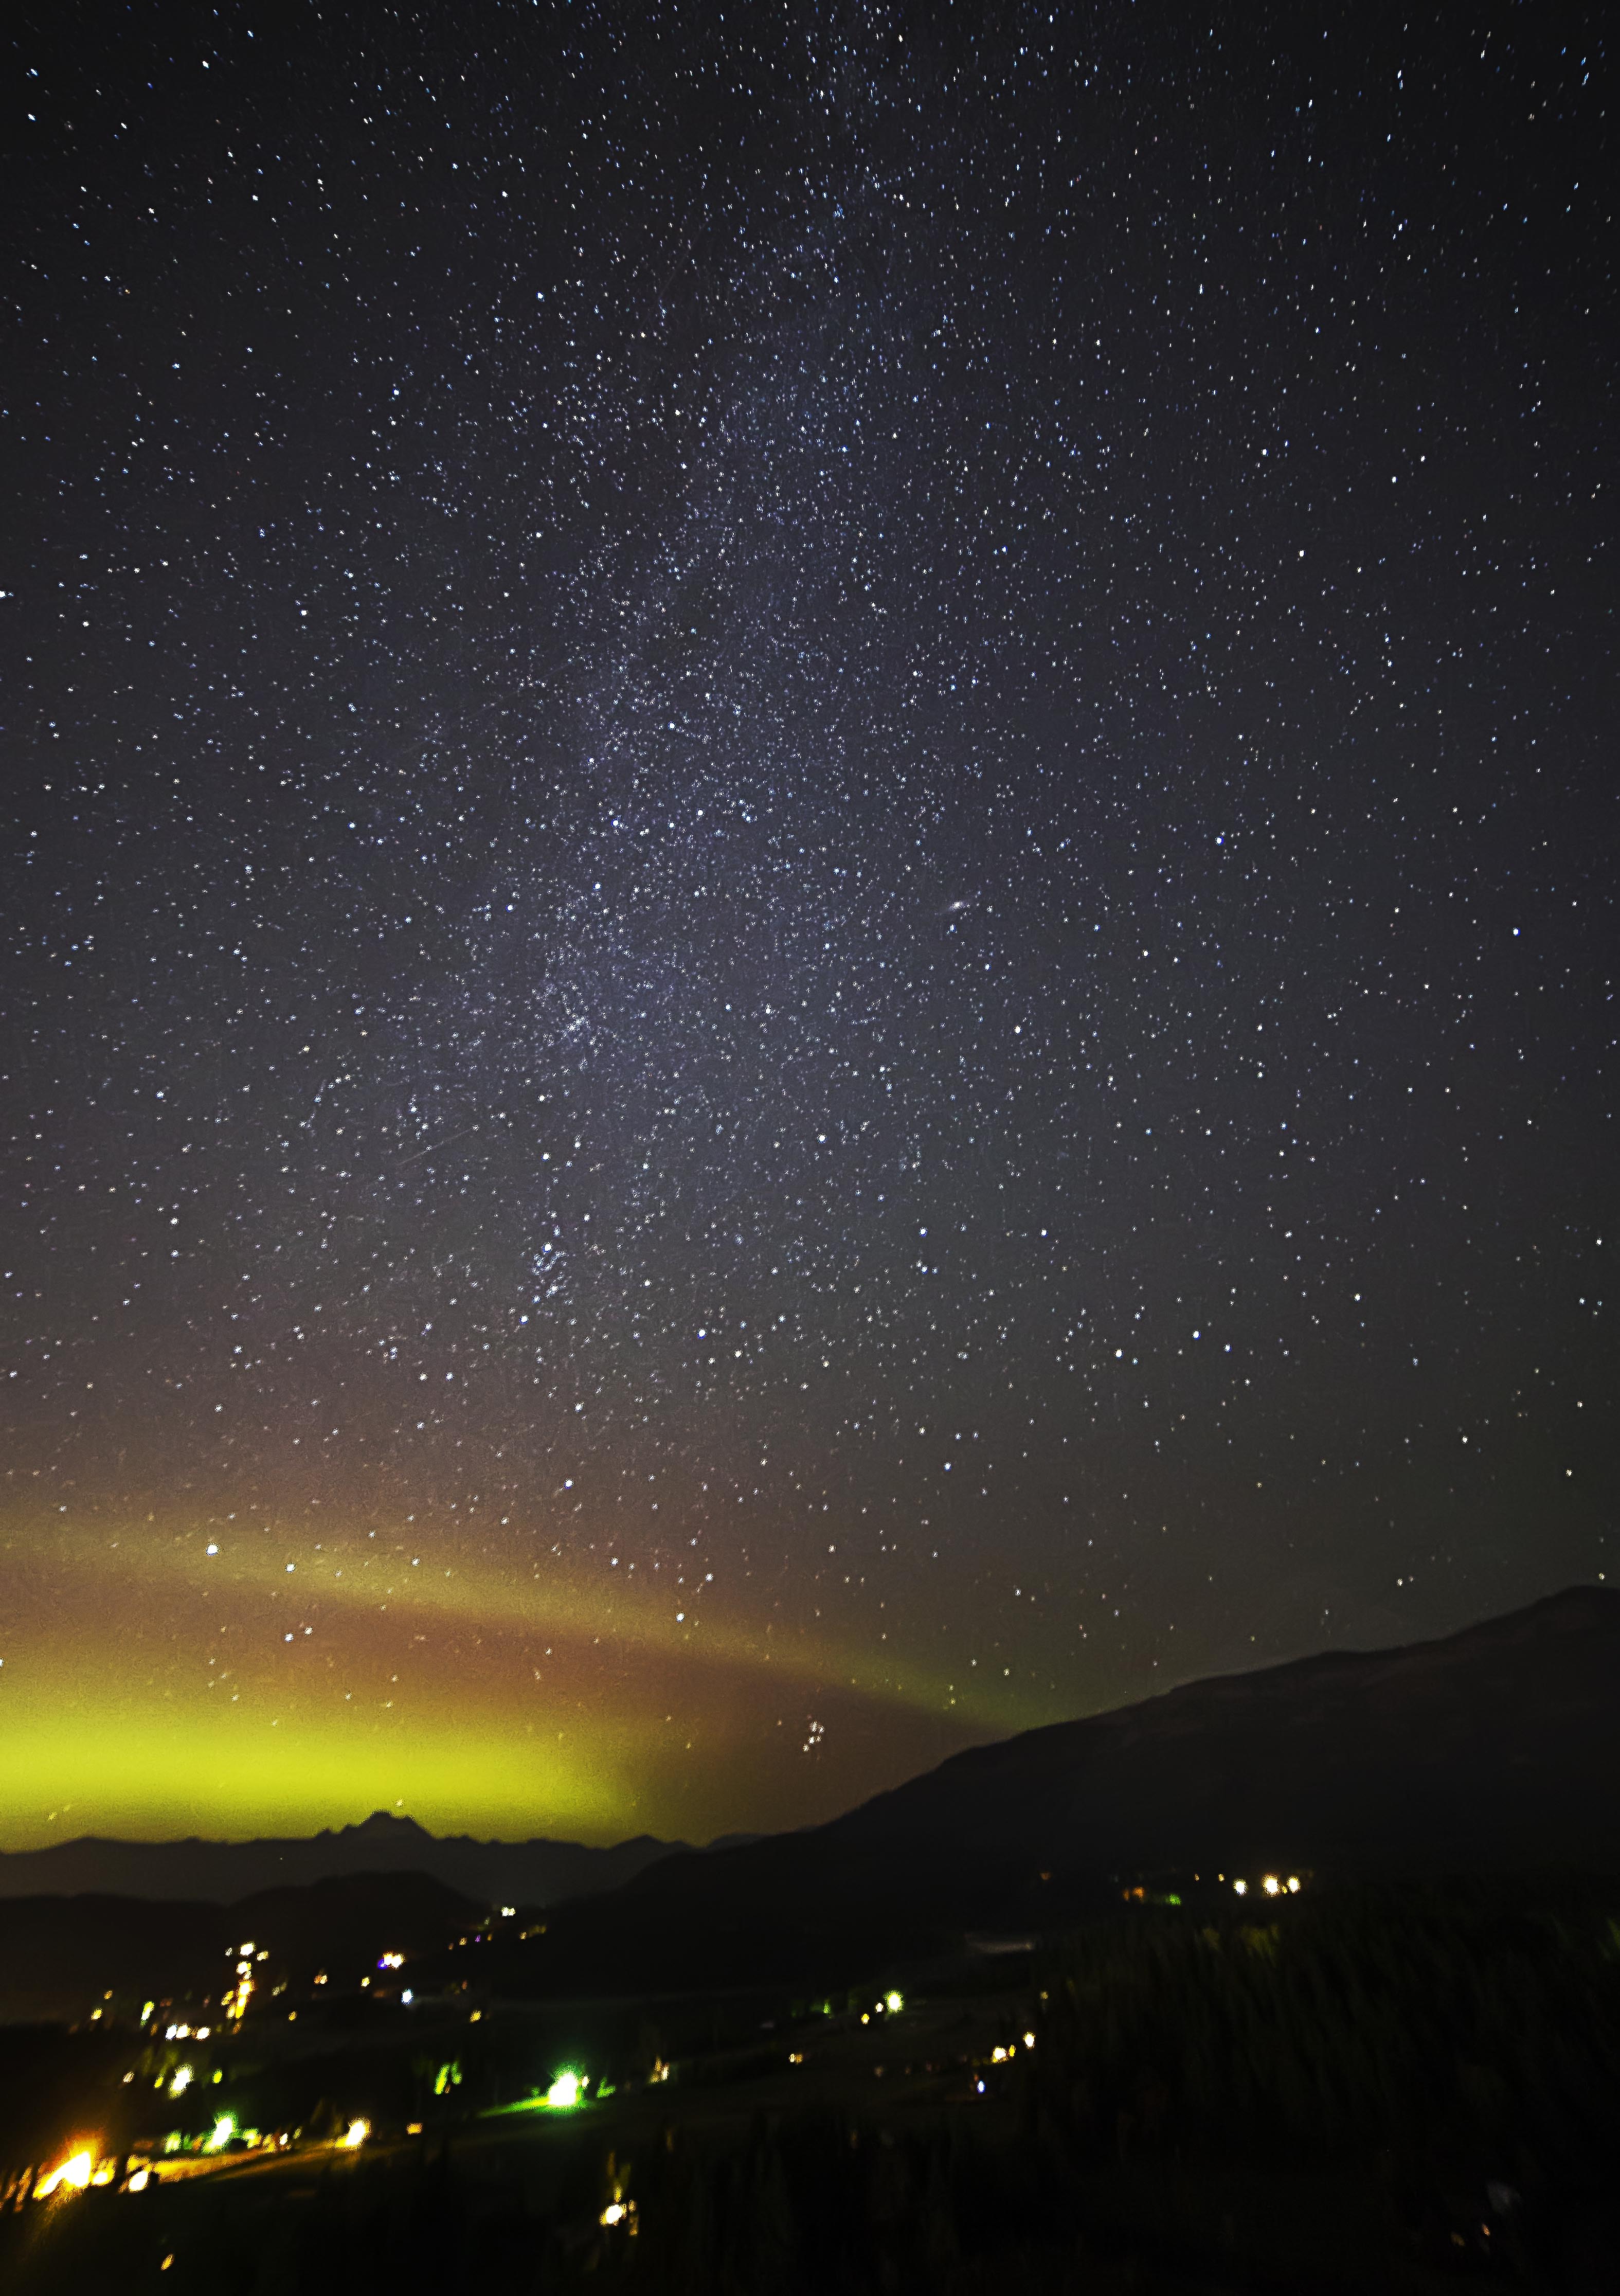
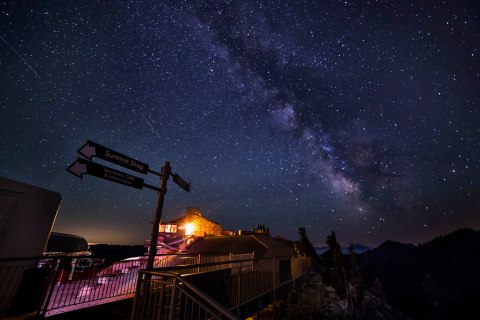
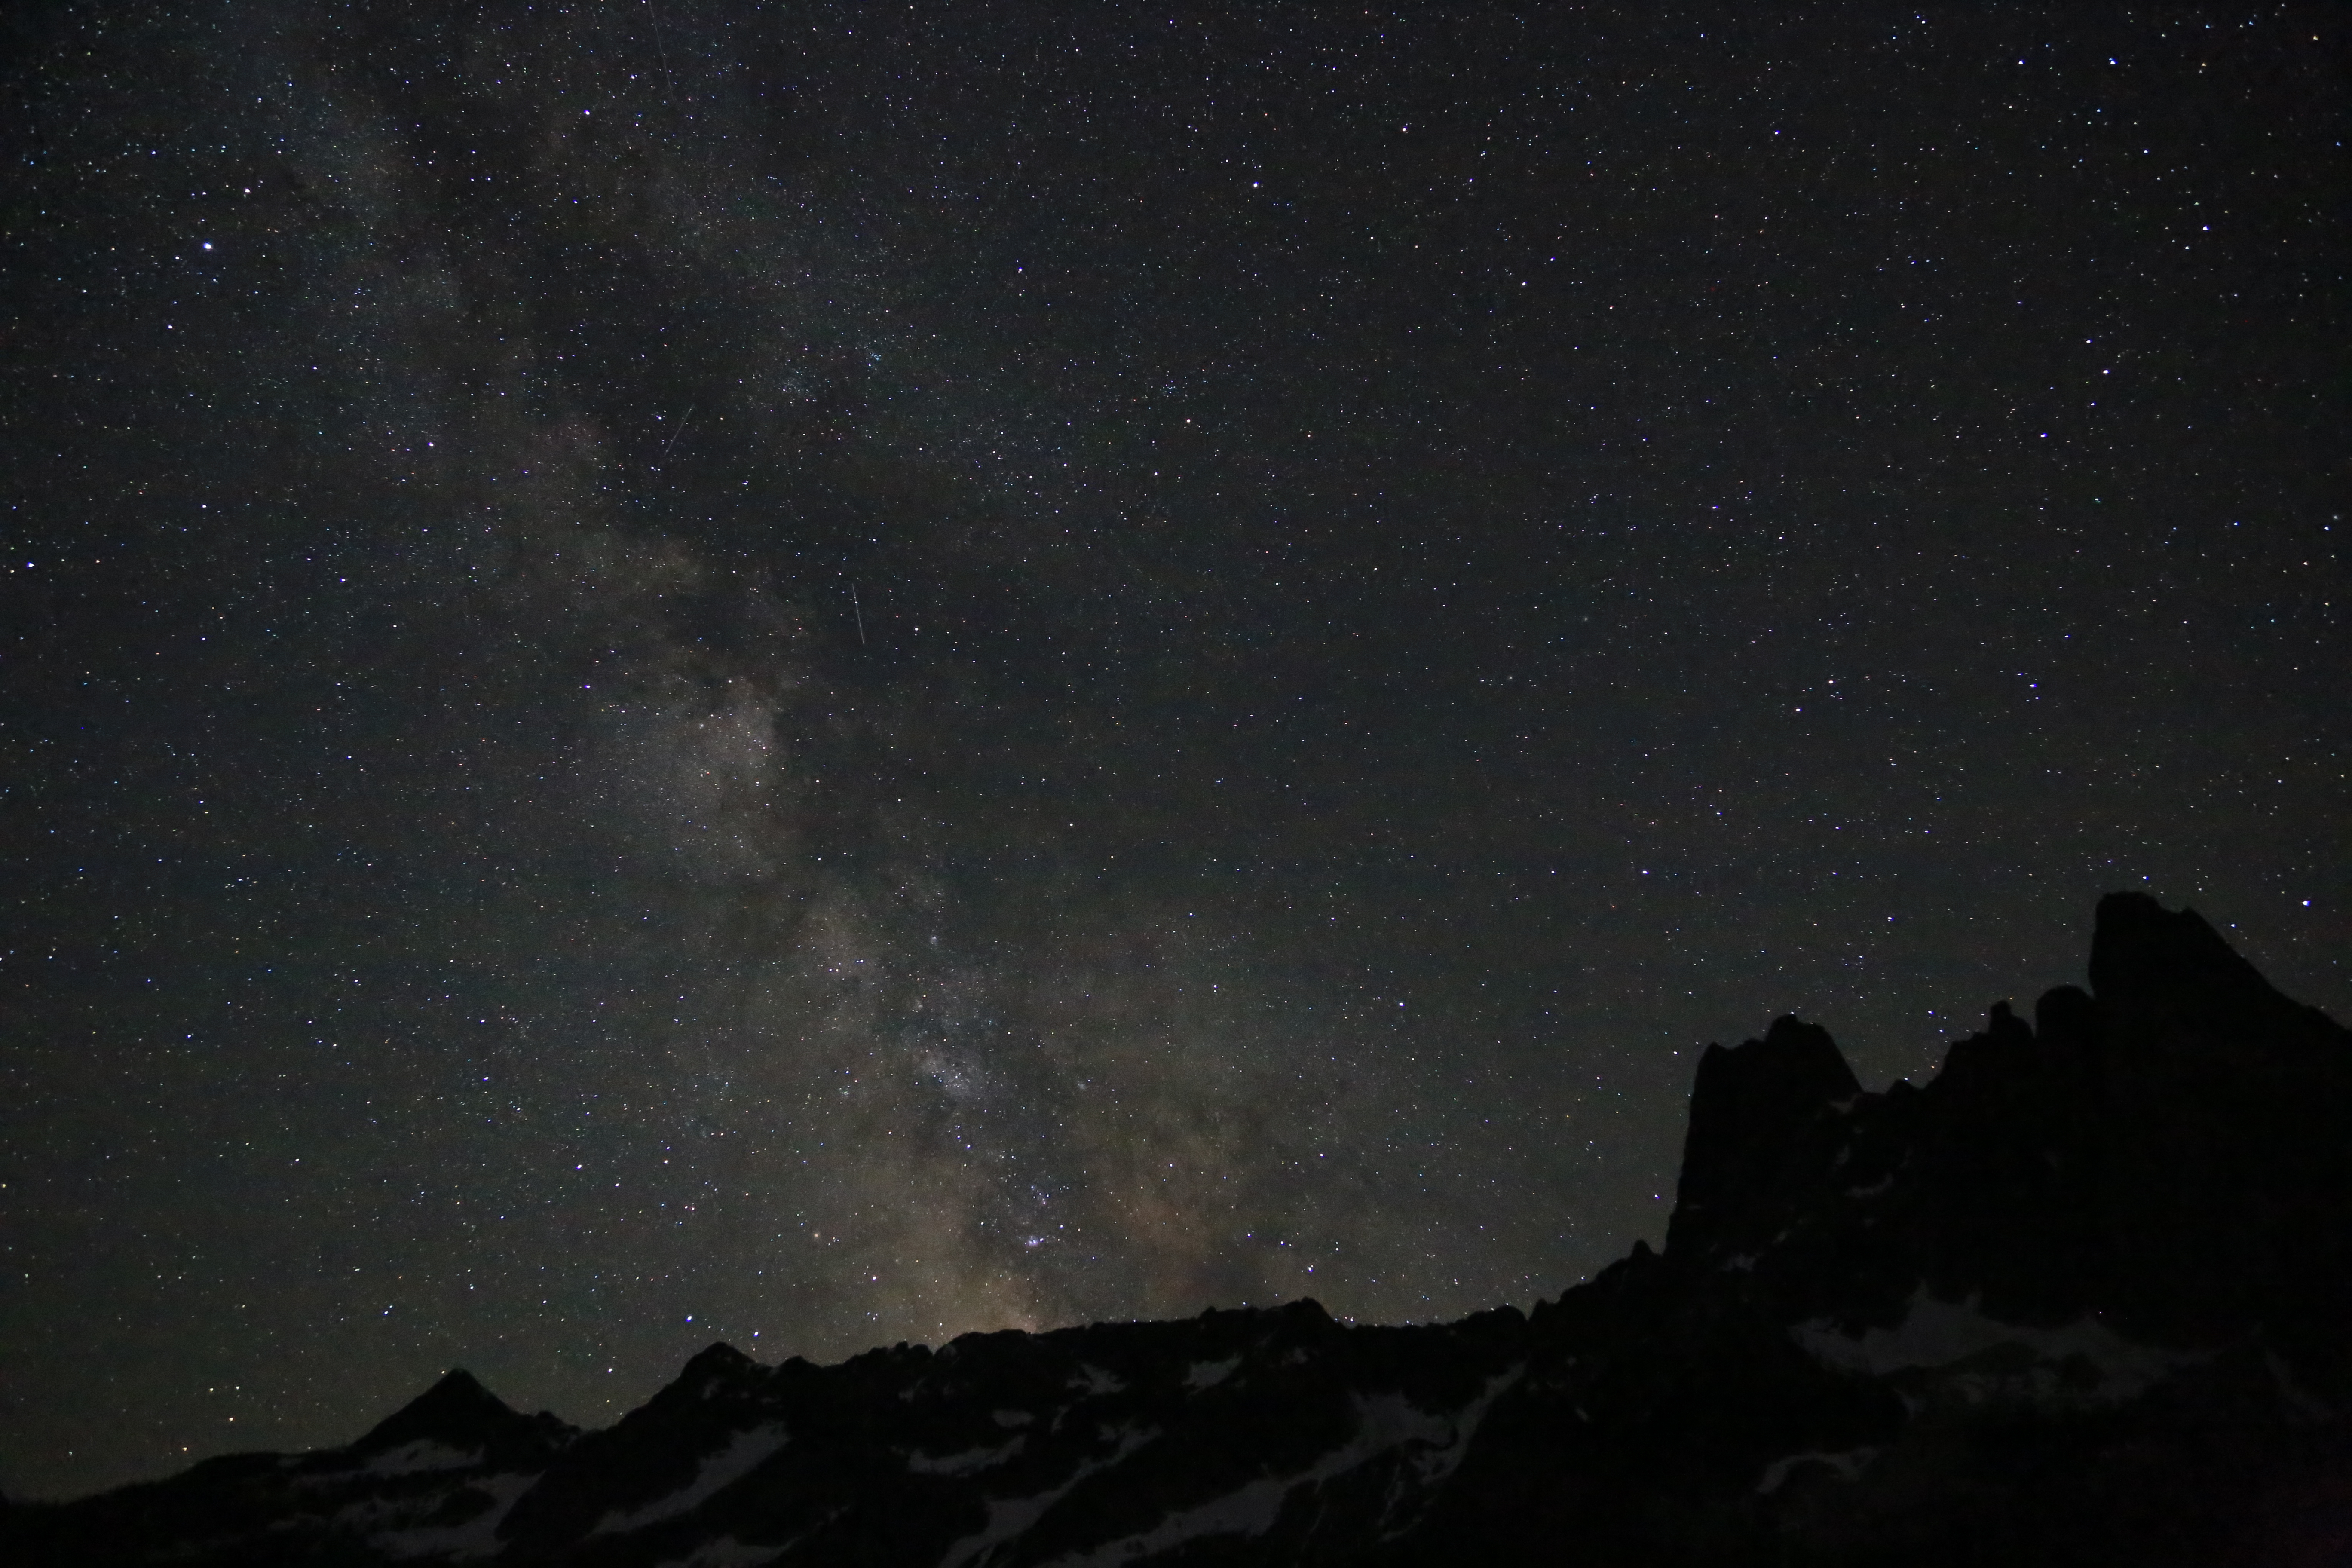
I had three people sign up for my Night Sky Photo Tour on Saturday night. We visited the Washington Pass Overlook to capture images of Liberty Bell. Between instruction advices I snapped a few images. This image is from a north-facing view. To the naked eye there was NO color.
Needless to say we were all excited to see the Northern Lights there on the horizon!

Northern lights at Washington Pass