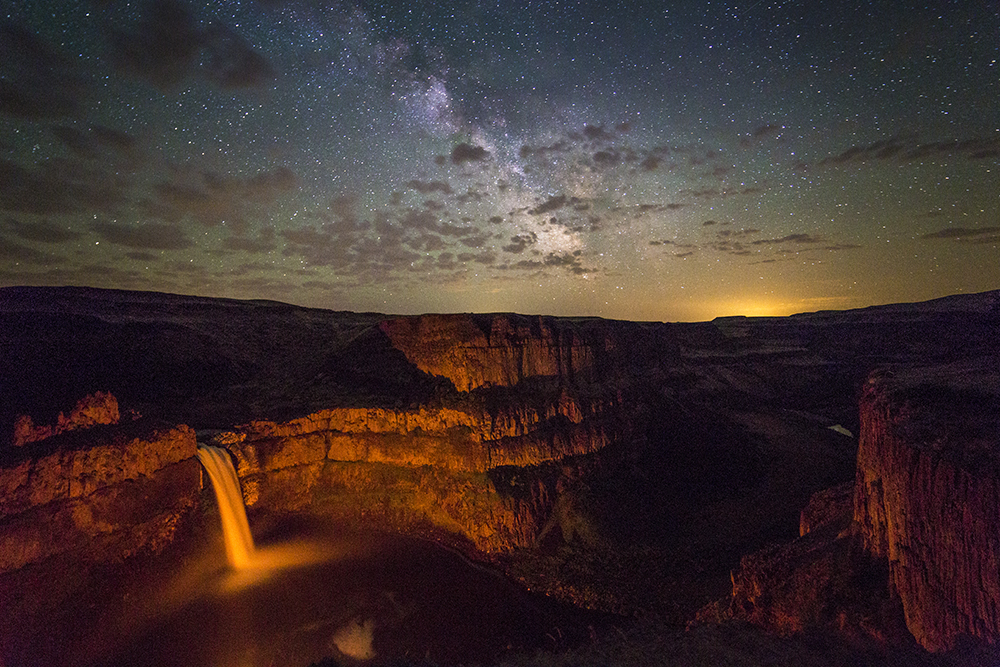
Palouse Falls State park is in the south-eastern part of Washington State. I had seen many stunning pictures of it and decided to drive there last Saturday to try my luck. The skies were predicted to be mostly clear and the moon was just starting it’s new cycle, and I was hoping to get some decent images of the Milky Way over the falls. 
I camped there at the Park and awoke at 1am, peeked out of the tent, saw stars and excitedly hurried over to the edge for a look.
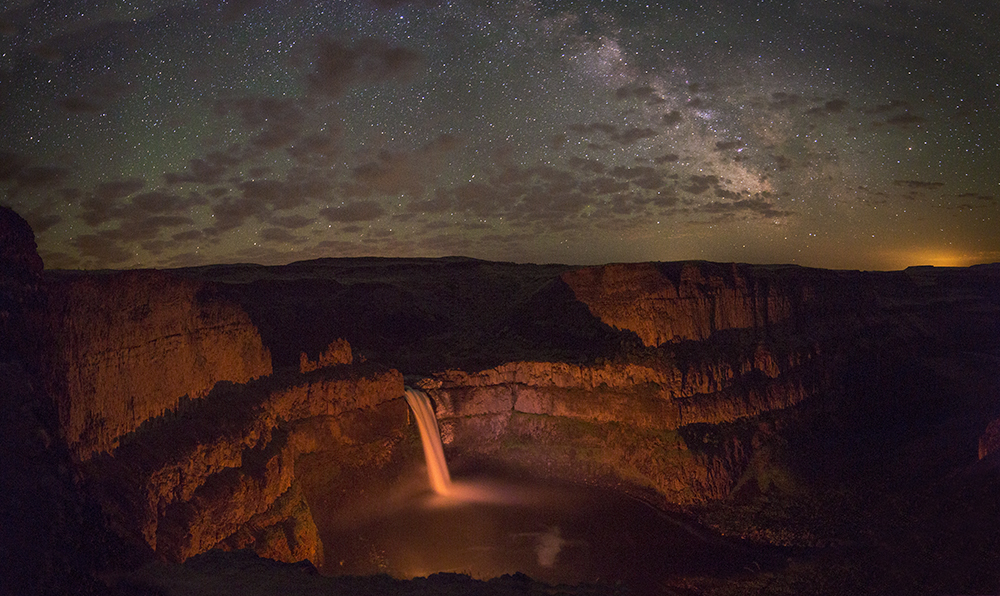
Much to my surprise someone was down in the basin, near the base of the falls, and had started a camp fire! The red fire illuminated the falls with an ethereal glow. 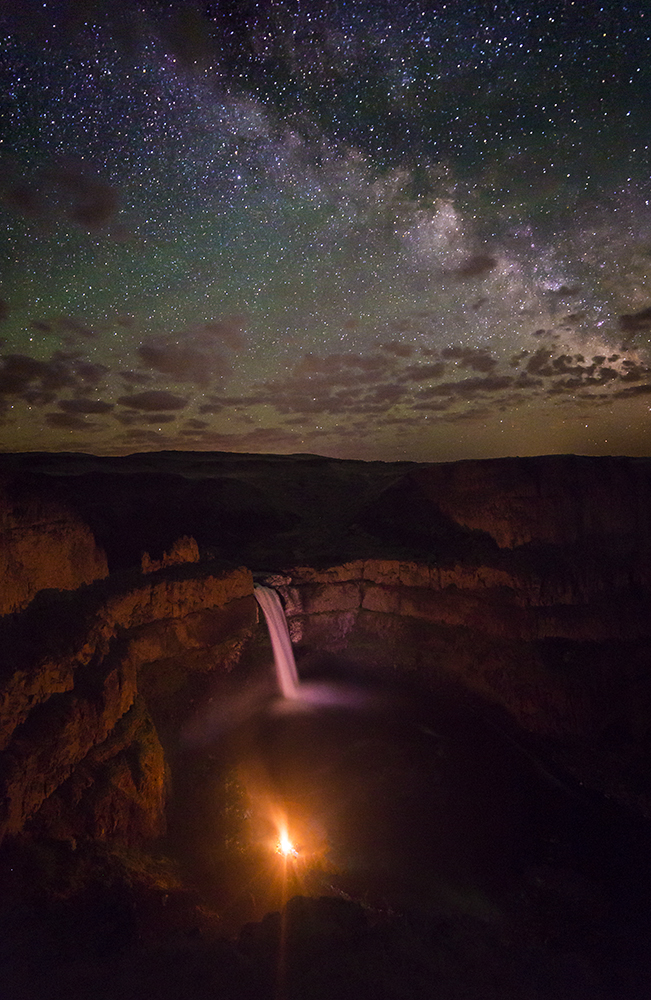 The entire canyon was lit up perfectly.
As for camera specs: I used a Canon 6D (full size sensor), a Rokinon 14mm lens, 30 sec. exposure, f/2.8 and had the ISO set at 4000.
Tag Archives: astrophotography
Nighttime Imaging Along Baker Lake Road
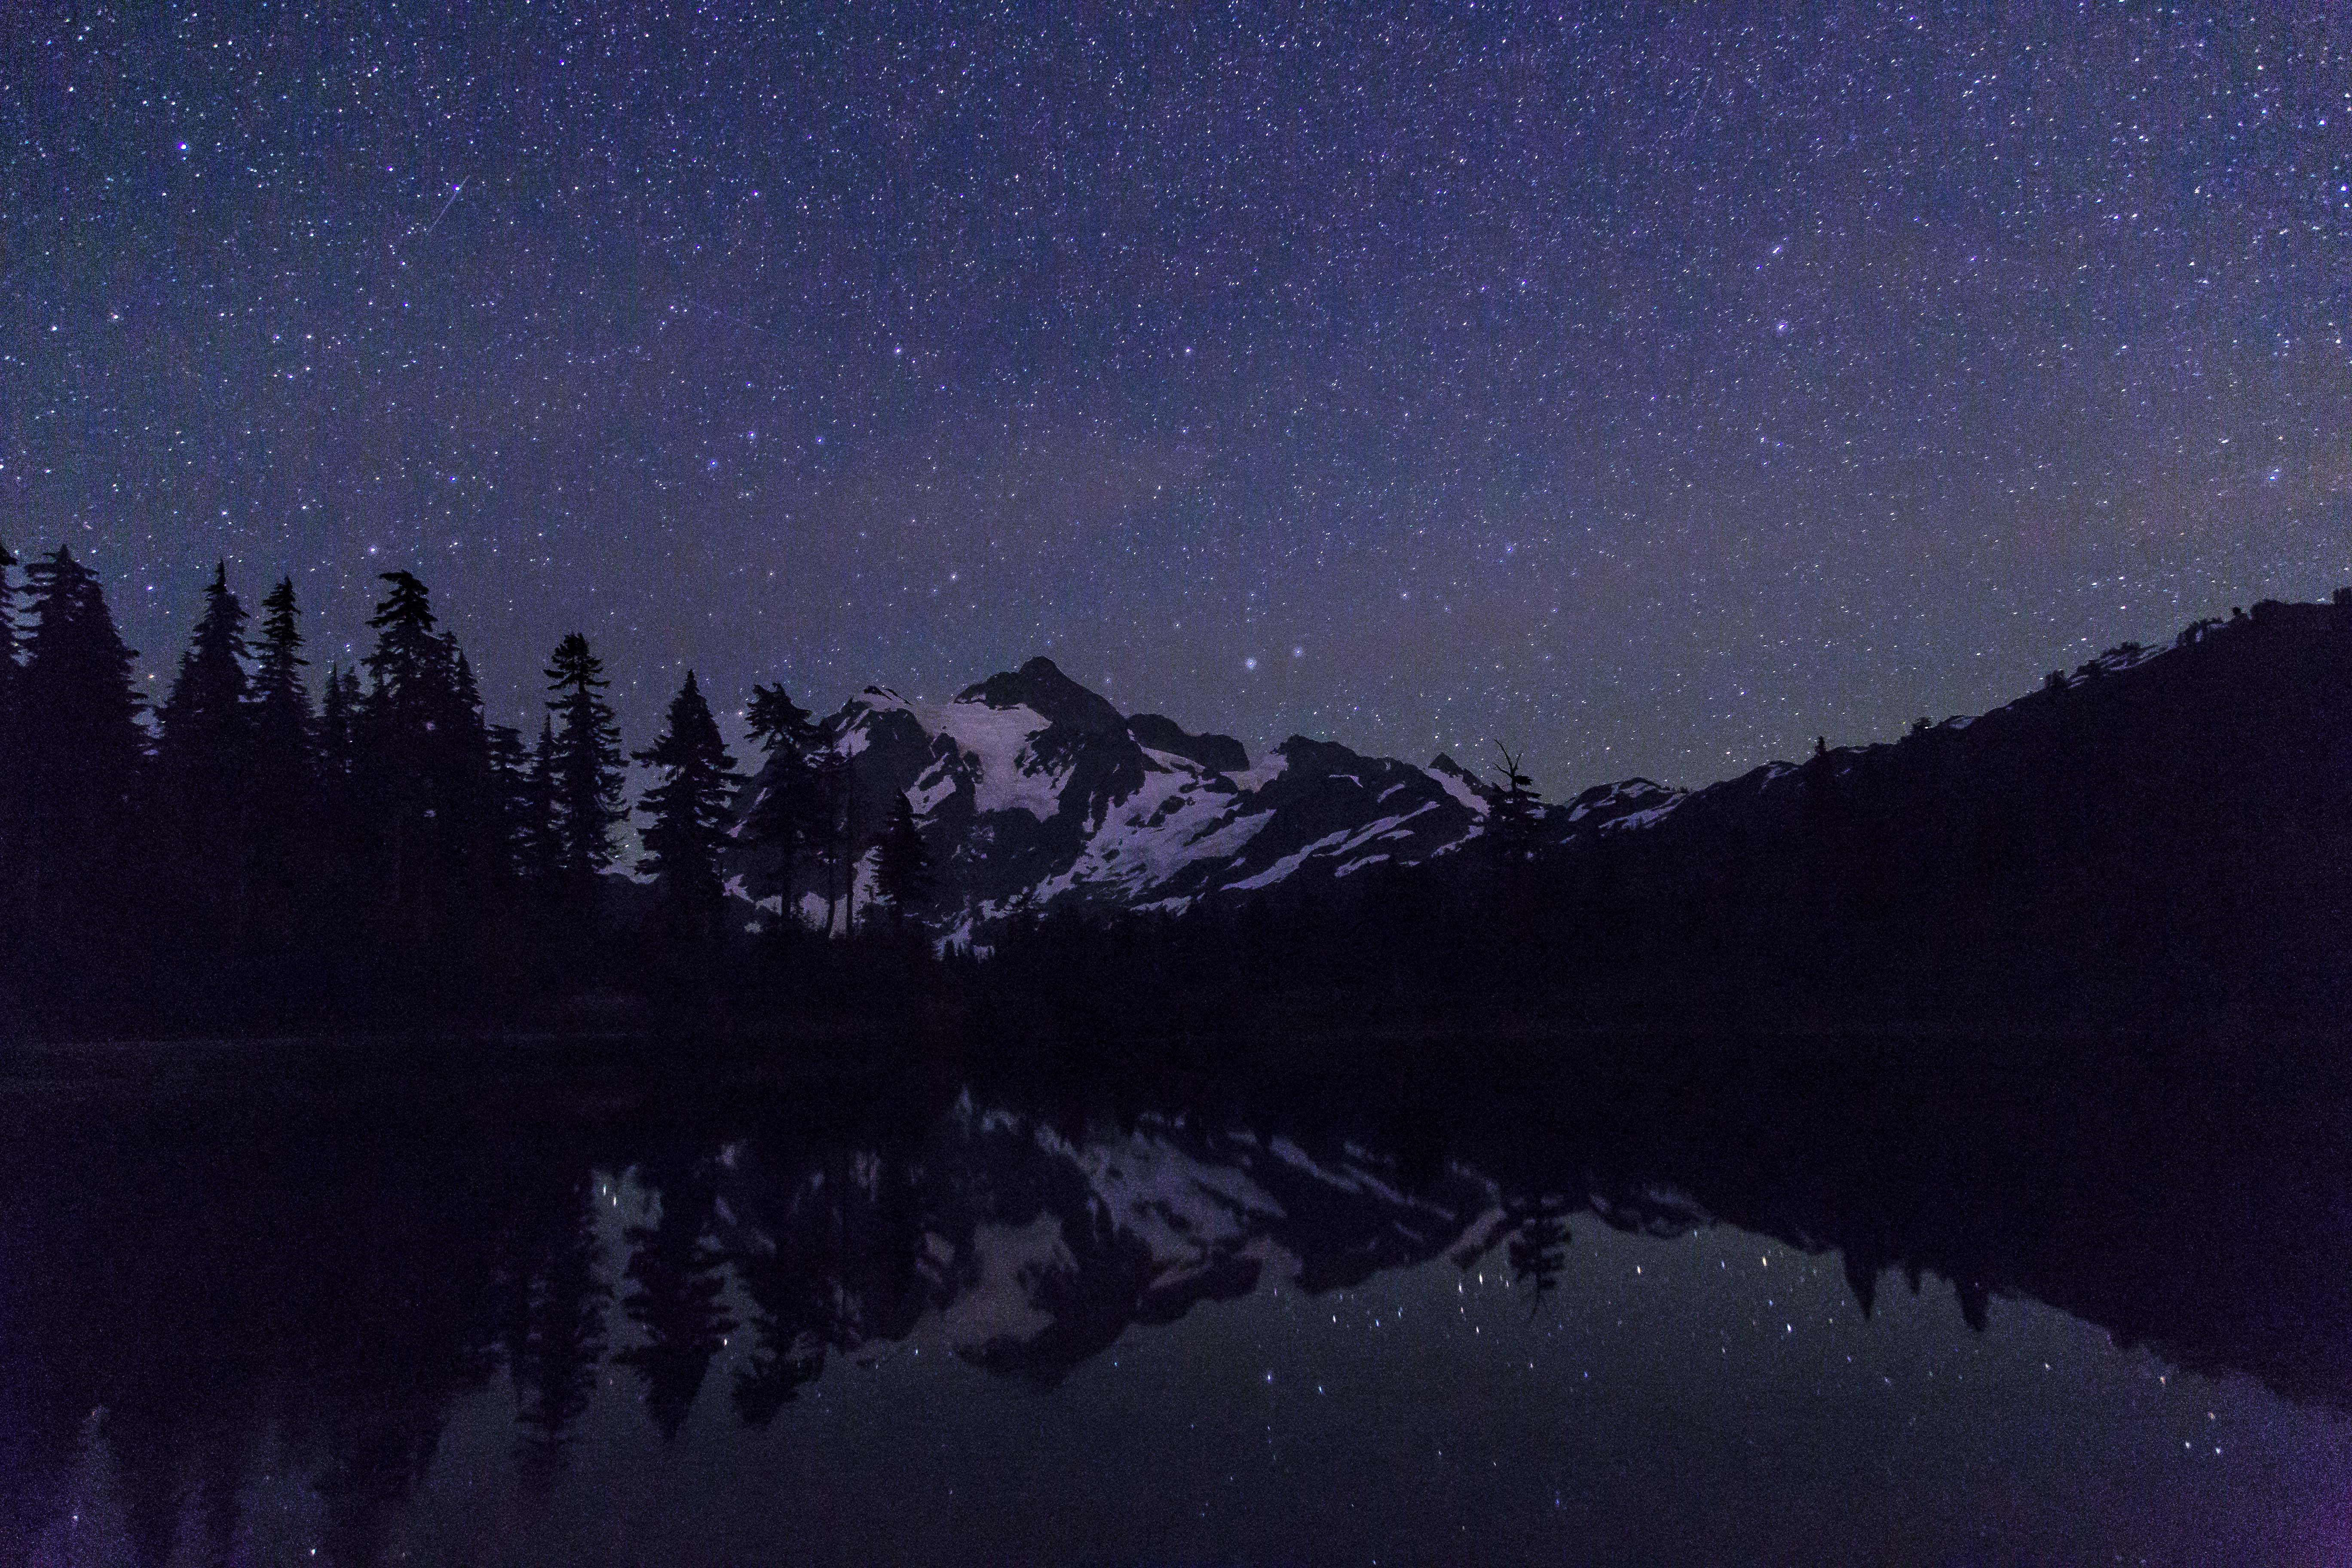
Baker Lake Road heads north from Highway 20. Skirting Lake Shannon, Baker Lake and finally the Baker River the road leads to darkness! About 20 miles up the road makes a sweeping curve over a cement bridge and this view of Mount Baker opens up.
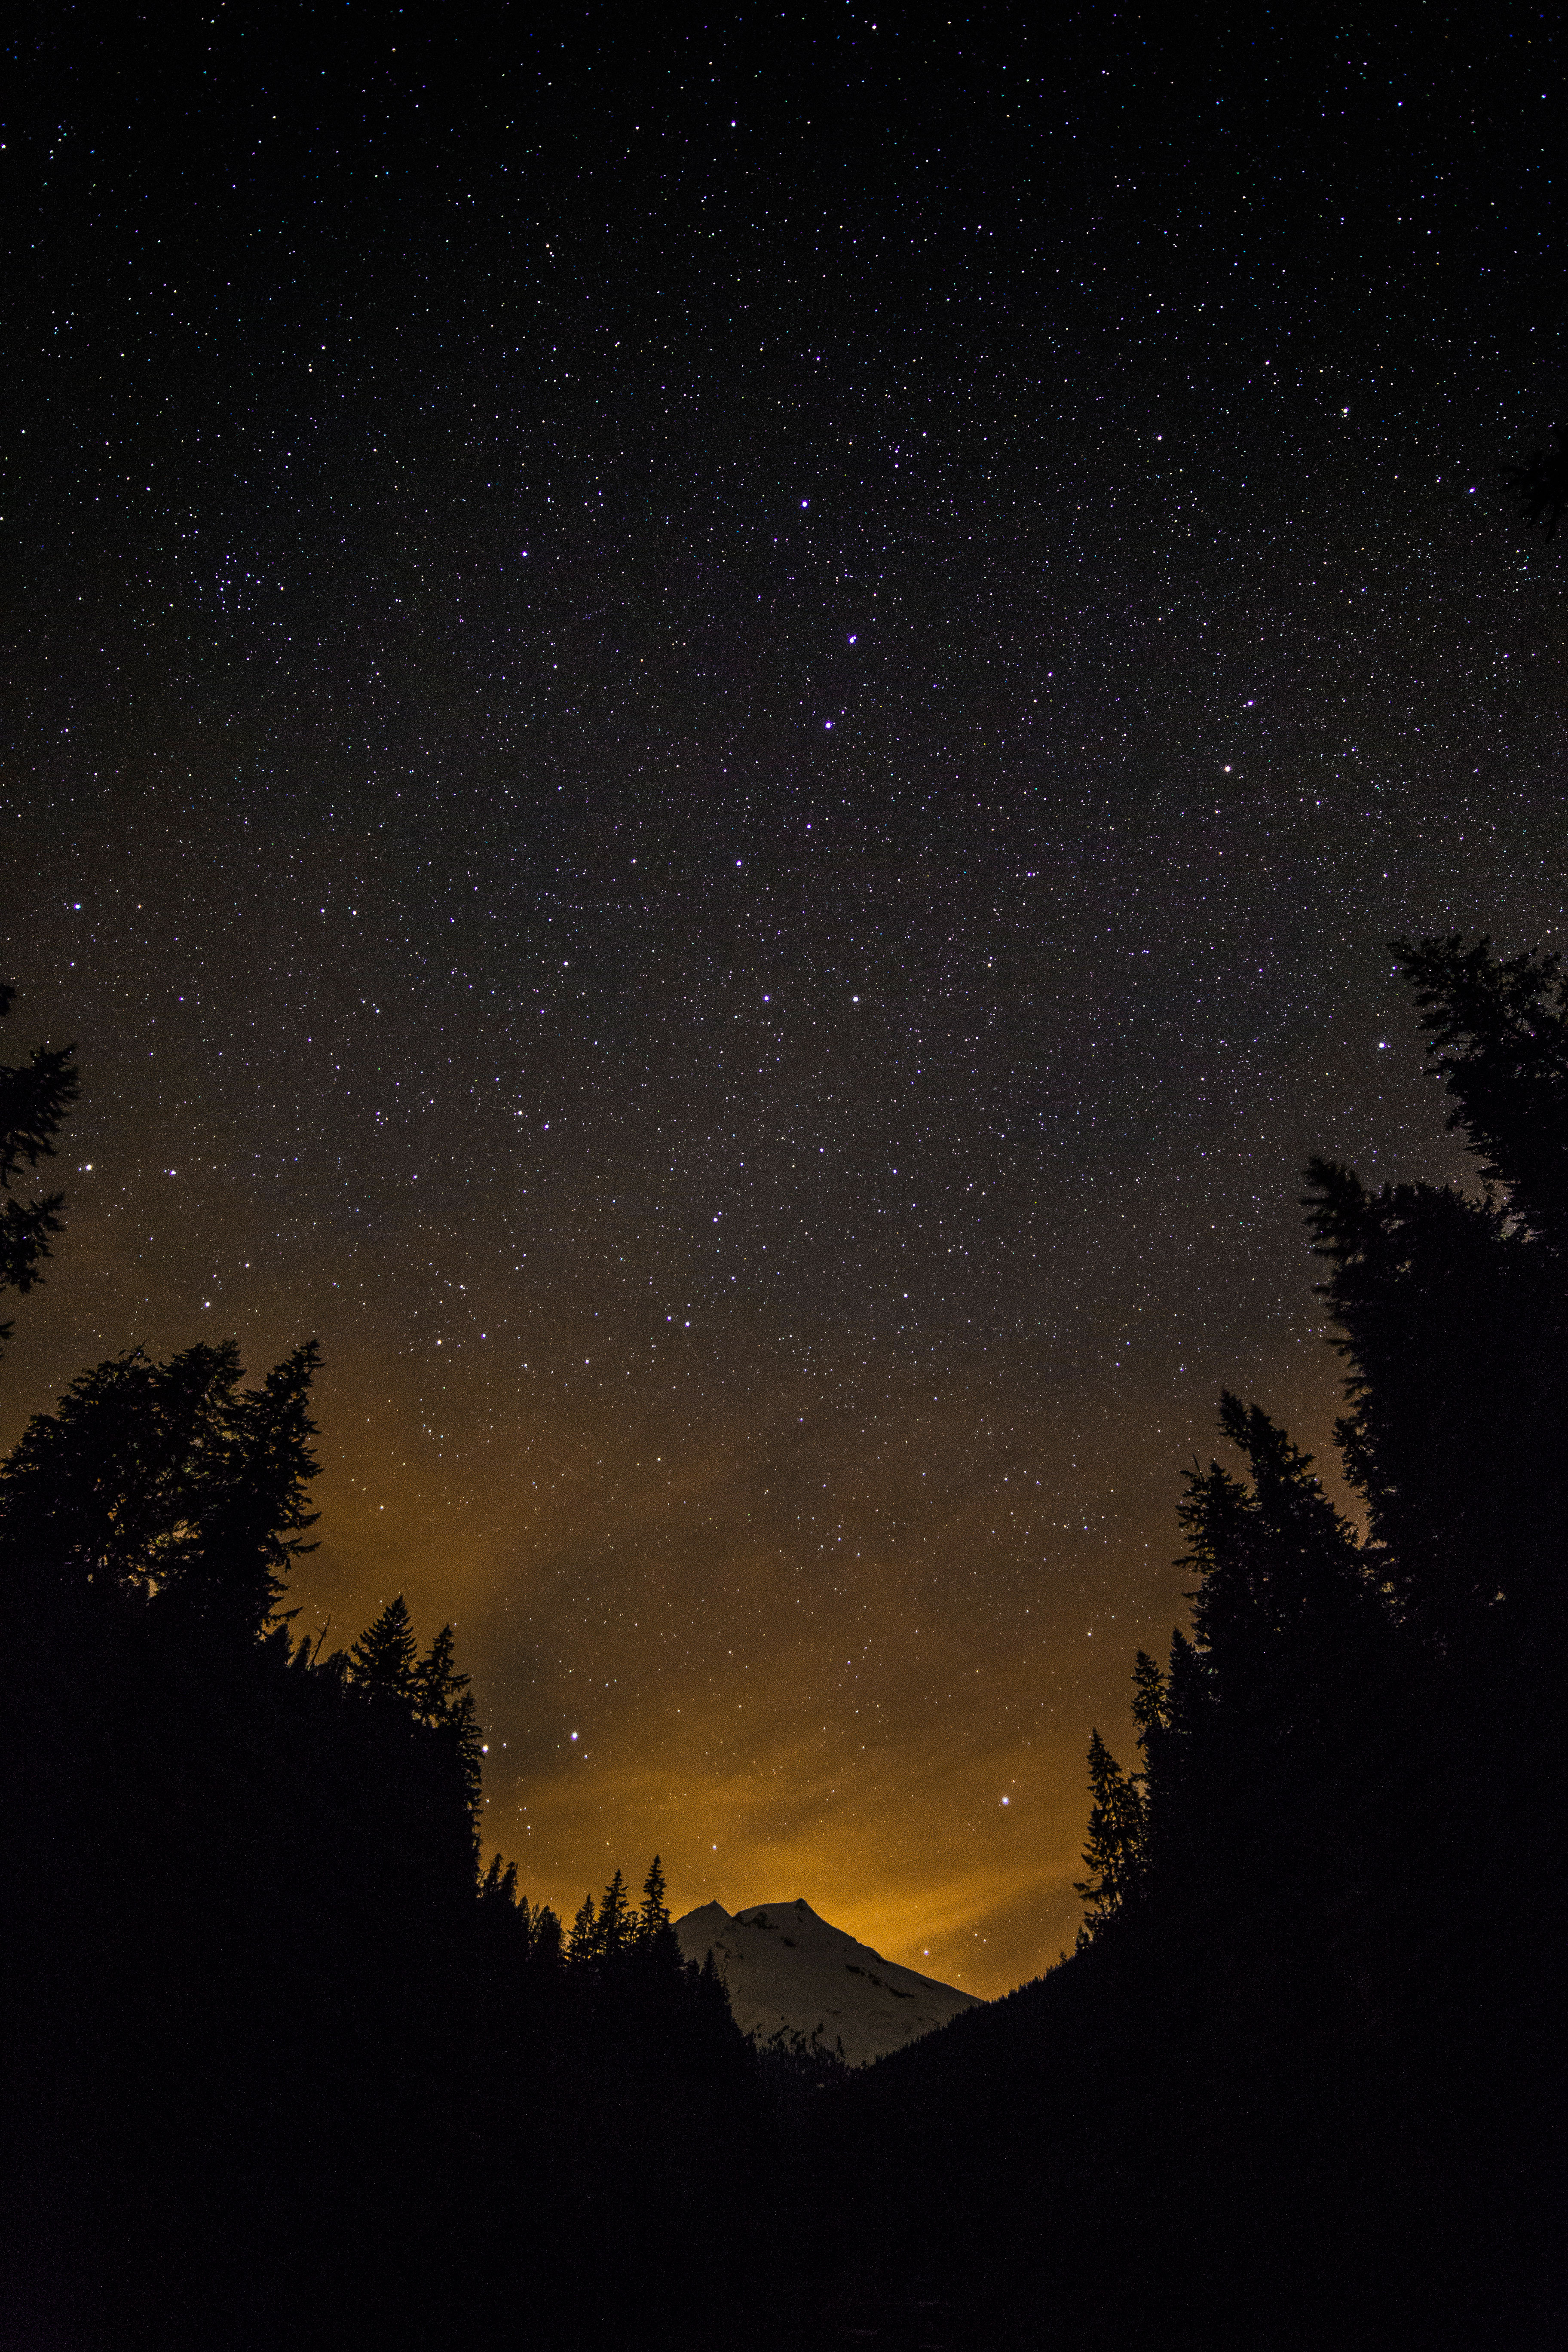 Mount Baker under the Big Dipper
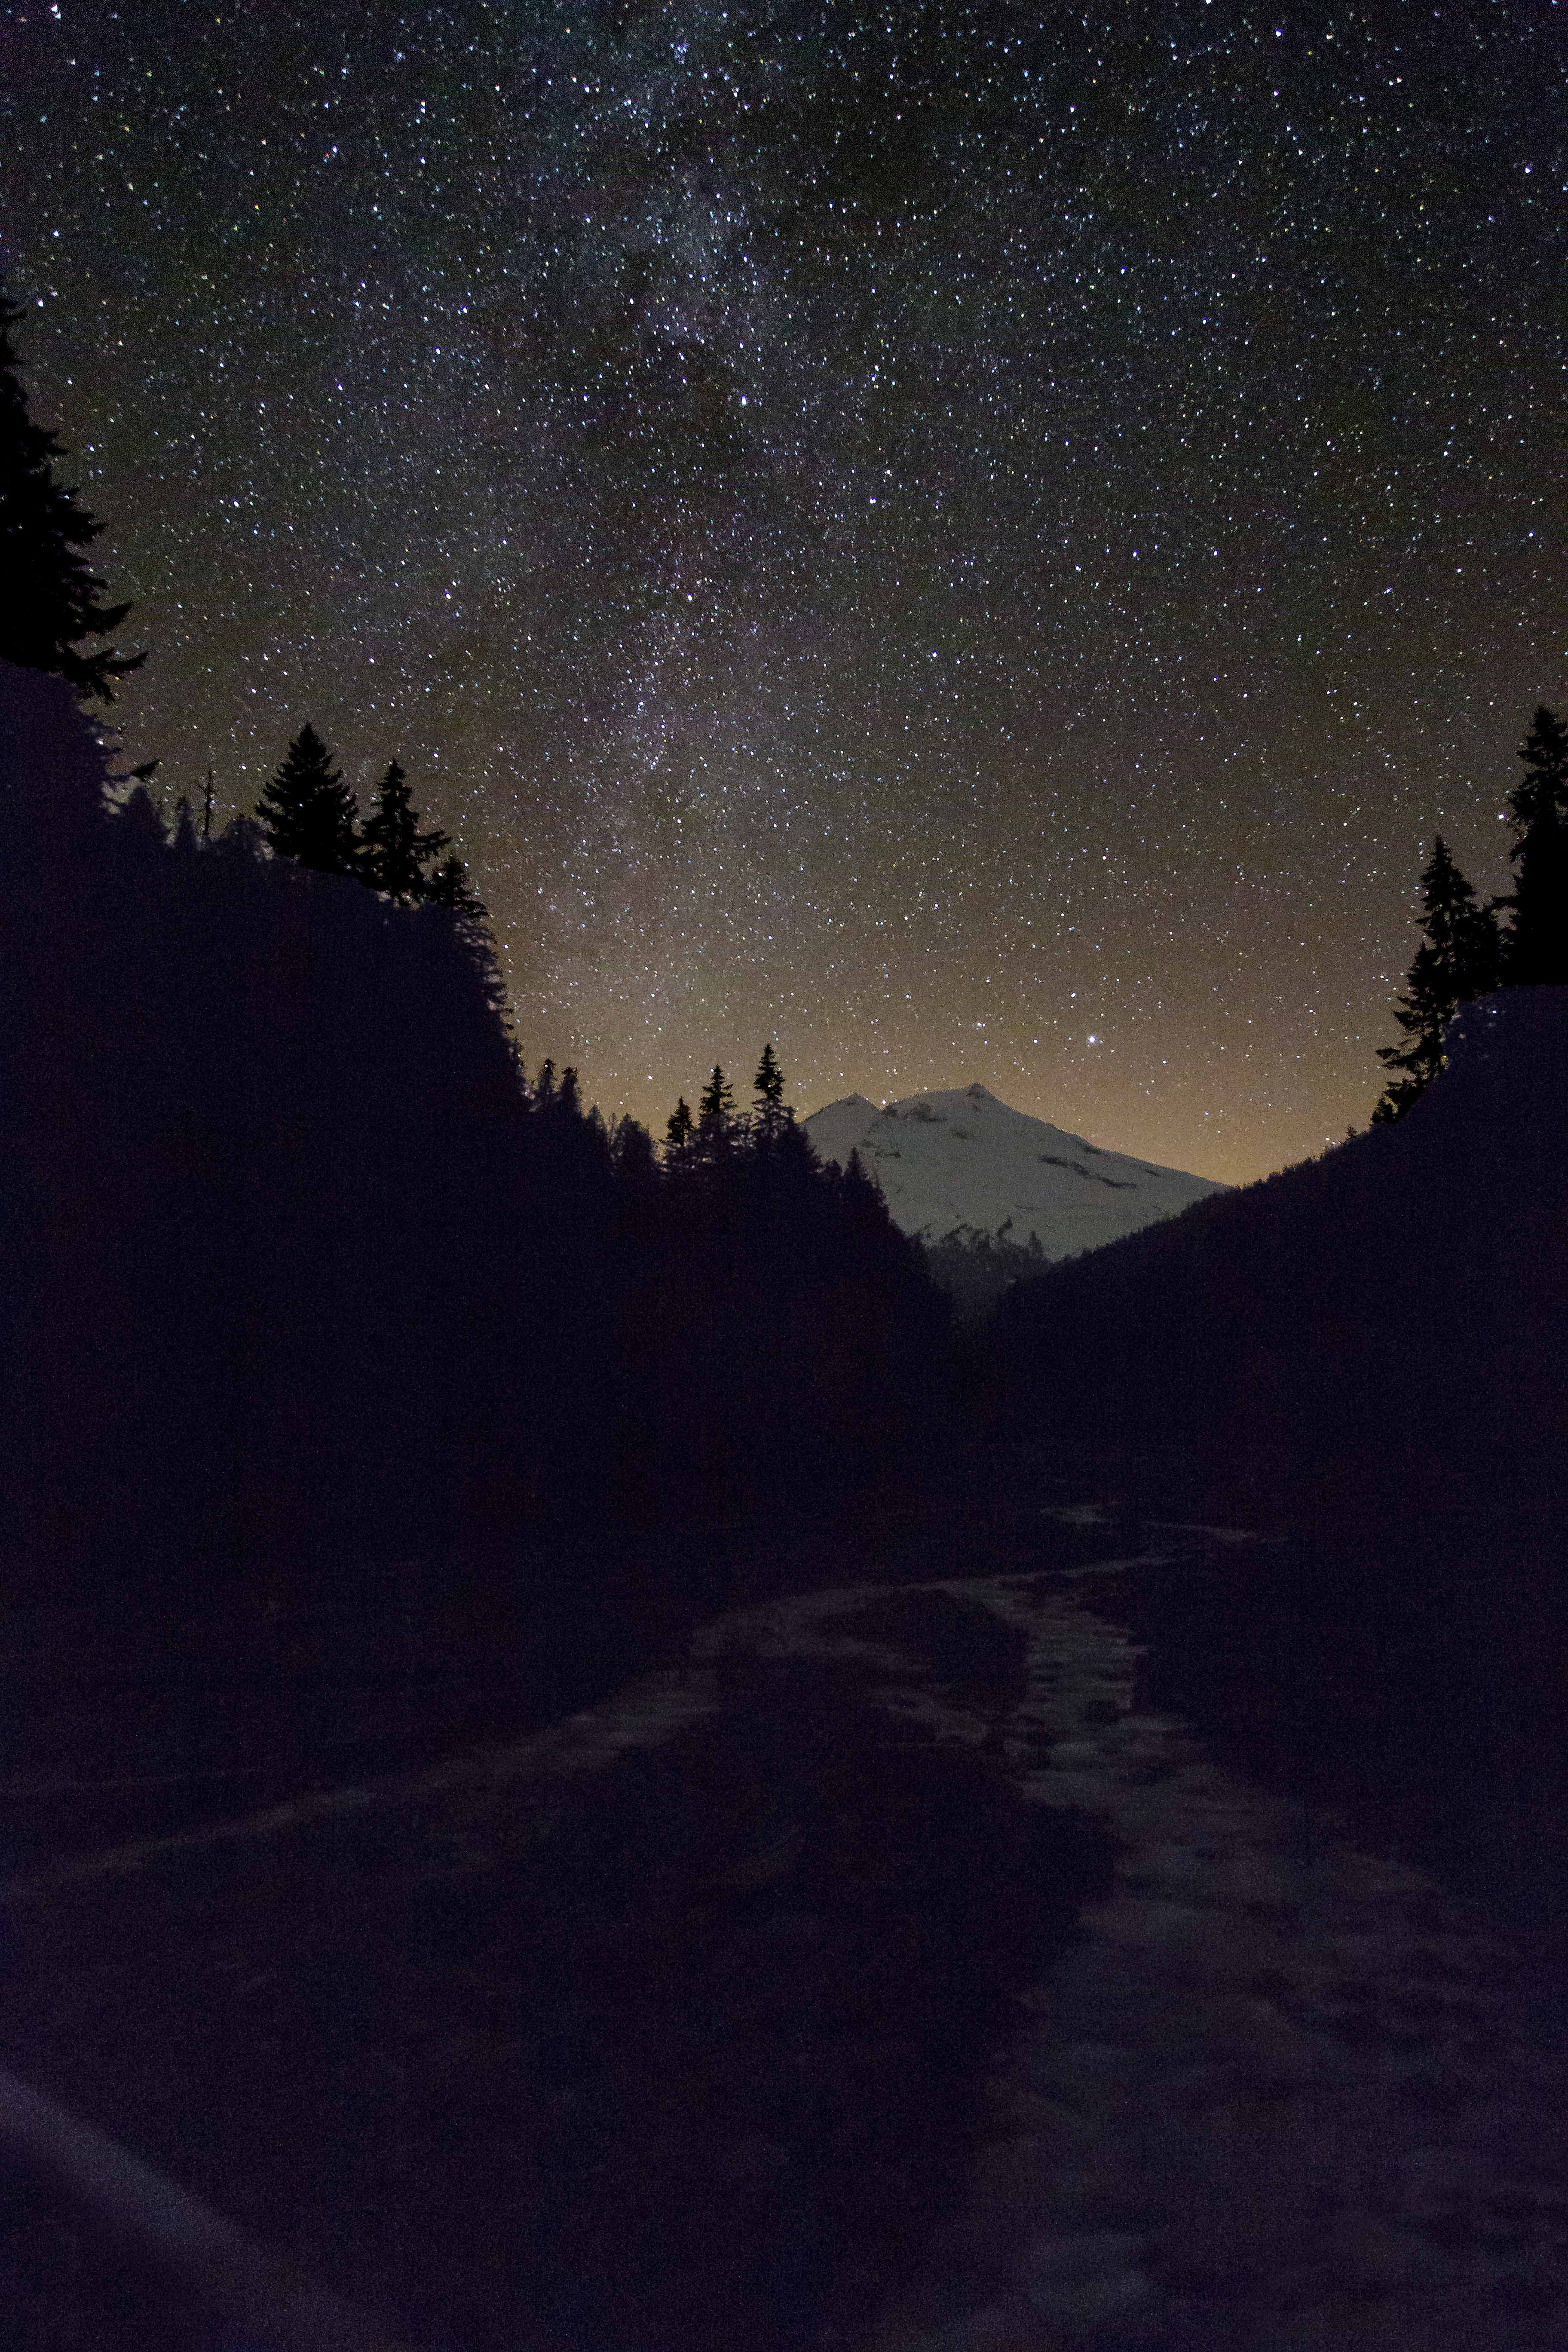
The roads end soon follows and a short hike in the darkness offered this view of Baker River.
 Baker River, North Cascades
Zion Canyon, Zion National Park
One of the most commonly captured images is from this view point, on the bridge over the Virgin River. The main highway makes a sharp curve and crosses this bridge. You will often see the bridge lined with photographers.
This shot was taken at about midnight, with a Canon 6D and a Rokinon 14mm lens.
I just got lucky on the satellite crossing and of course Orion looks stunning hovering above the scene…

Deception Pass State Park – Nighttime Imaging
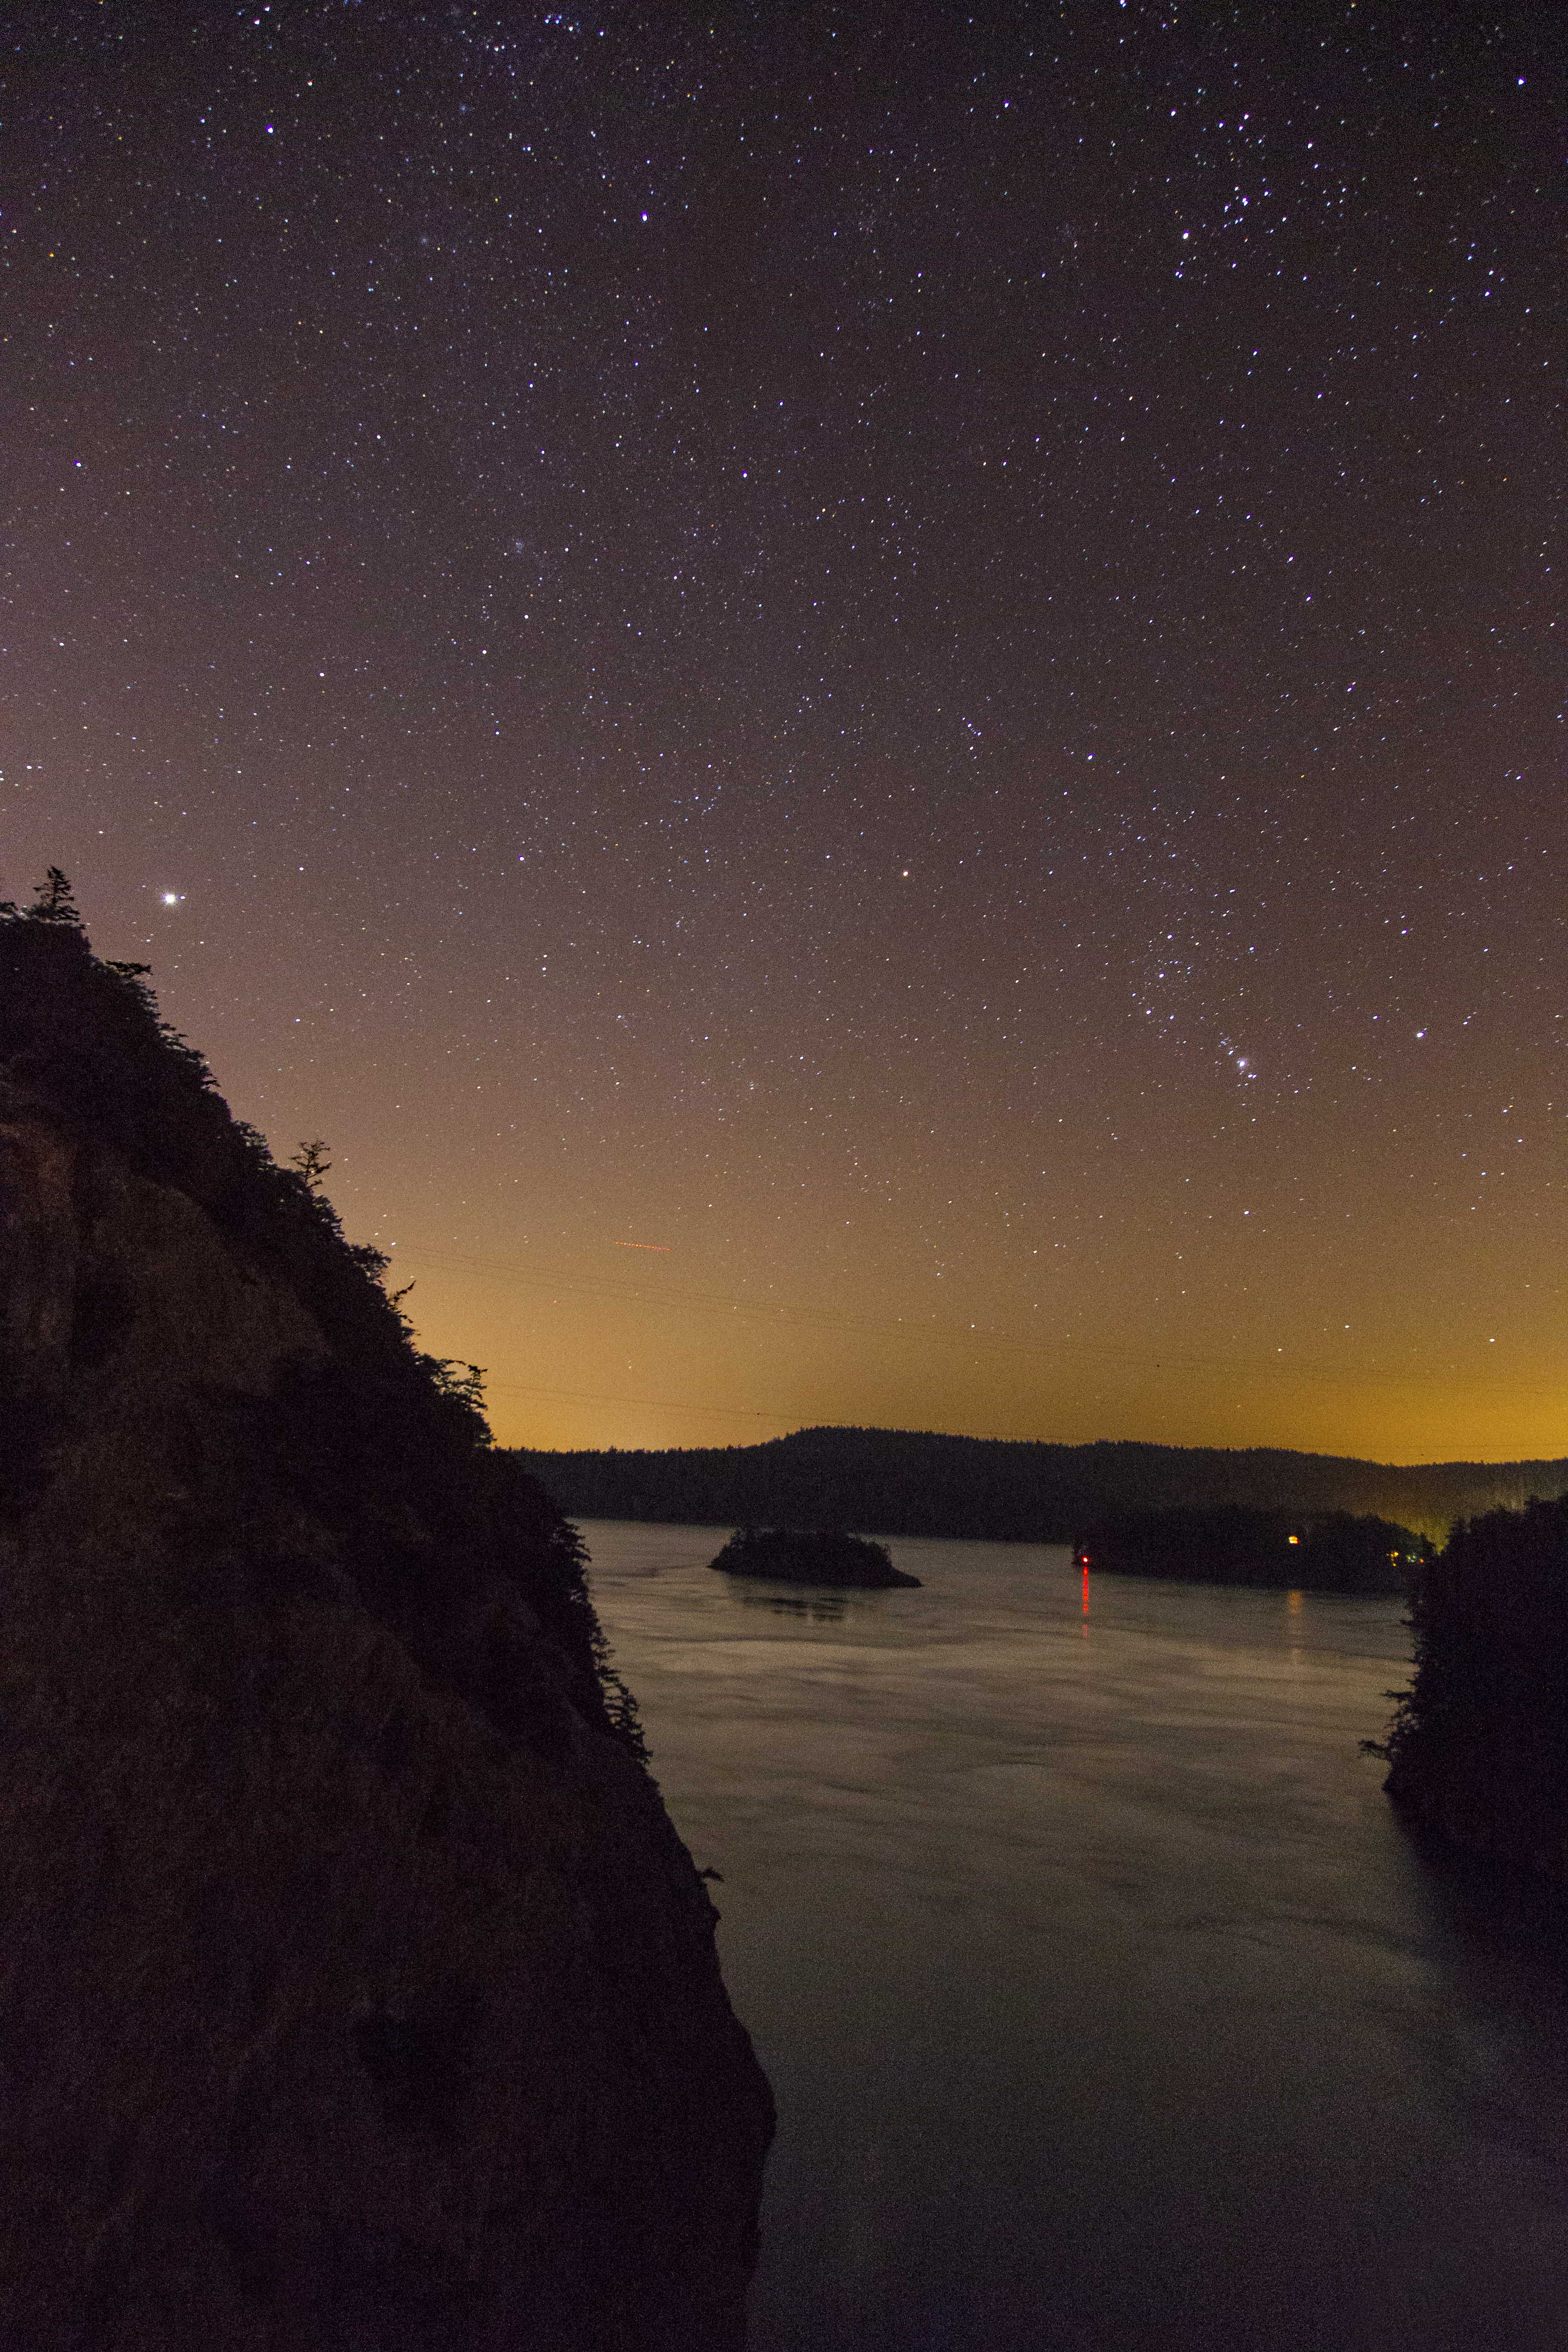
Encouraged by last Tuesday’s photo shoot along Baker River I headed out to Deception Pass on Friday night to see about some shots. There was a crescent moon, which was almost set by the time I got out there, maybe 10pm or so. Clear skies, cold, good time for capturing stars.
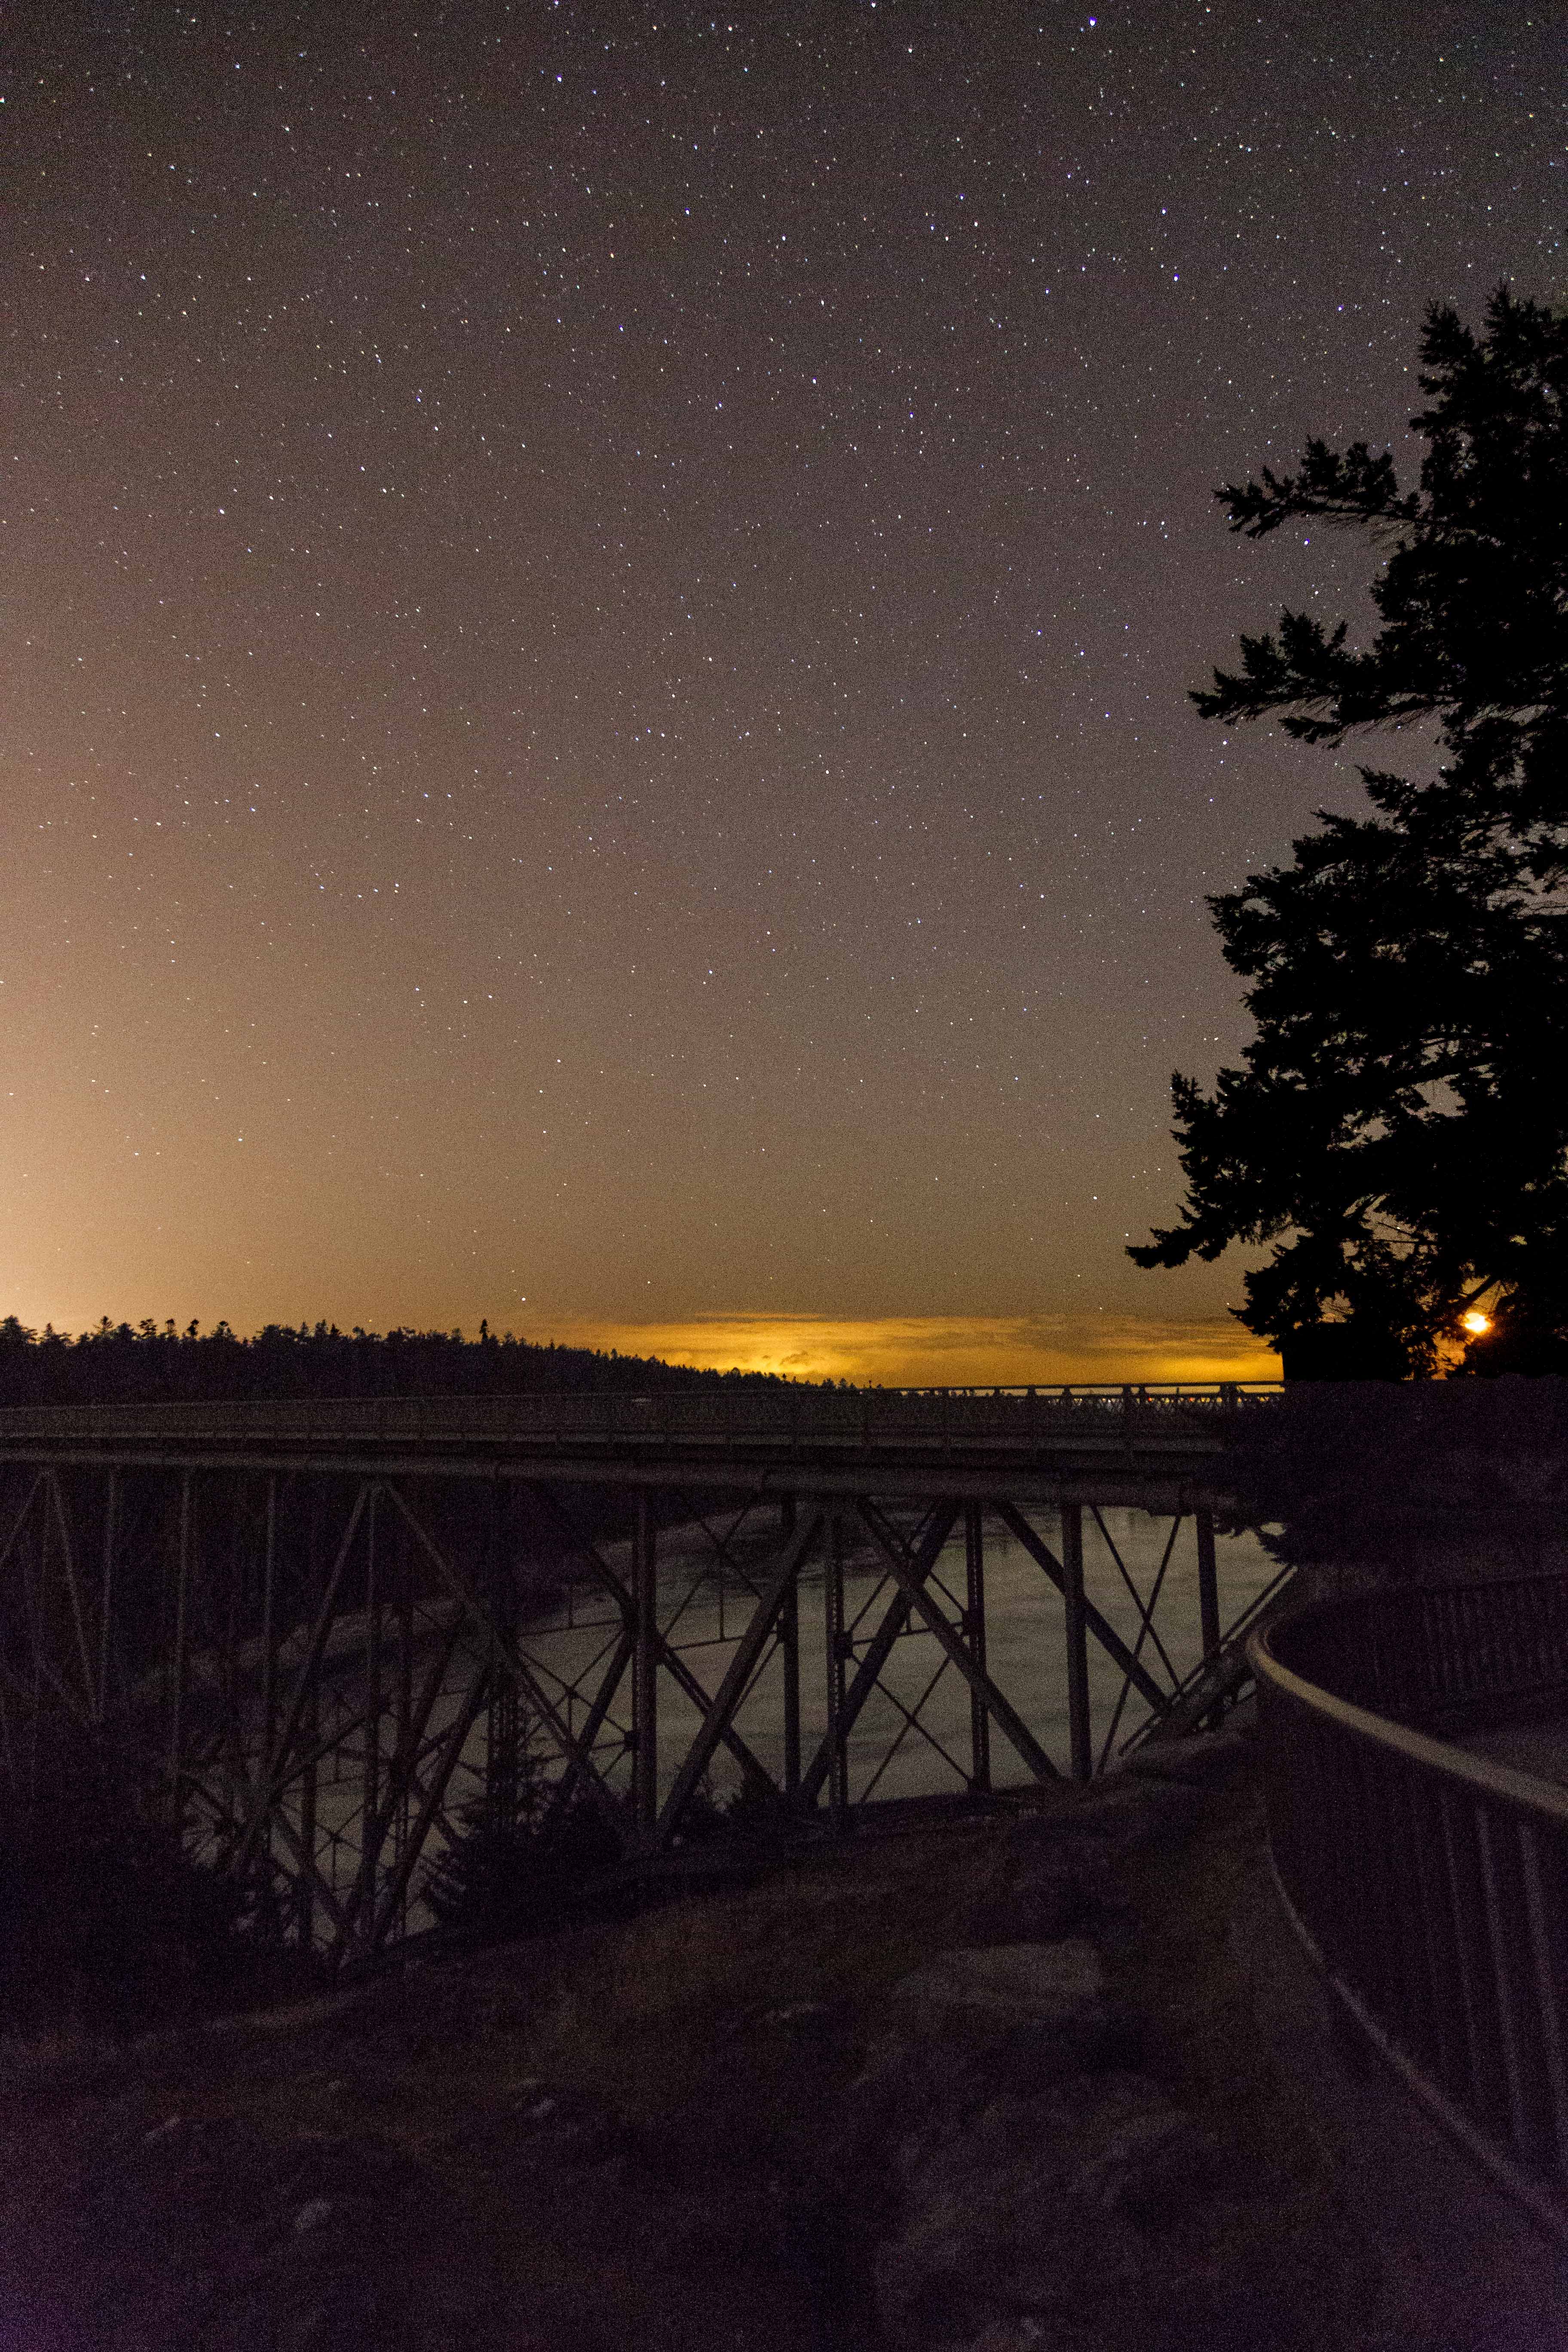
I started up on the bridge, got a few shots of the channel with Orion…
Then I jumped the railing, trying to get a better angle with the moon below the bridge. This view afforded silhouettes of the lower bridge structure as well.

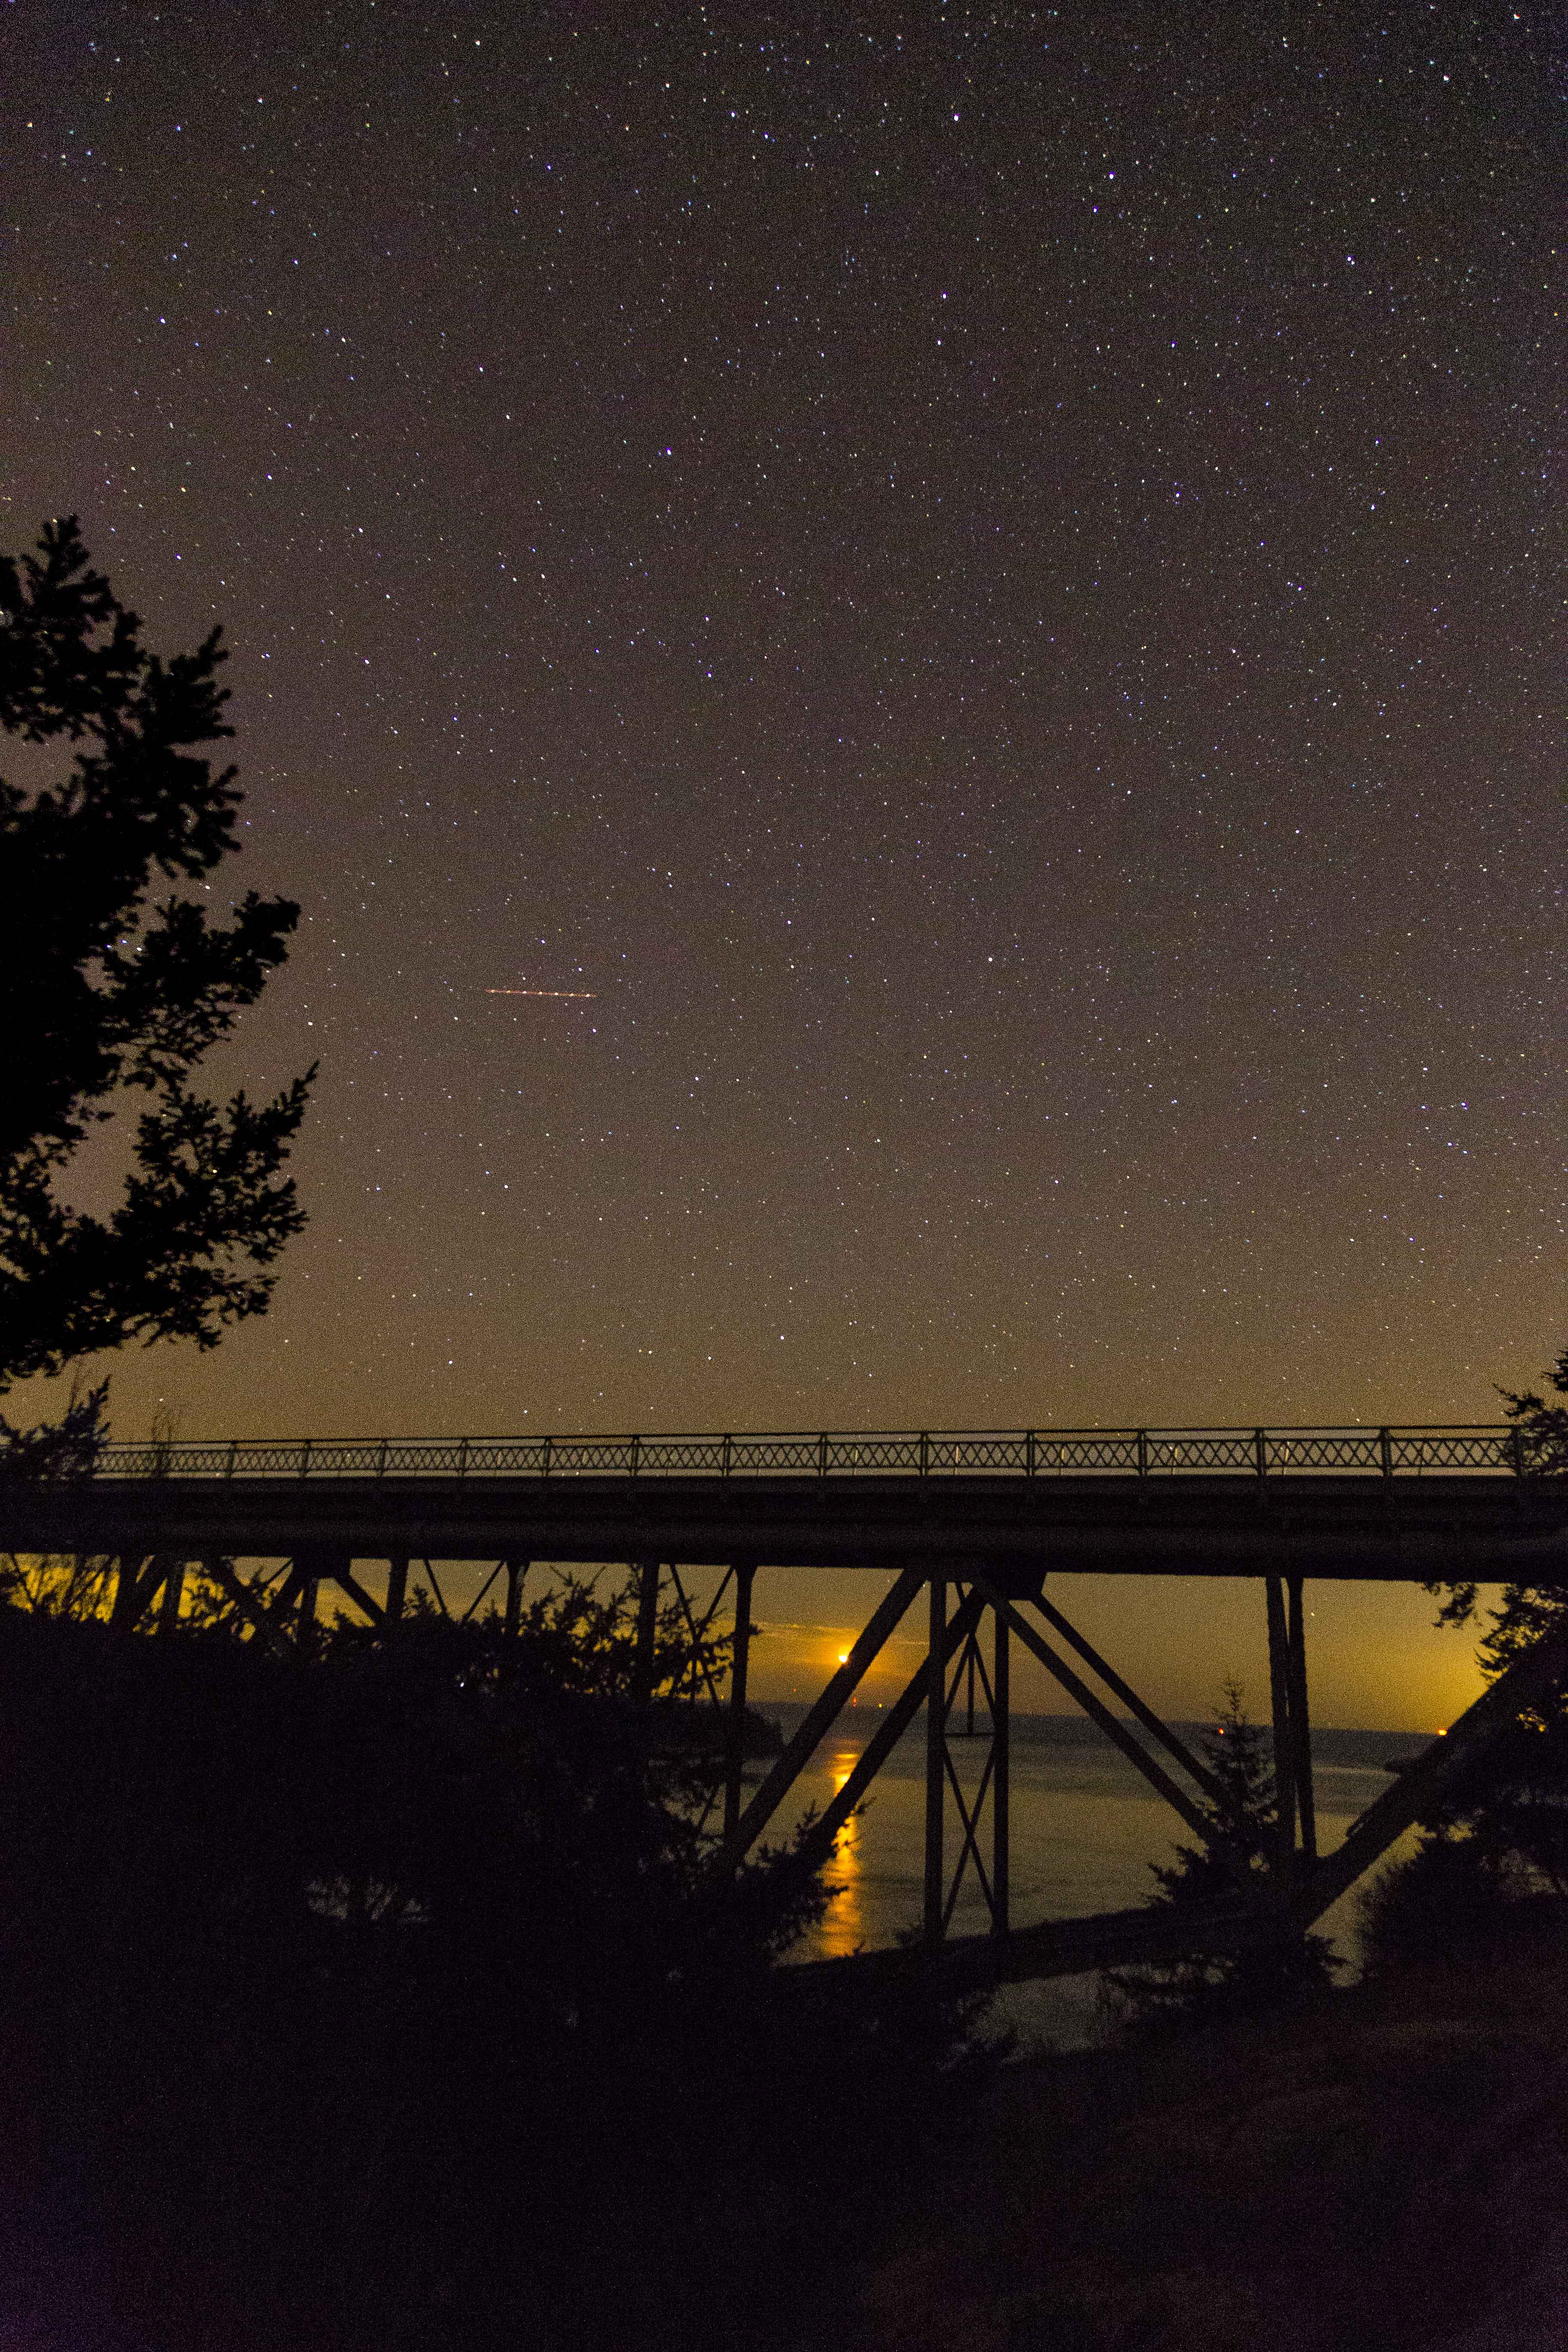
There was so much ambient light that it was difficult to capture the real strip of the Milky Way, so I decided to head down to Bowman Bay.
The road to the parking area was closed, so I hiked down and across the spit to see about some long distance view of the bridge, but that didn’t really pan out. However Bowman Bay had some great lighting…


And the long pier also suggested some interesting shots…
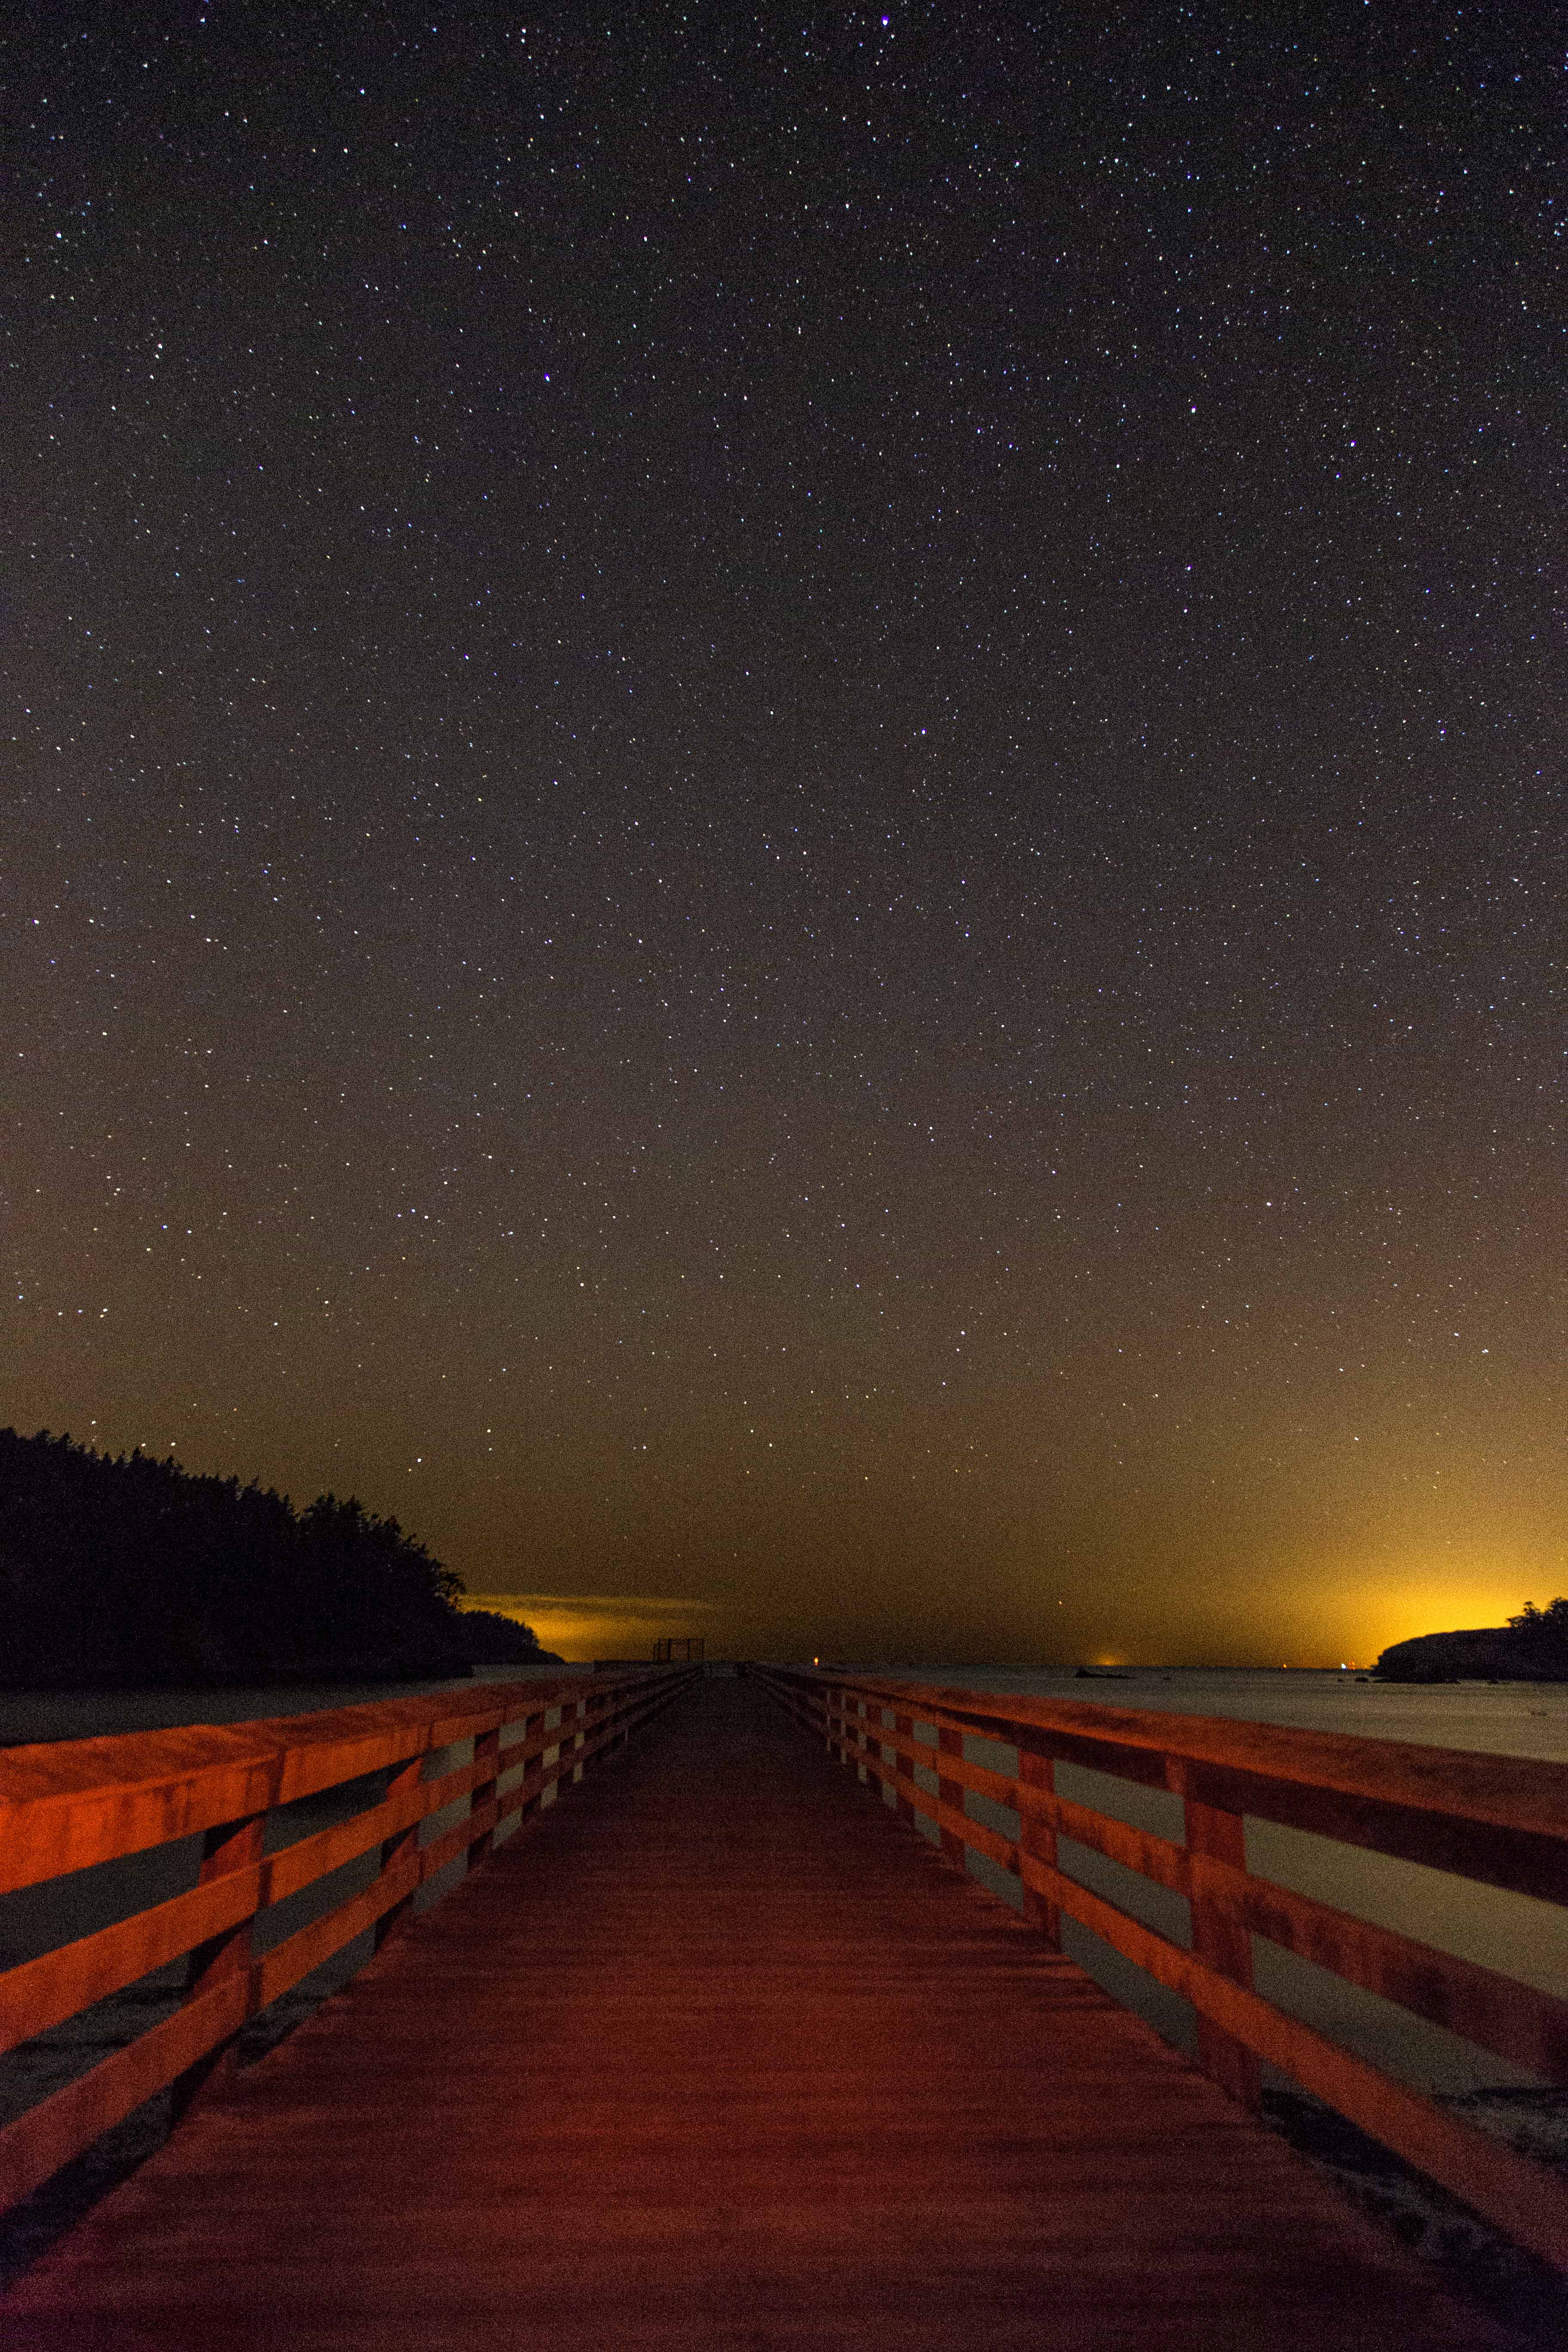
Nighttime photography is really a blast!
As for camera settings:
I used a Canon 6D, with a 24-105 mm lens, tripod and cable release. Aperture at f/4 (wide open), shutter speed at 8 to 13 sec. and ISO at anywhere from 12,000 to 20,000.
New Moon Night Imaging Along Baker Lake Road
Last night, December 3rd, was the New Moon. It was also a crystal clear sky…and cold! I considered several destinations for image capture and decided for the Baker Lake Road. The road heads north from the North Cascades Highway, passing from Skagit County into Whatcom, the road ends after 26 miles (21 paved, 5 gravel) at the trail head for the Baker River Trail.
Right at the end of the paved section the road crosses a large concrete bridge as it curves east. Here are superb views of Mount Baker. We stopped to admire the night sky…

The parking area was, not surprisingly, empty and we made the short stroll up to the suspension bridge crossing the river.
I started under the bridge, clambering over the gravel bars, trying a place to set up and capture the arc of the Milky Way and the bridge.

The wind was so strong at times that I needed extra weight/pressure on the tripod to ensure it did not topple.
In this image I flashed the lower side of the bridge with one swipe of my head lamp set to red.

The camera settings were f/4 (widest aperture), 10 to 13 seconds shutter speed and between 10,000 to 20,000 ISO. I was using a 24mm lens and the camera (Canon 6D) has a full sized sensor.
Of course I mounted the camera on a tripod and used a cable release. This was the extent of my photographic equipment and settings.
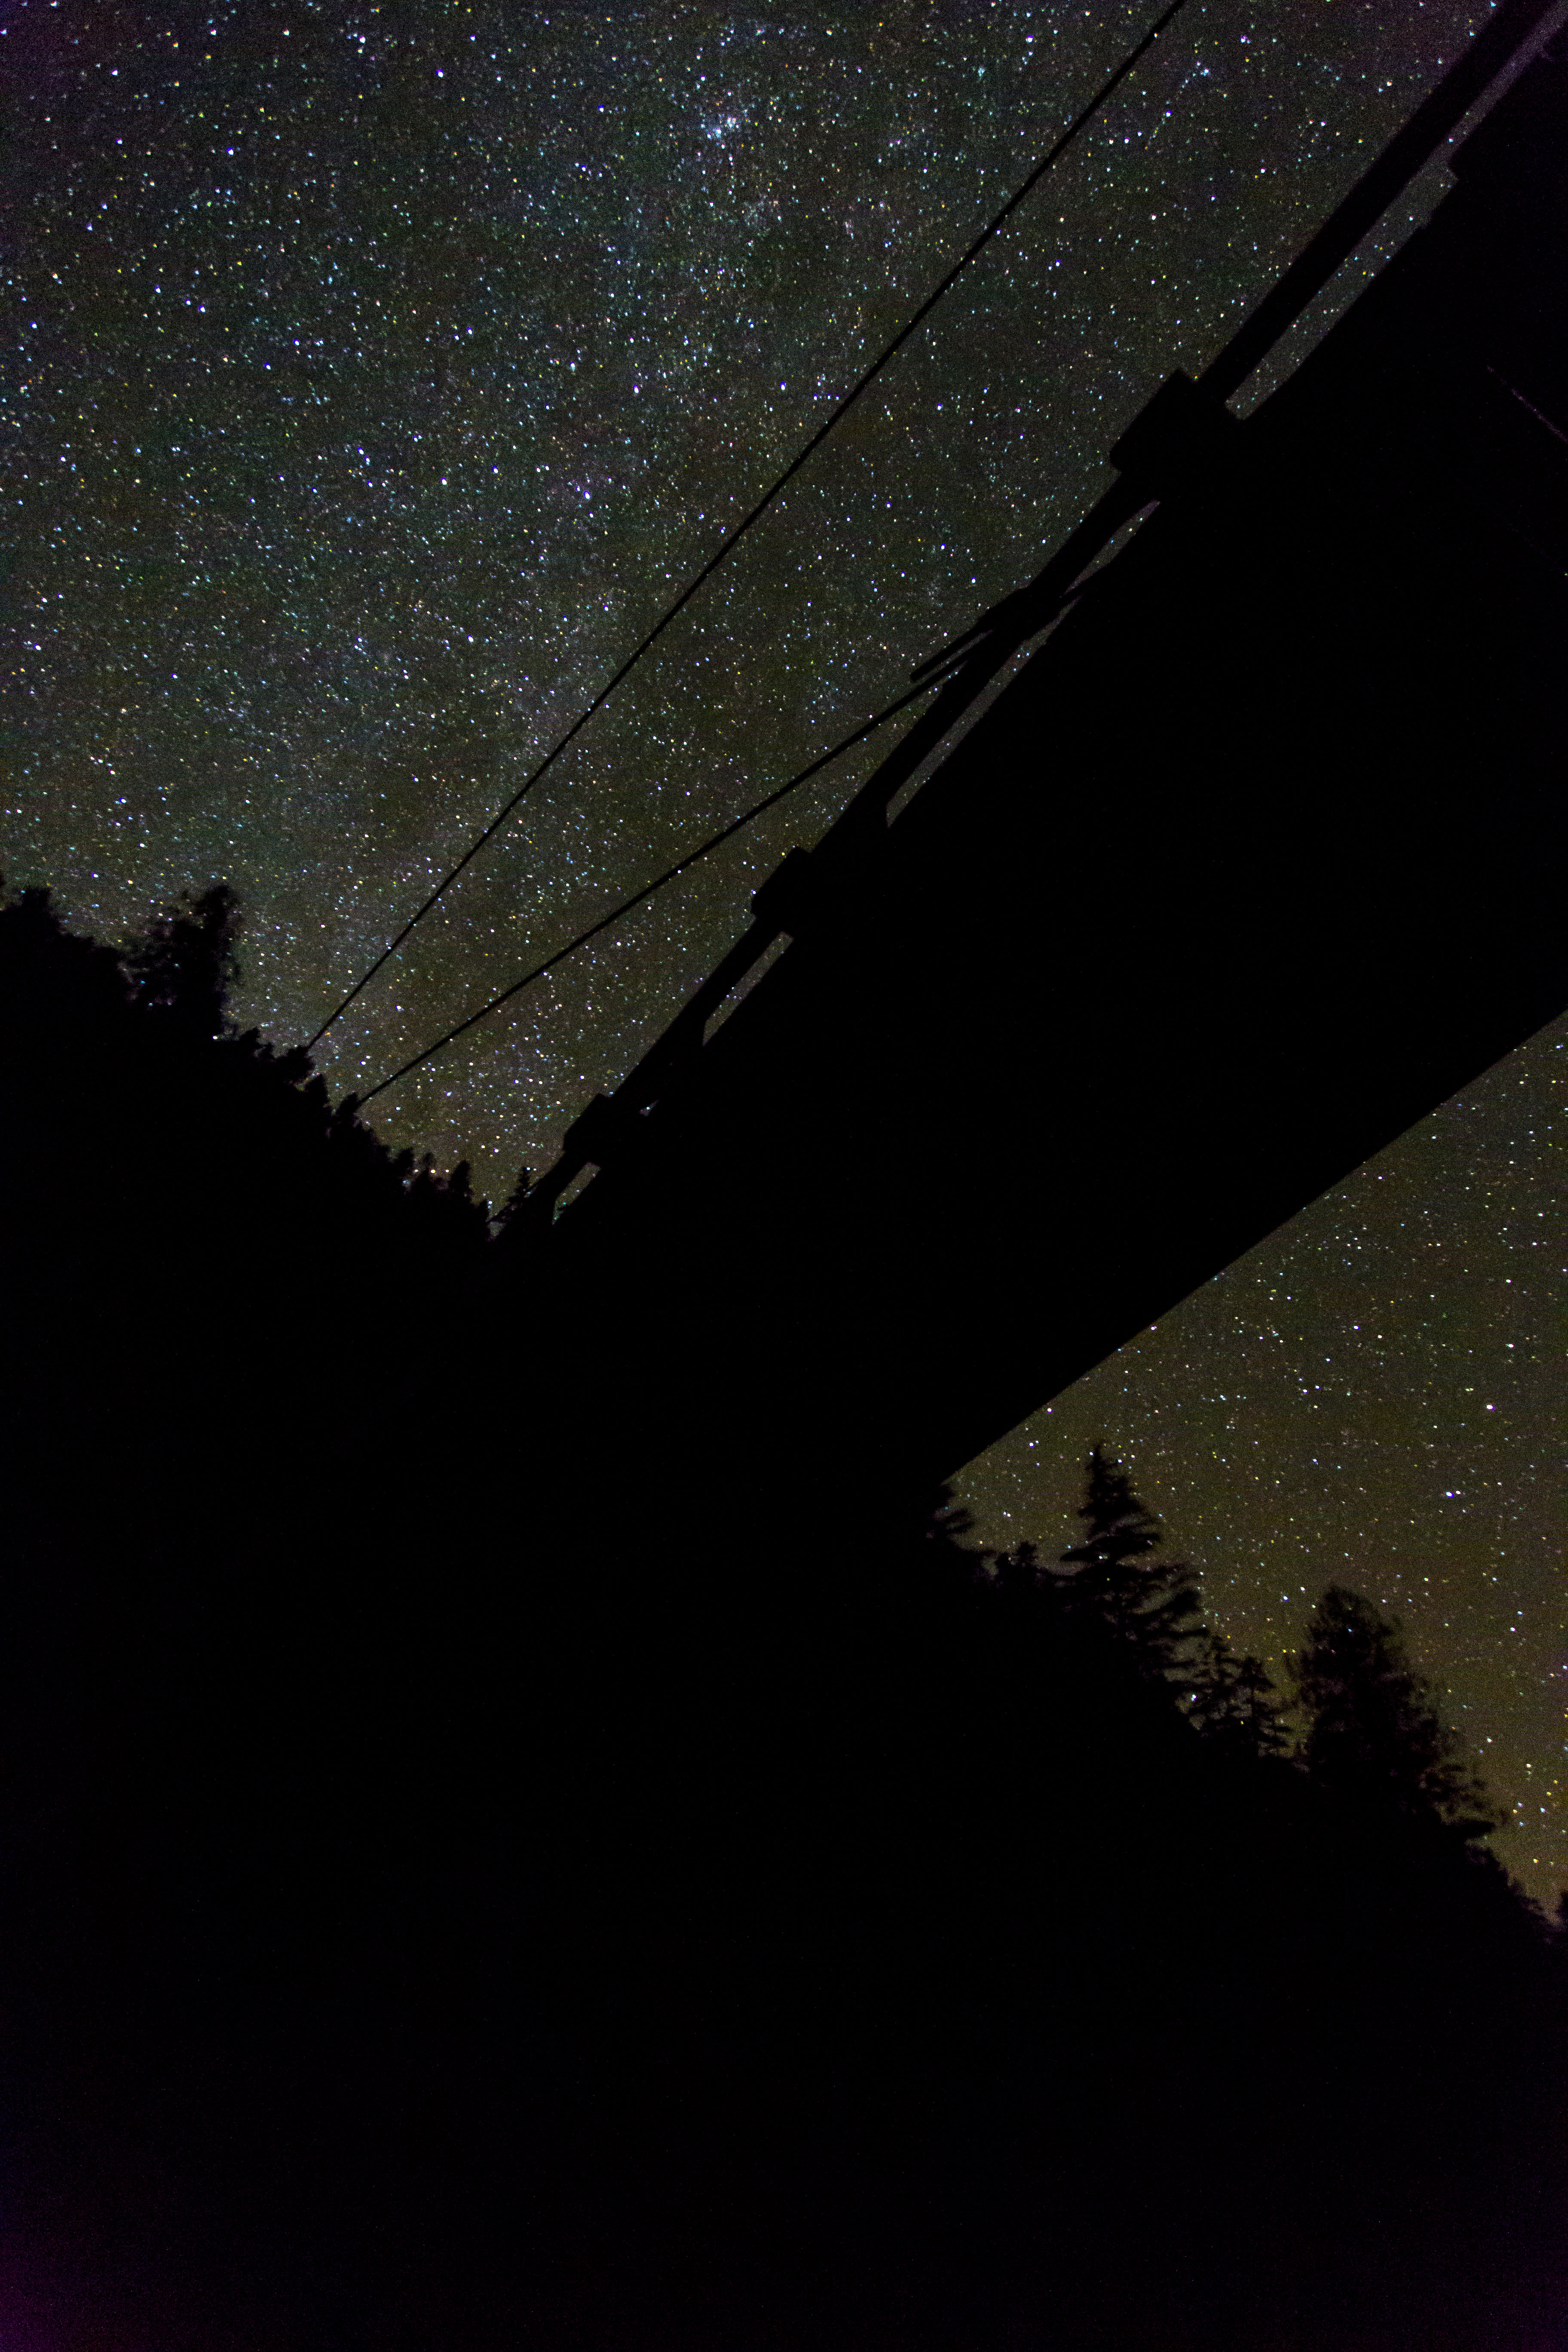
My last stop was atop the bridge, attempting to capture the tower silhouetted in front o the stars.

Nighttime imaging is very exciting! I hope to get out again in the next two days…
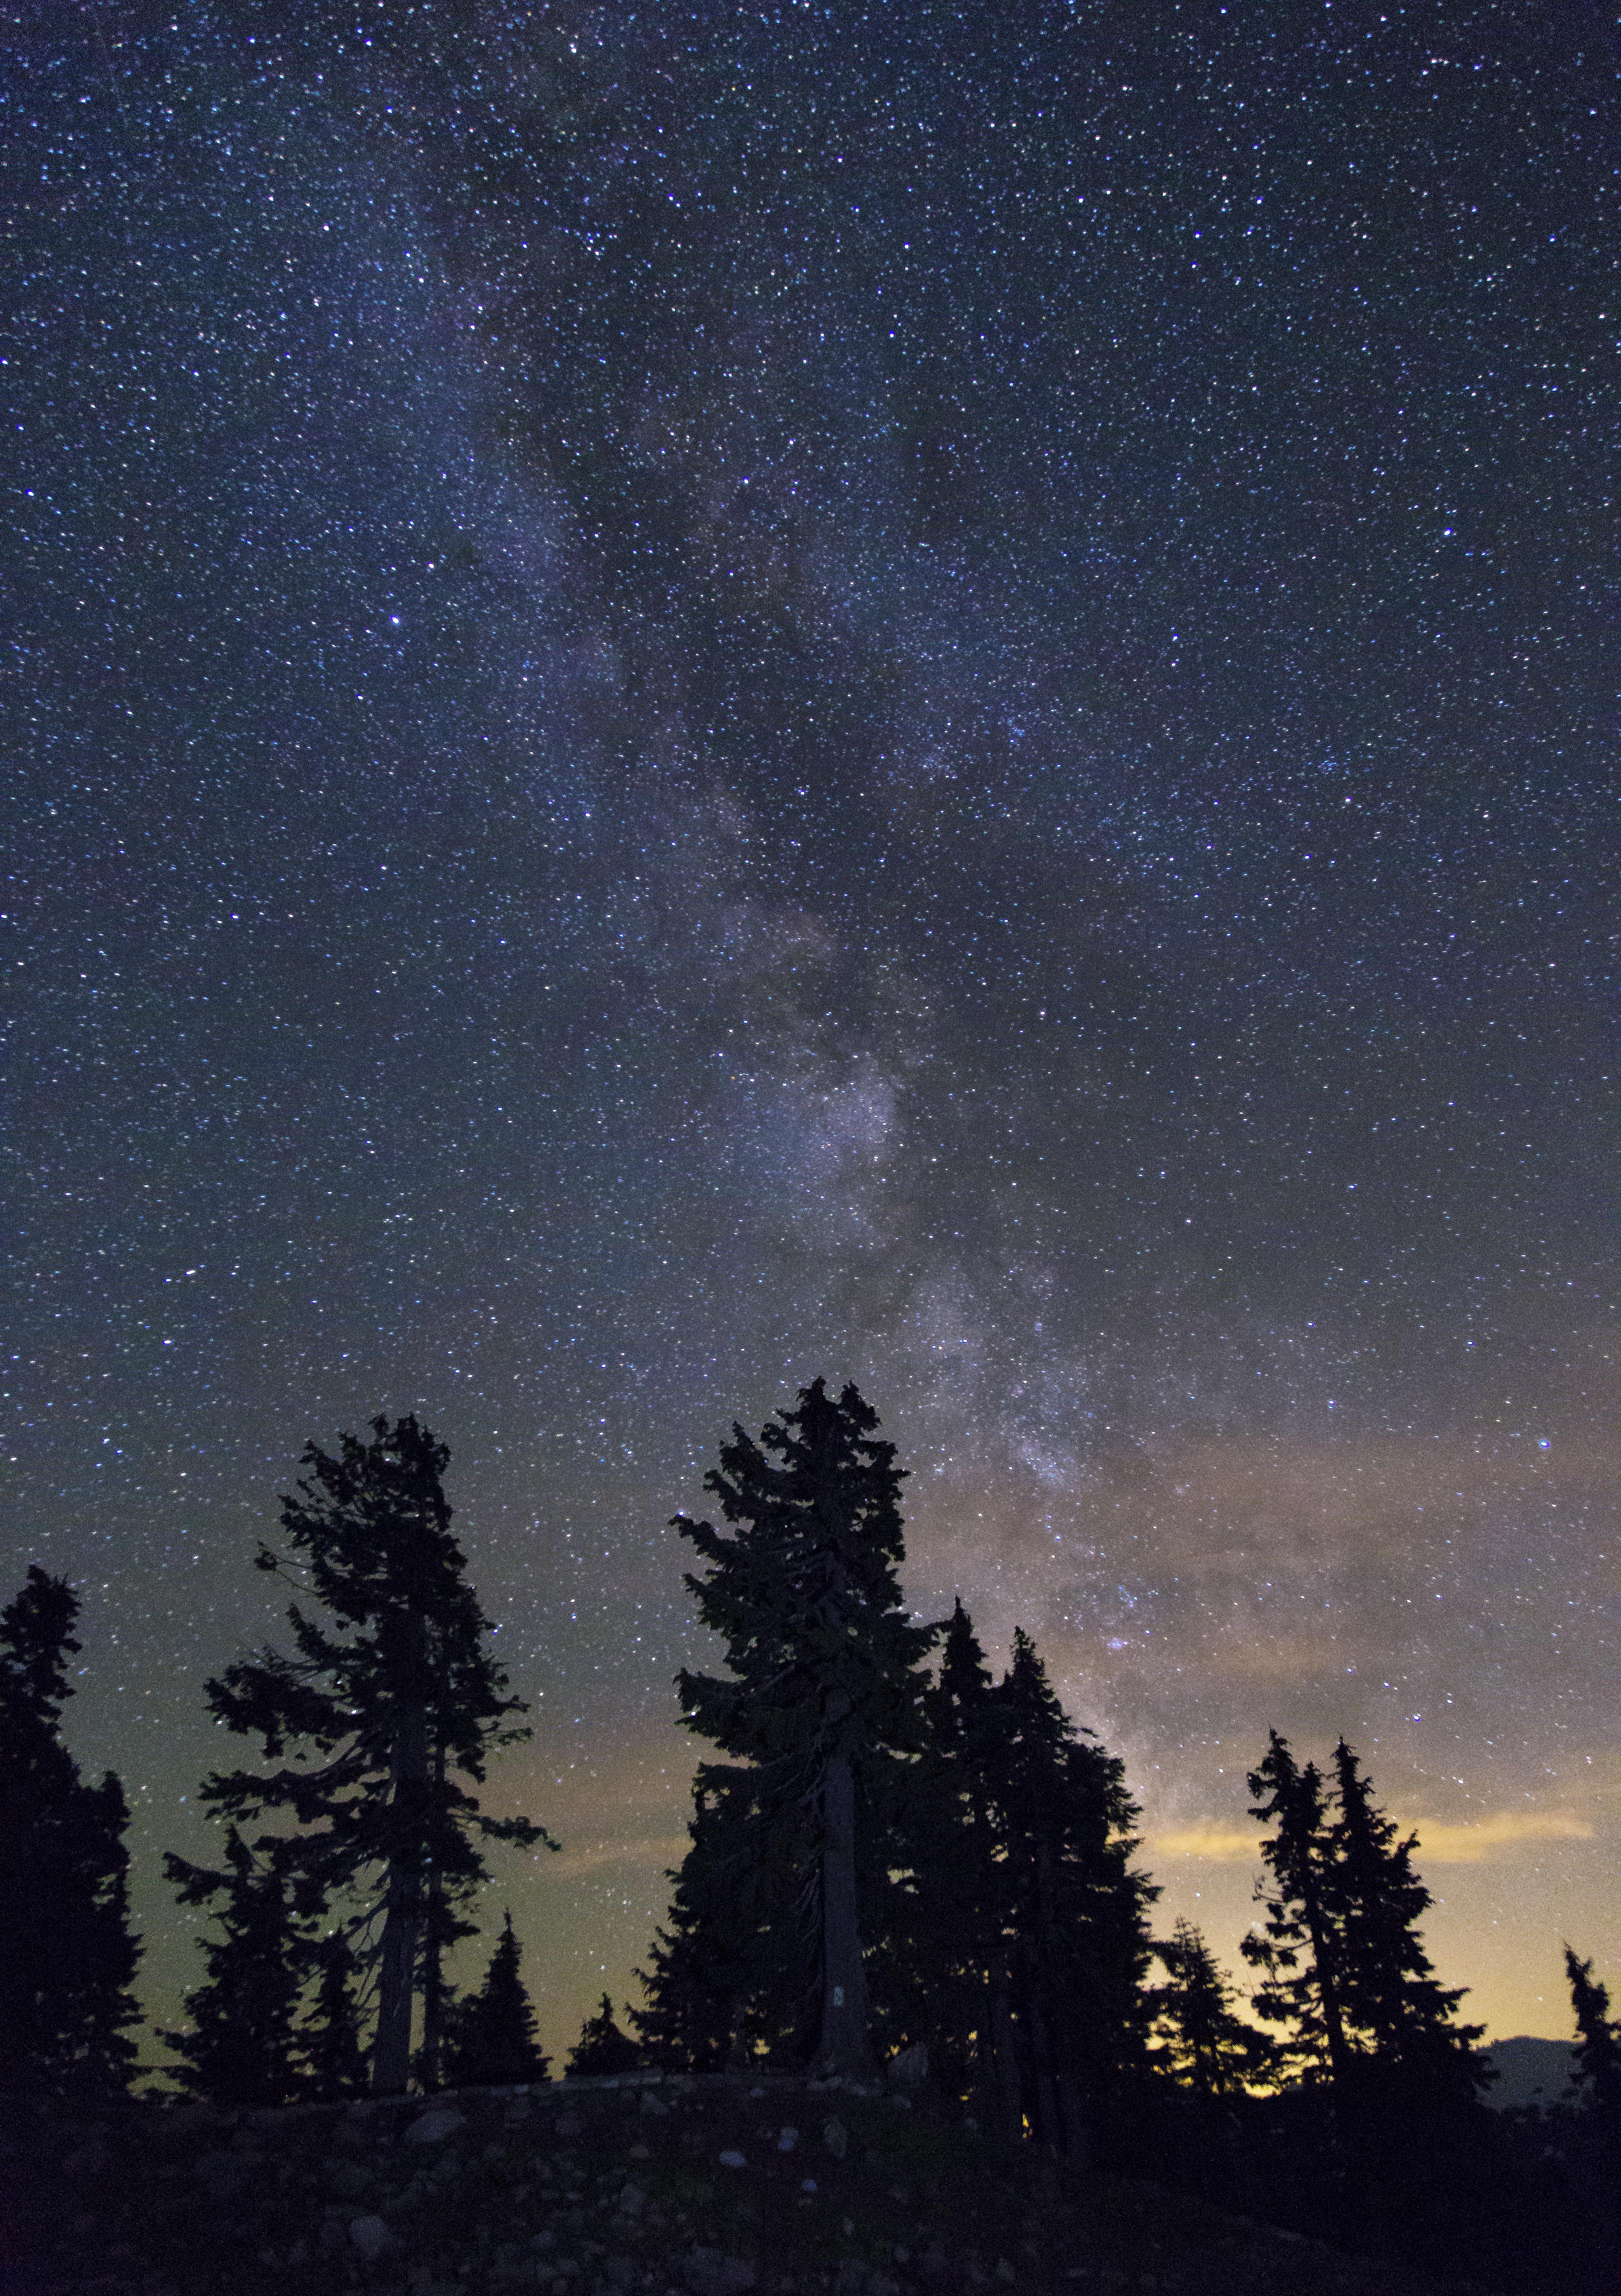
Milky Way from Artist Point, Aug. 6th
I made my way up the Mount Baker Highway to Artist Point and managed to capture a few images of the Milky Way…


Astrophotography Images and Techniques
I have been working on nighttime imaging for a while, trying different exposures and post-capture processing.
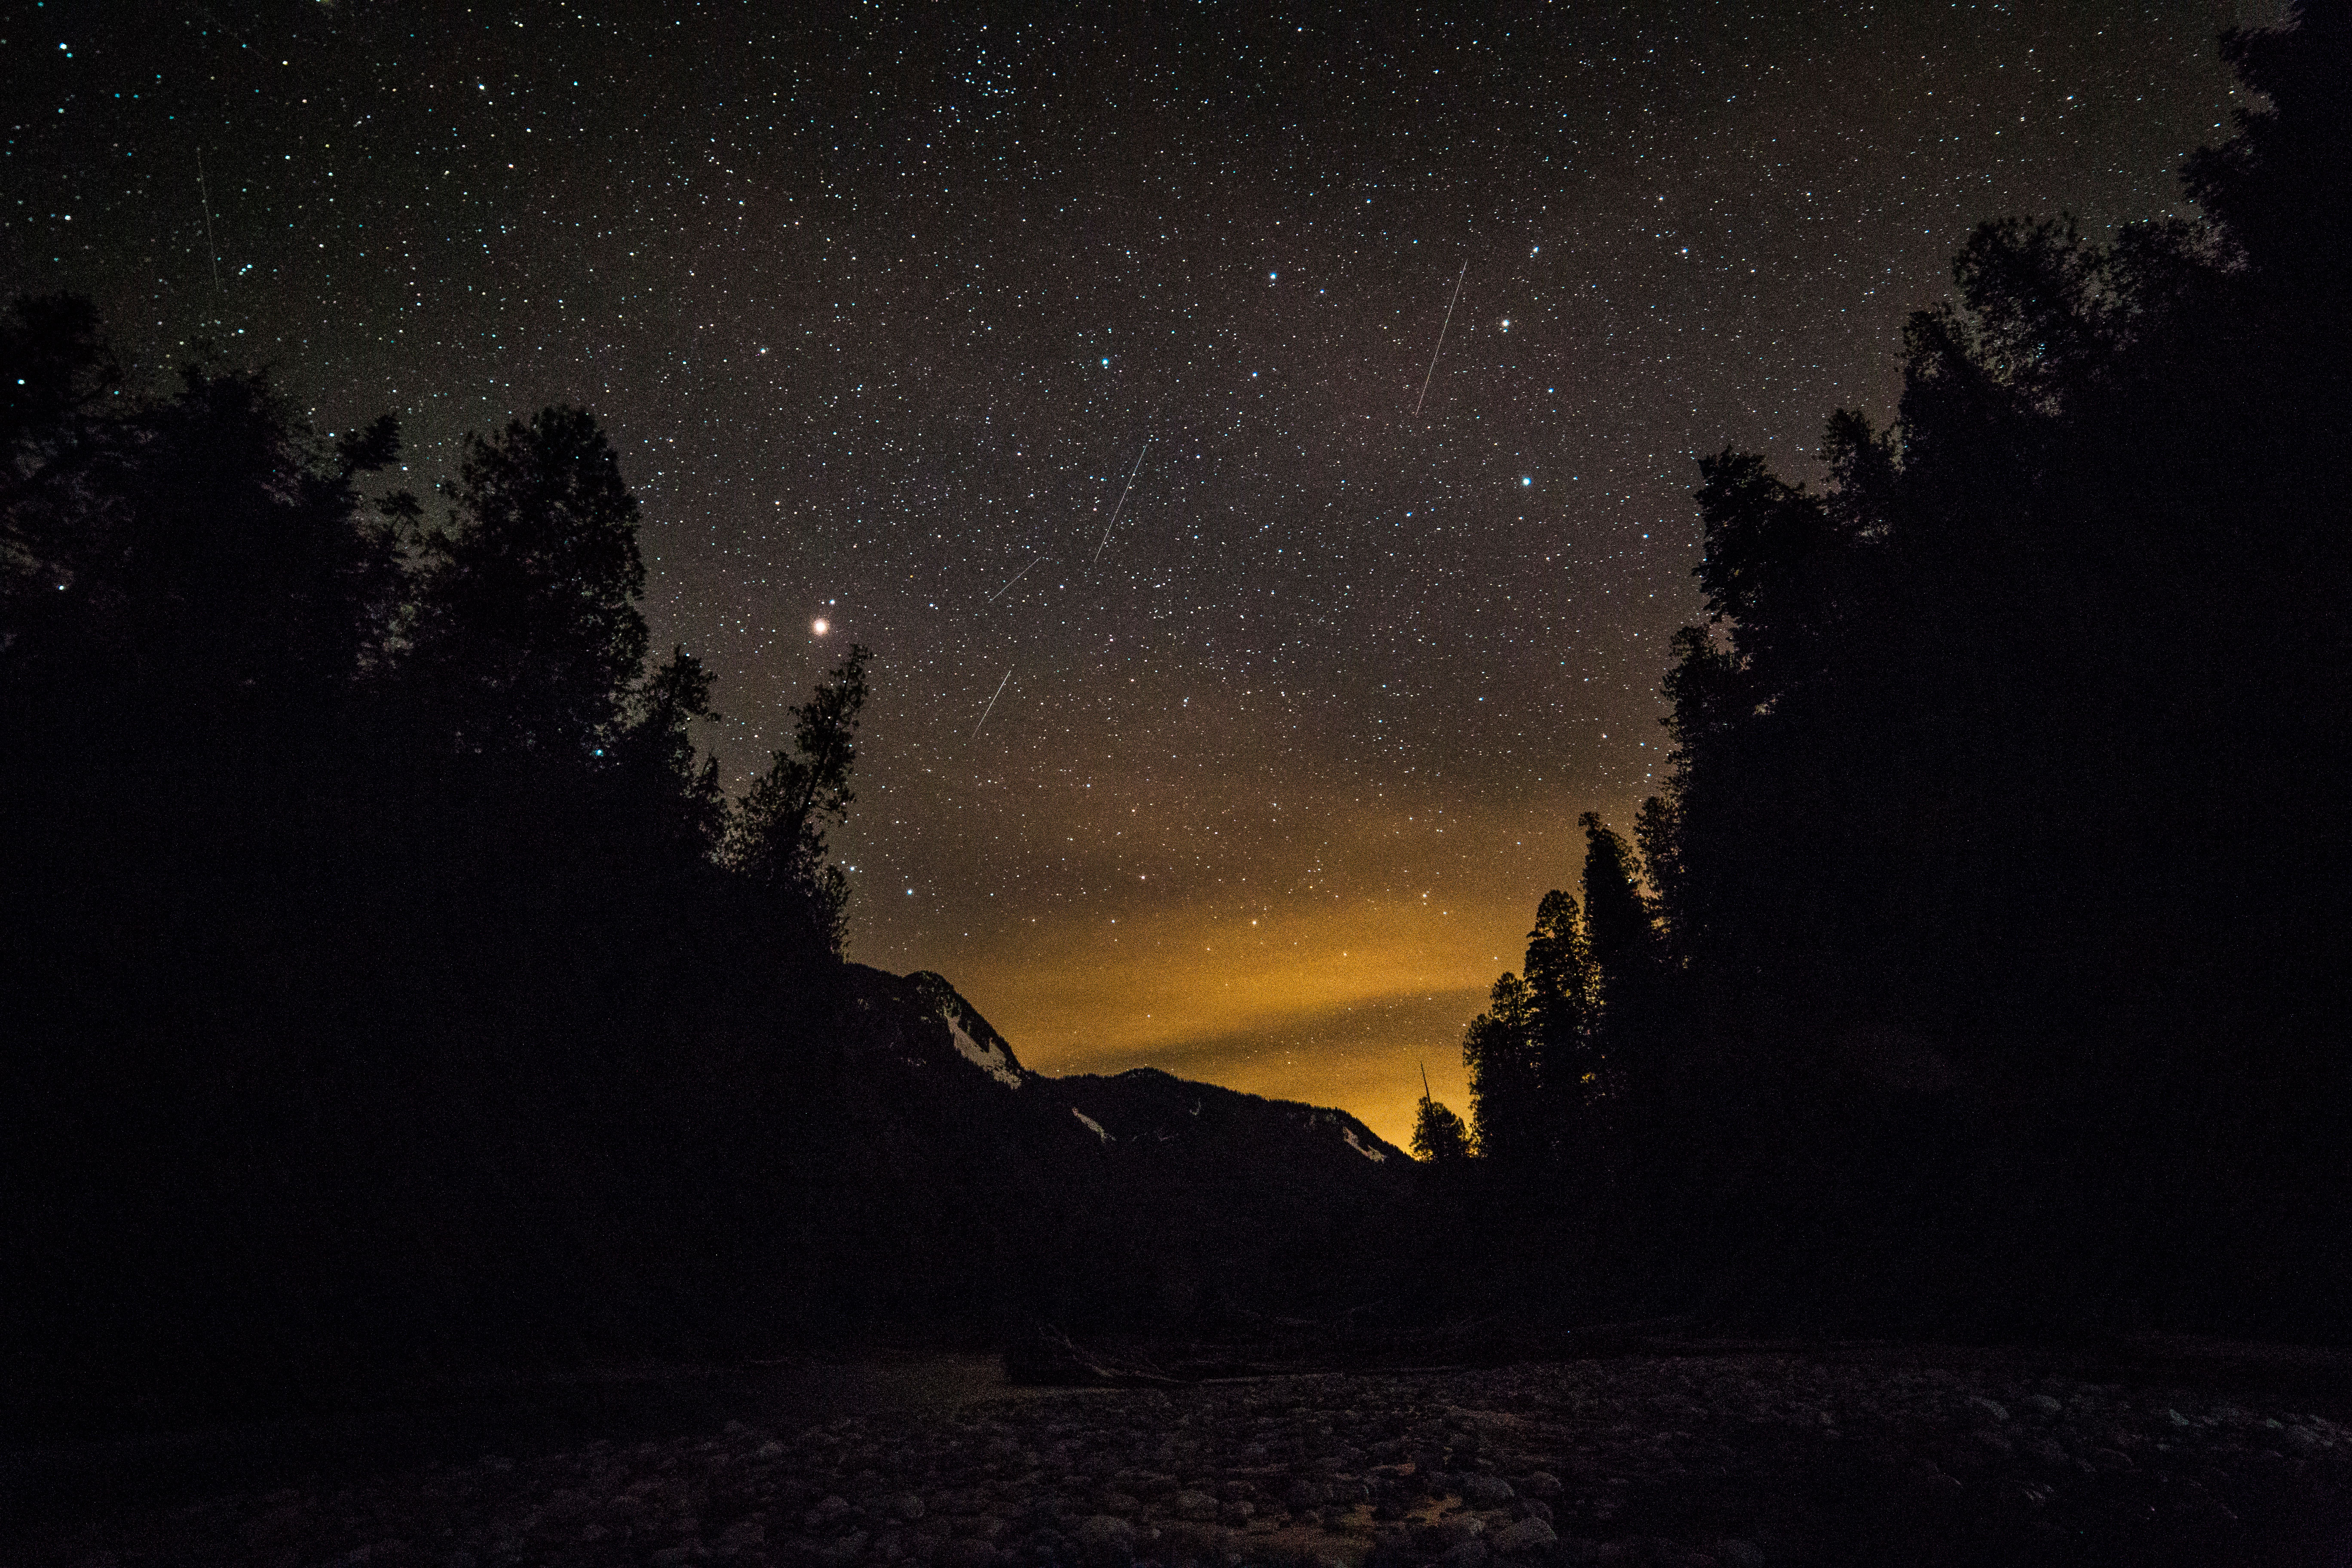
This image was one of my first attempts. I hiked in to a location with very little ambient light, actually I went there to capture meteor images last August. I shot this at f3.5 at 30 sec and 800 ISO, using a Canon t2i and an 15-85mm lens. I tried using various settings of ISO, but had the idea that I should not get much above 800-1200iso. 
The image was shot in the RAW format, opening it in Photoshop I made several changes:
The noise reduction and sharpening was used heavily to reduce the graininess
Lens distortion correction
Fill light was used to brighten the image and Recovery to decrease the brightness on the tent
Vibrance, Clarity and Contrast were also significantly increased.
I saved the image as a jpeg and opened it in PS (I was using CS5 for this image) and went on to select the sky, and using Levels brought out the contrast by moving the slider to the right (to the start of the peak) and to the left down to 220. here is the result:

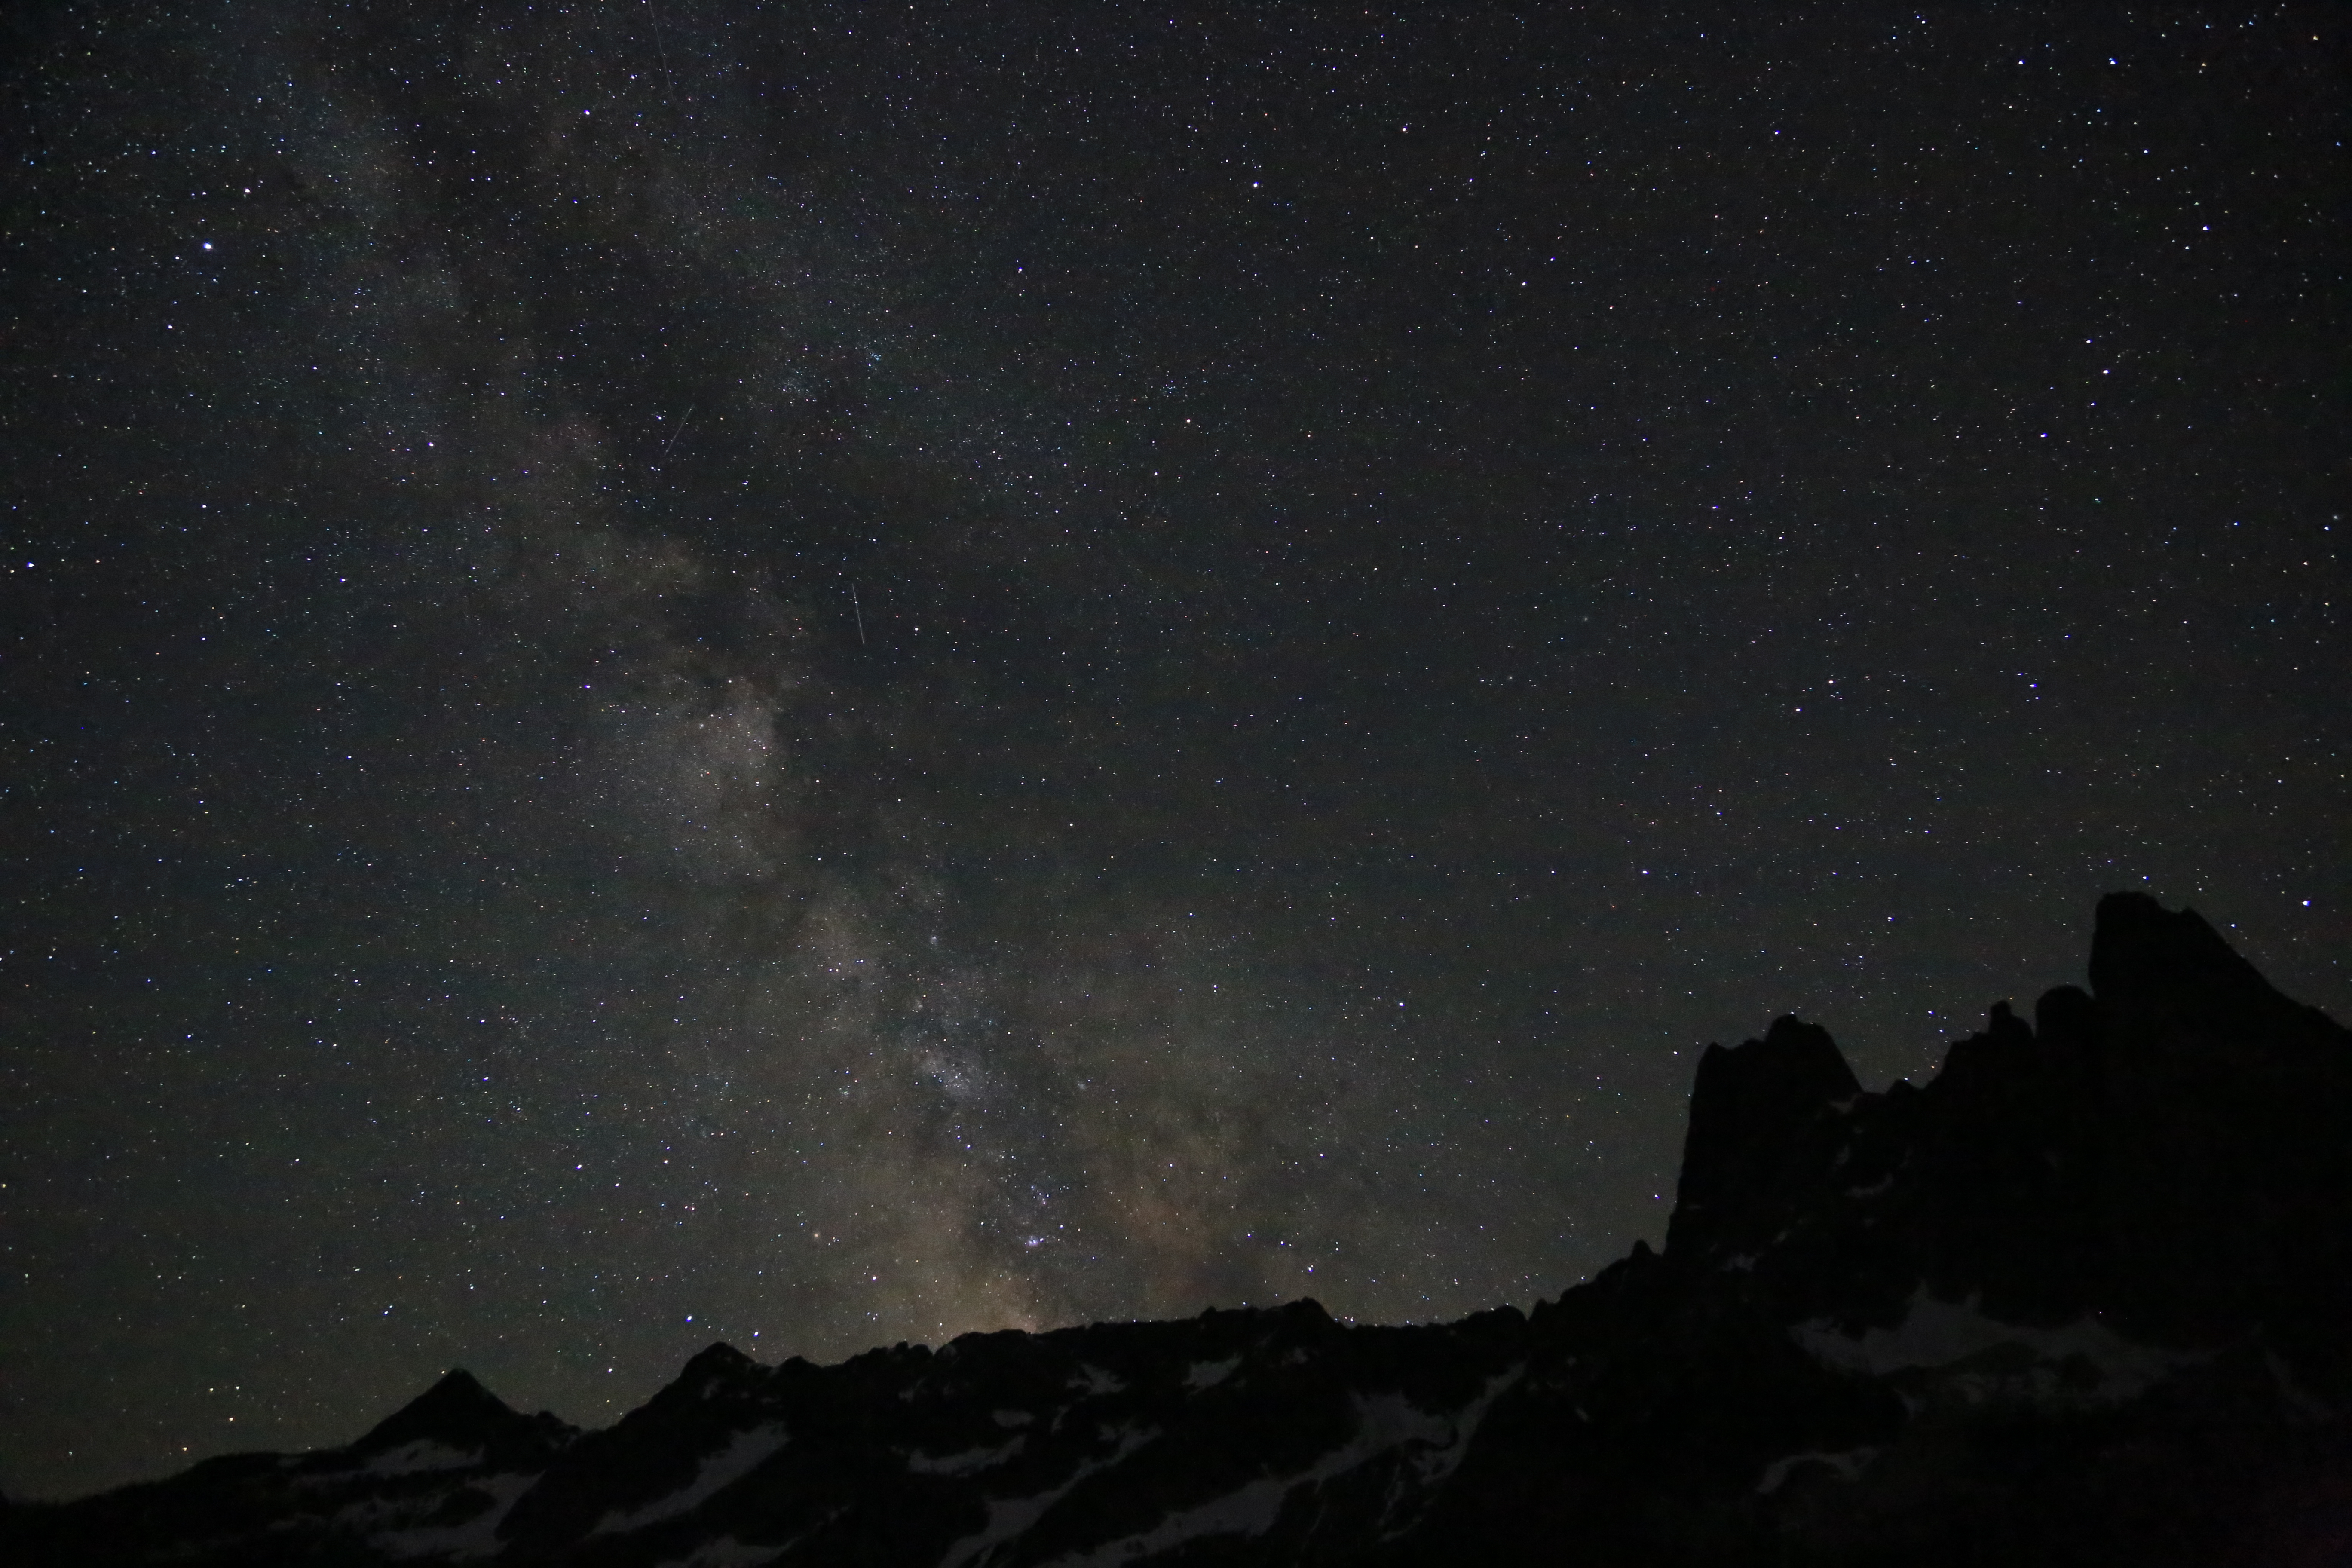
This year I got myself a new Canon 6D and went to Washington Pass, along the North Cascades Highway to take pictures. I was careful to choose a night with clear skies and very little moon.
This image was shot at 8sec, f4.0 and 25,600 iso. There is a setting on the camera for “High ISO Noise Reduction” and I set this to high. I tried to keep the shutter speed low, 10 sec or less, to make sure there was no blur from movement of the earth, etc.
Again, I shot this in the RAW format. Photoshop CS5 was not able to open the RAW images I shot with the new Canon 6D, so I had to upgrade to CS 6…
Here are the basic modifications made to the RAW image:
The sharpening was used heavily, BUT no Noise Reduction
Lens distortion correction
I increased Vibrance, Saturation and Highlights
Here is the result:

Going back to the image later I felt that there was still to much graininess and so I went back to the RAW image and greatly increased the Noise Reduction, then I saved the image as a jpeg and opened it in PS (I was using CS6 for this image) and went on to select the sky, and using Levels brought out the contrast by moving the slider to the right (to the start of the peak) and to the left down to 220. Here is the result:

I am much more satisfied with the version.
Please feel free to let me know which variation you like the most, and if you can, why!
And if you have any ideas, tips or suggestions, I am very interested.
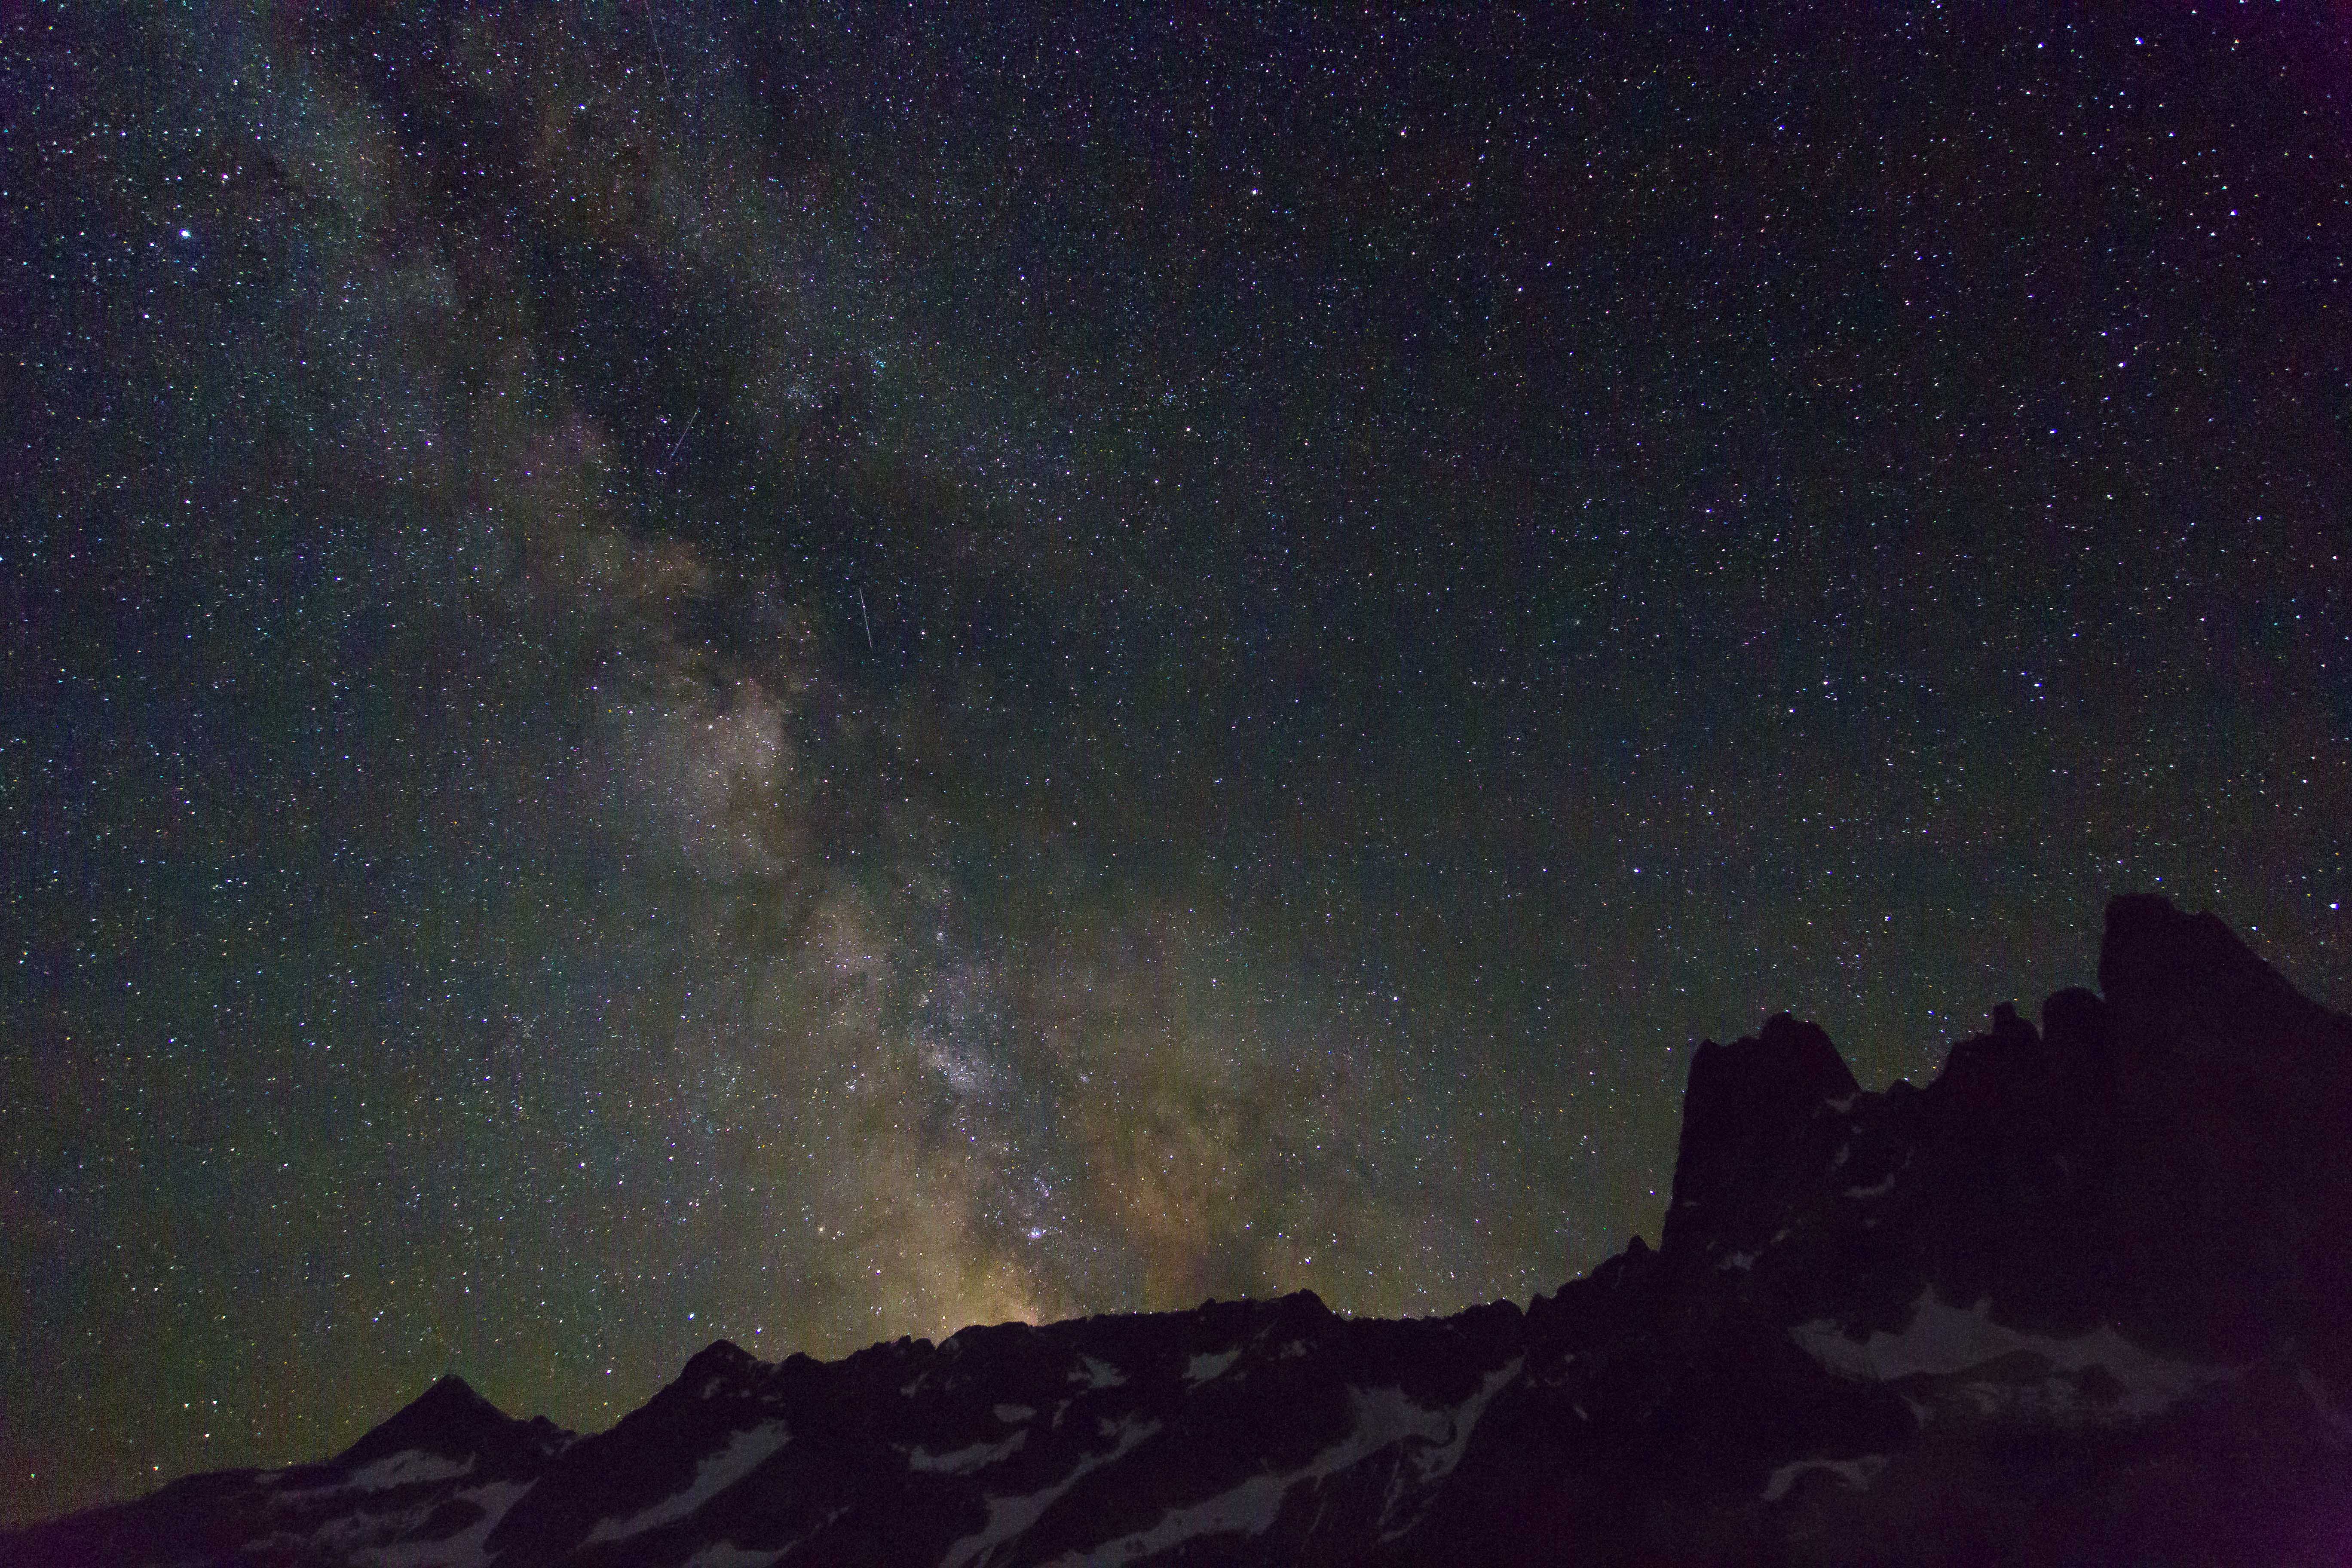
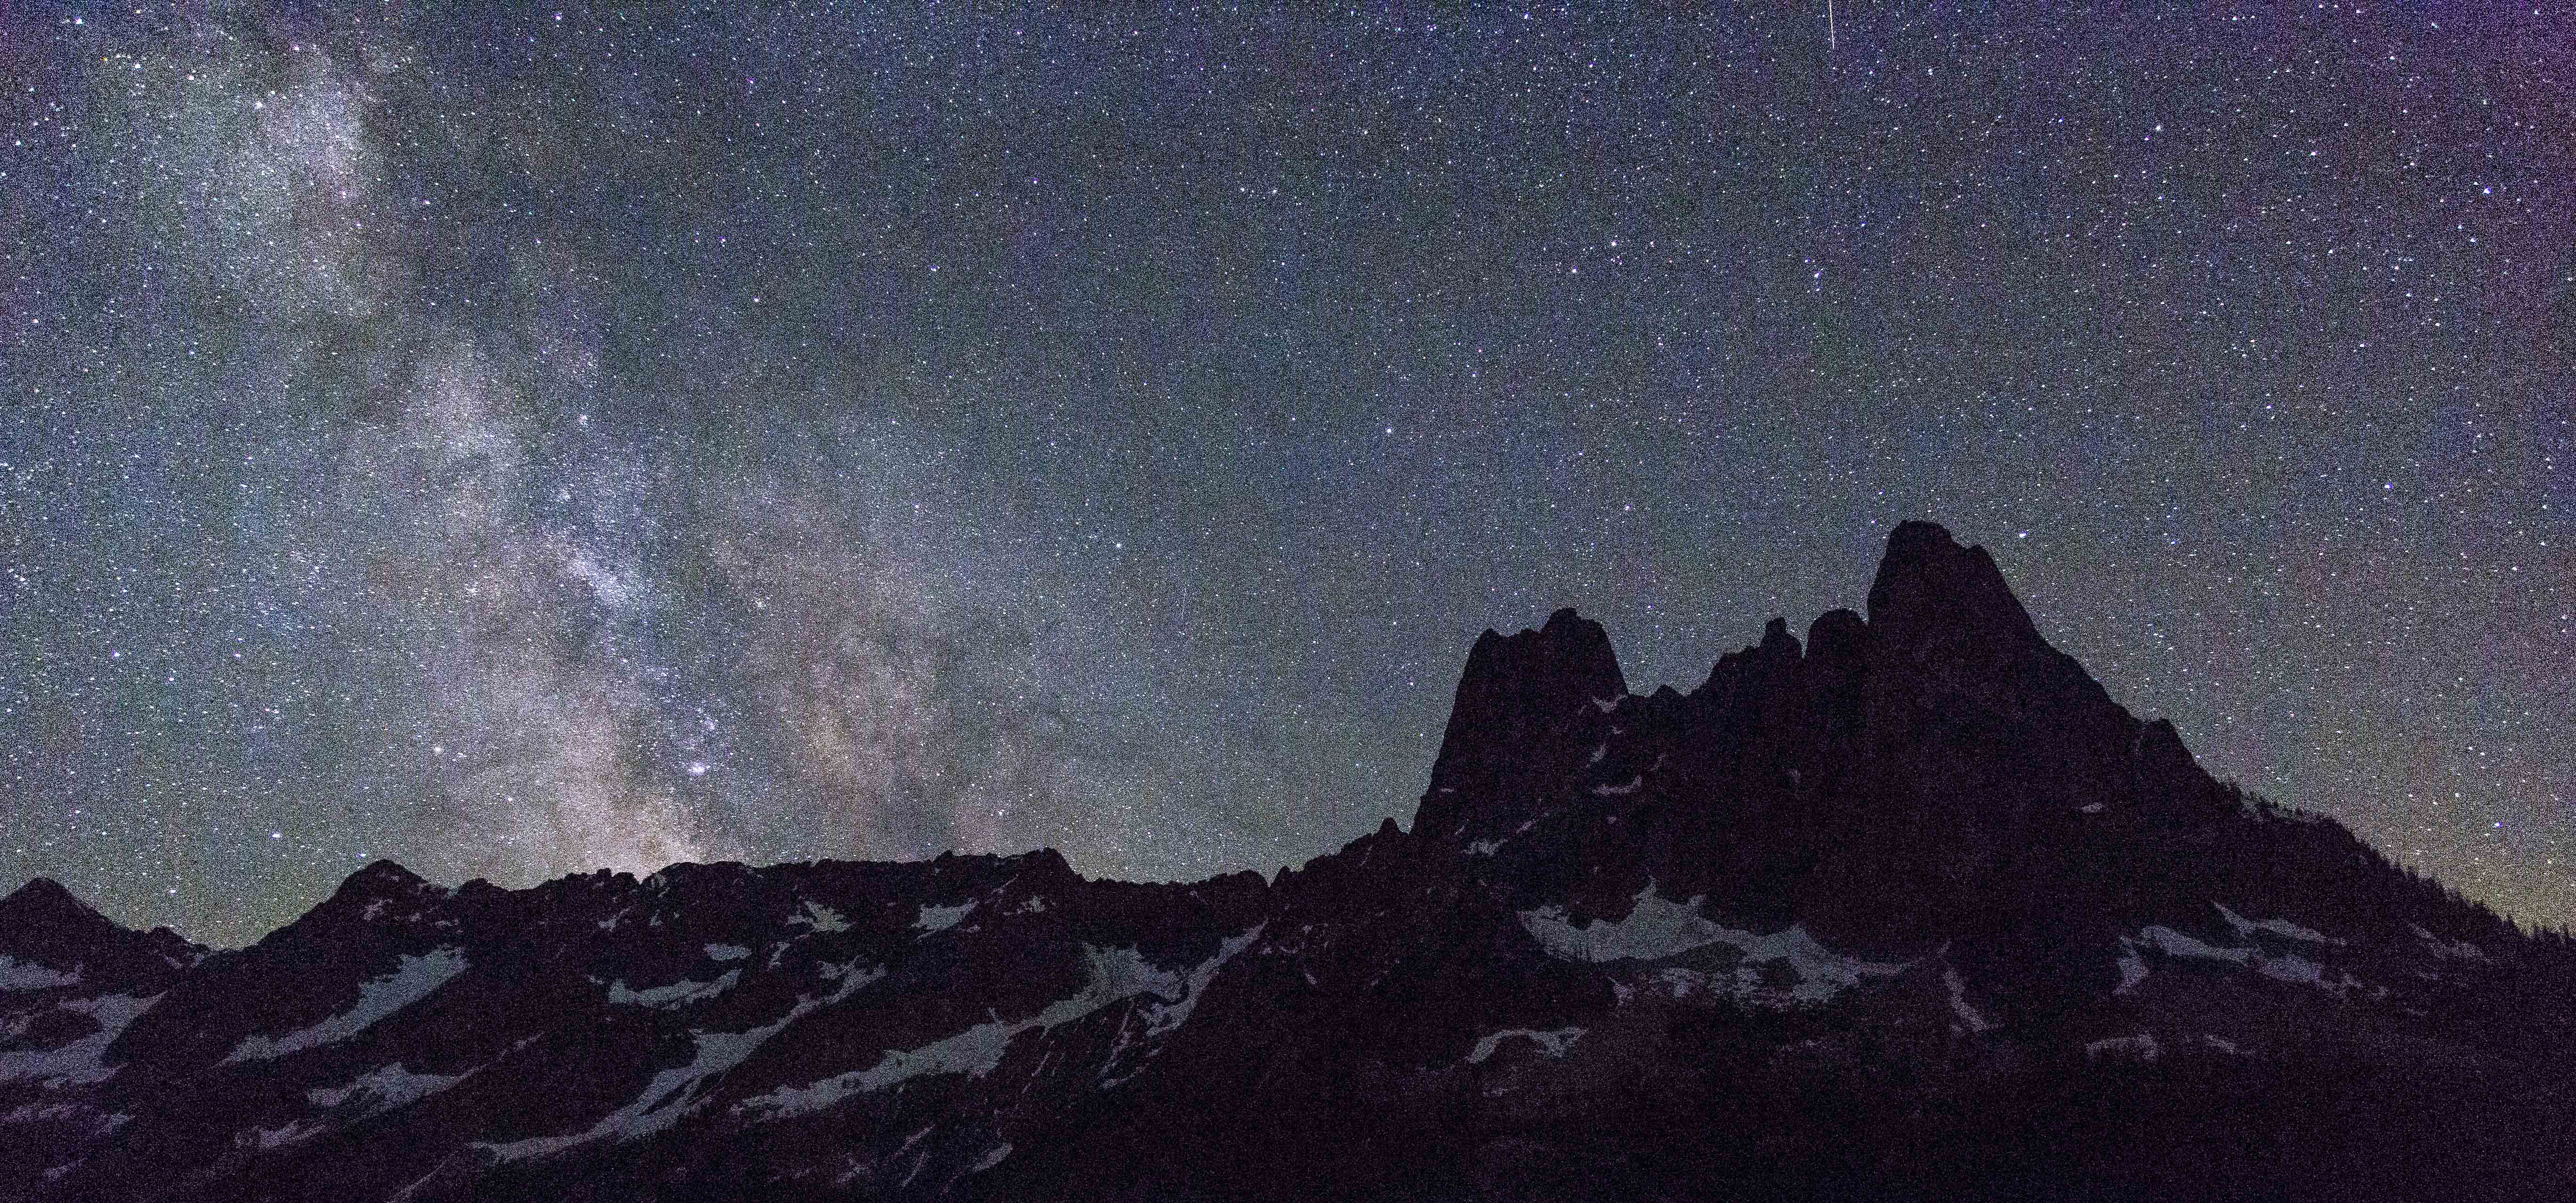
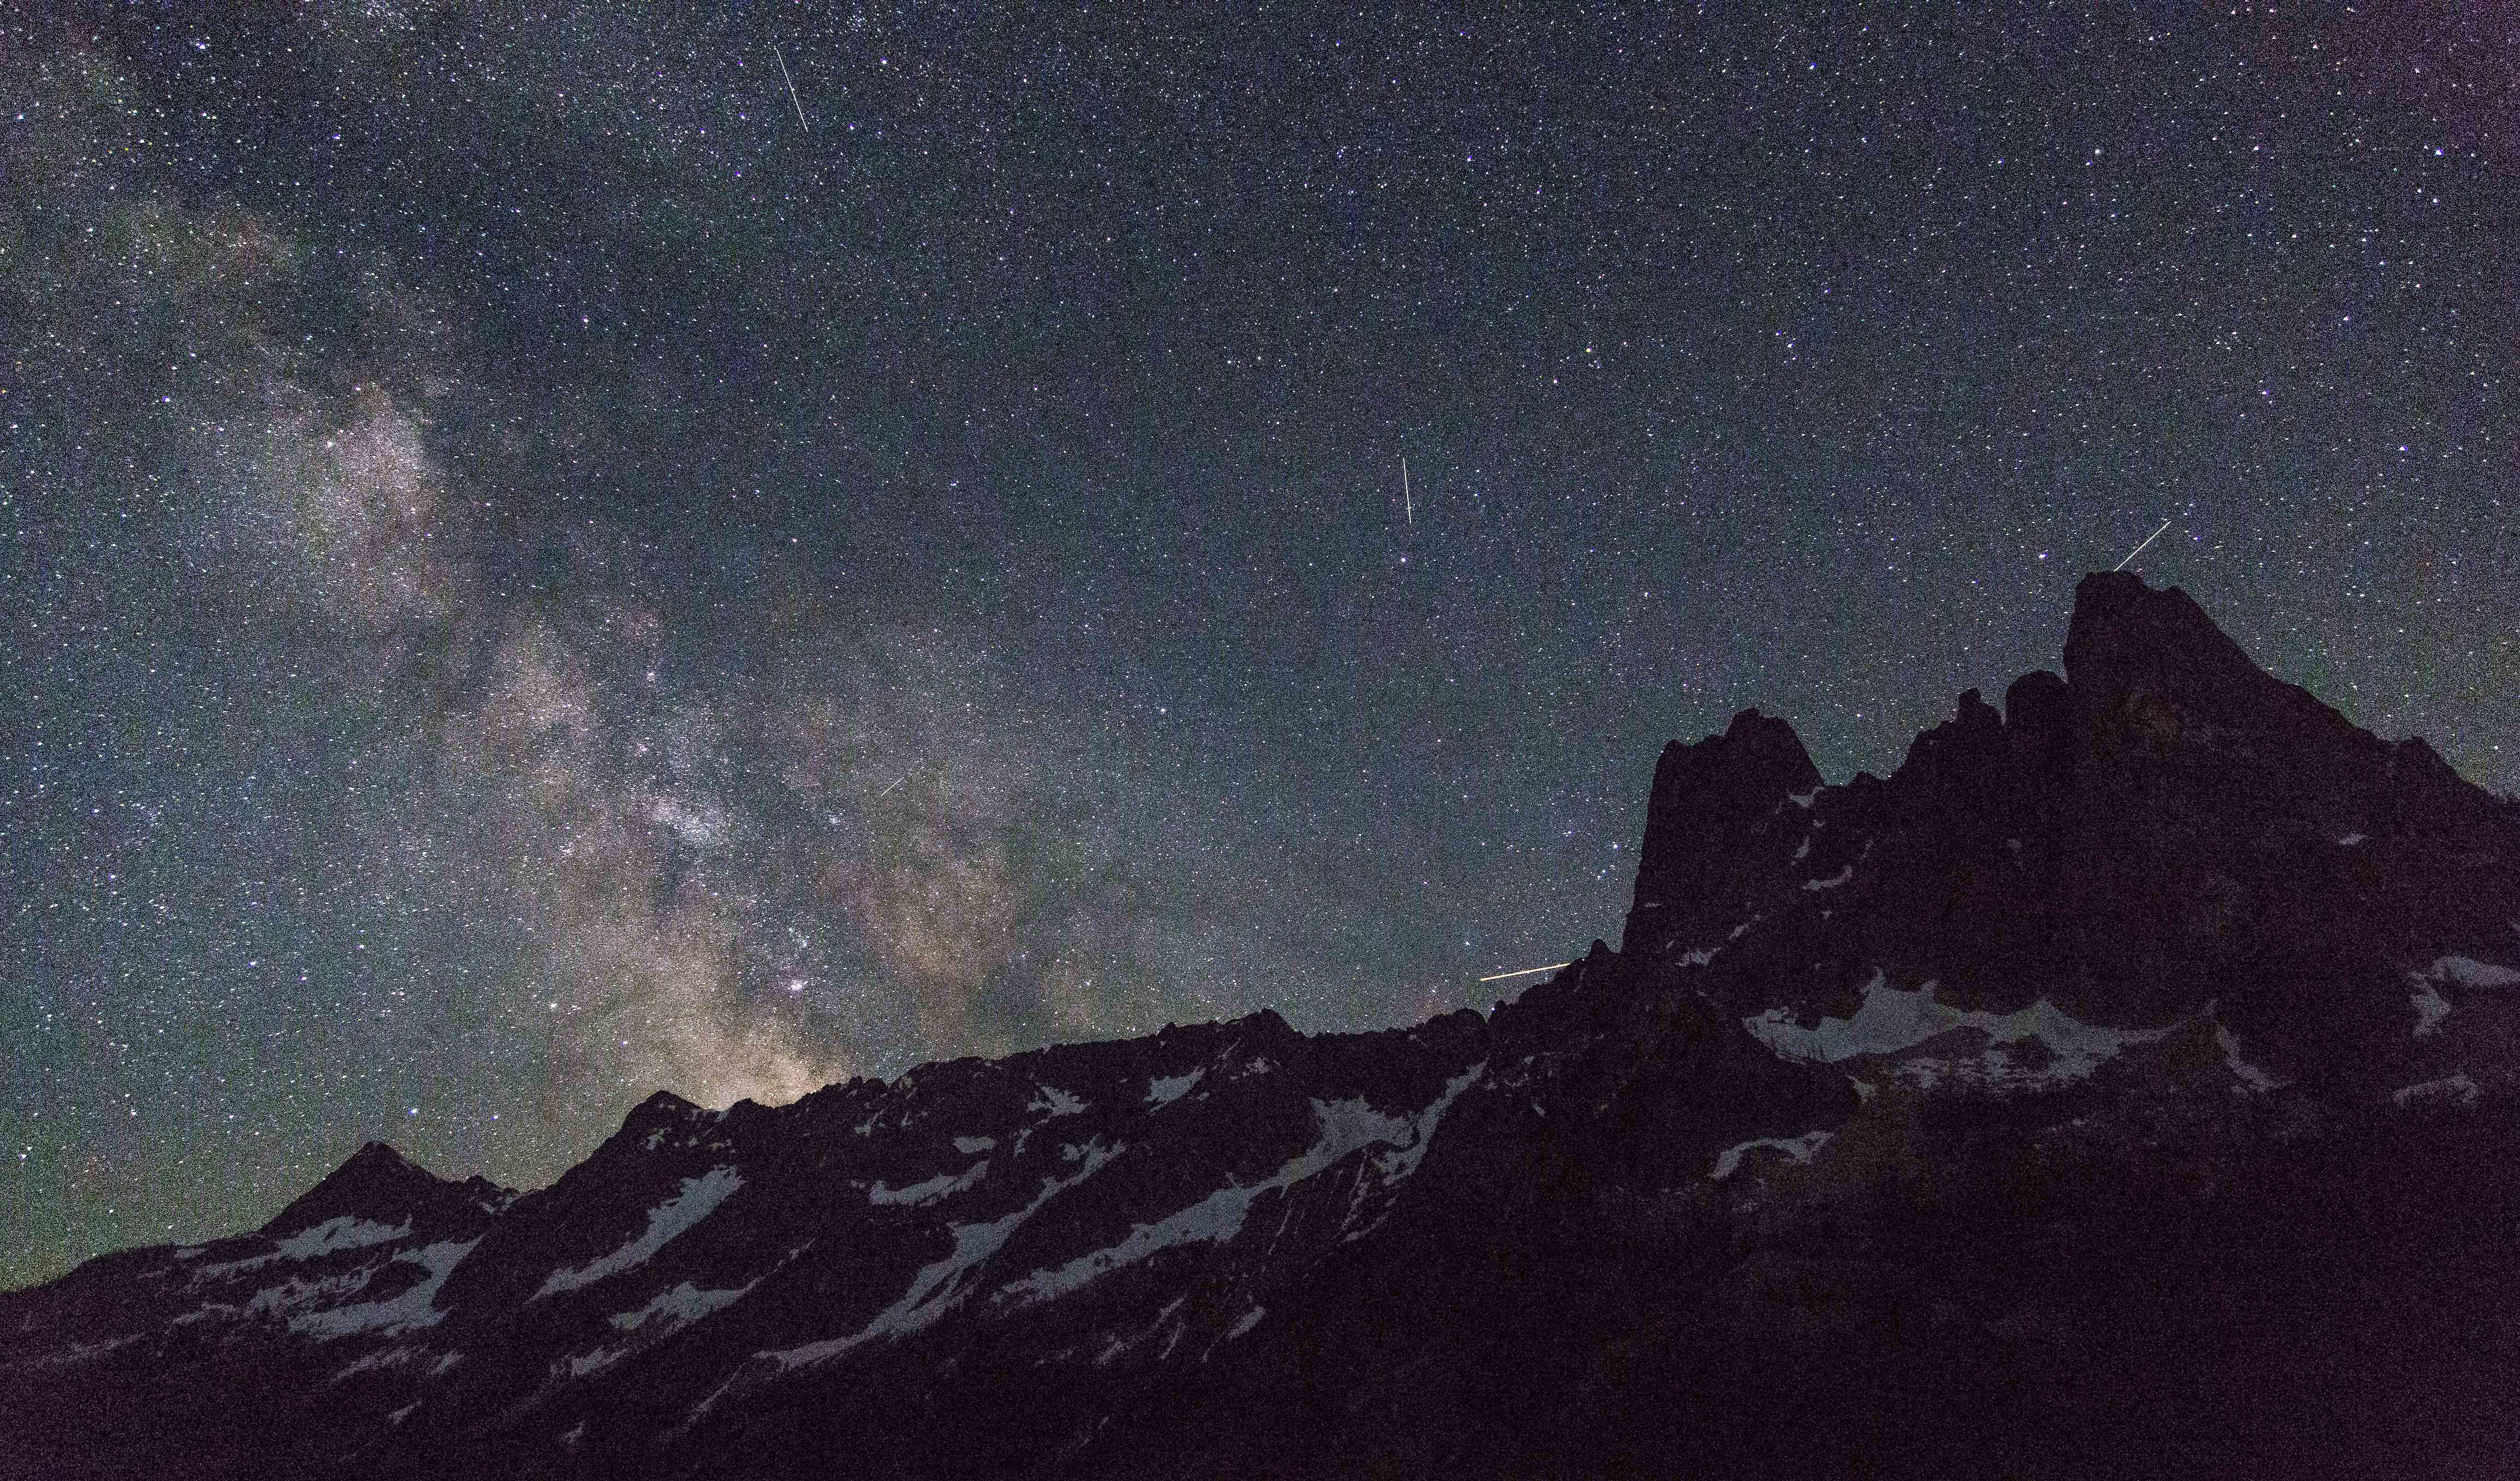
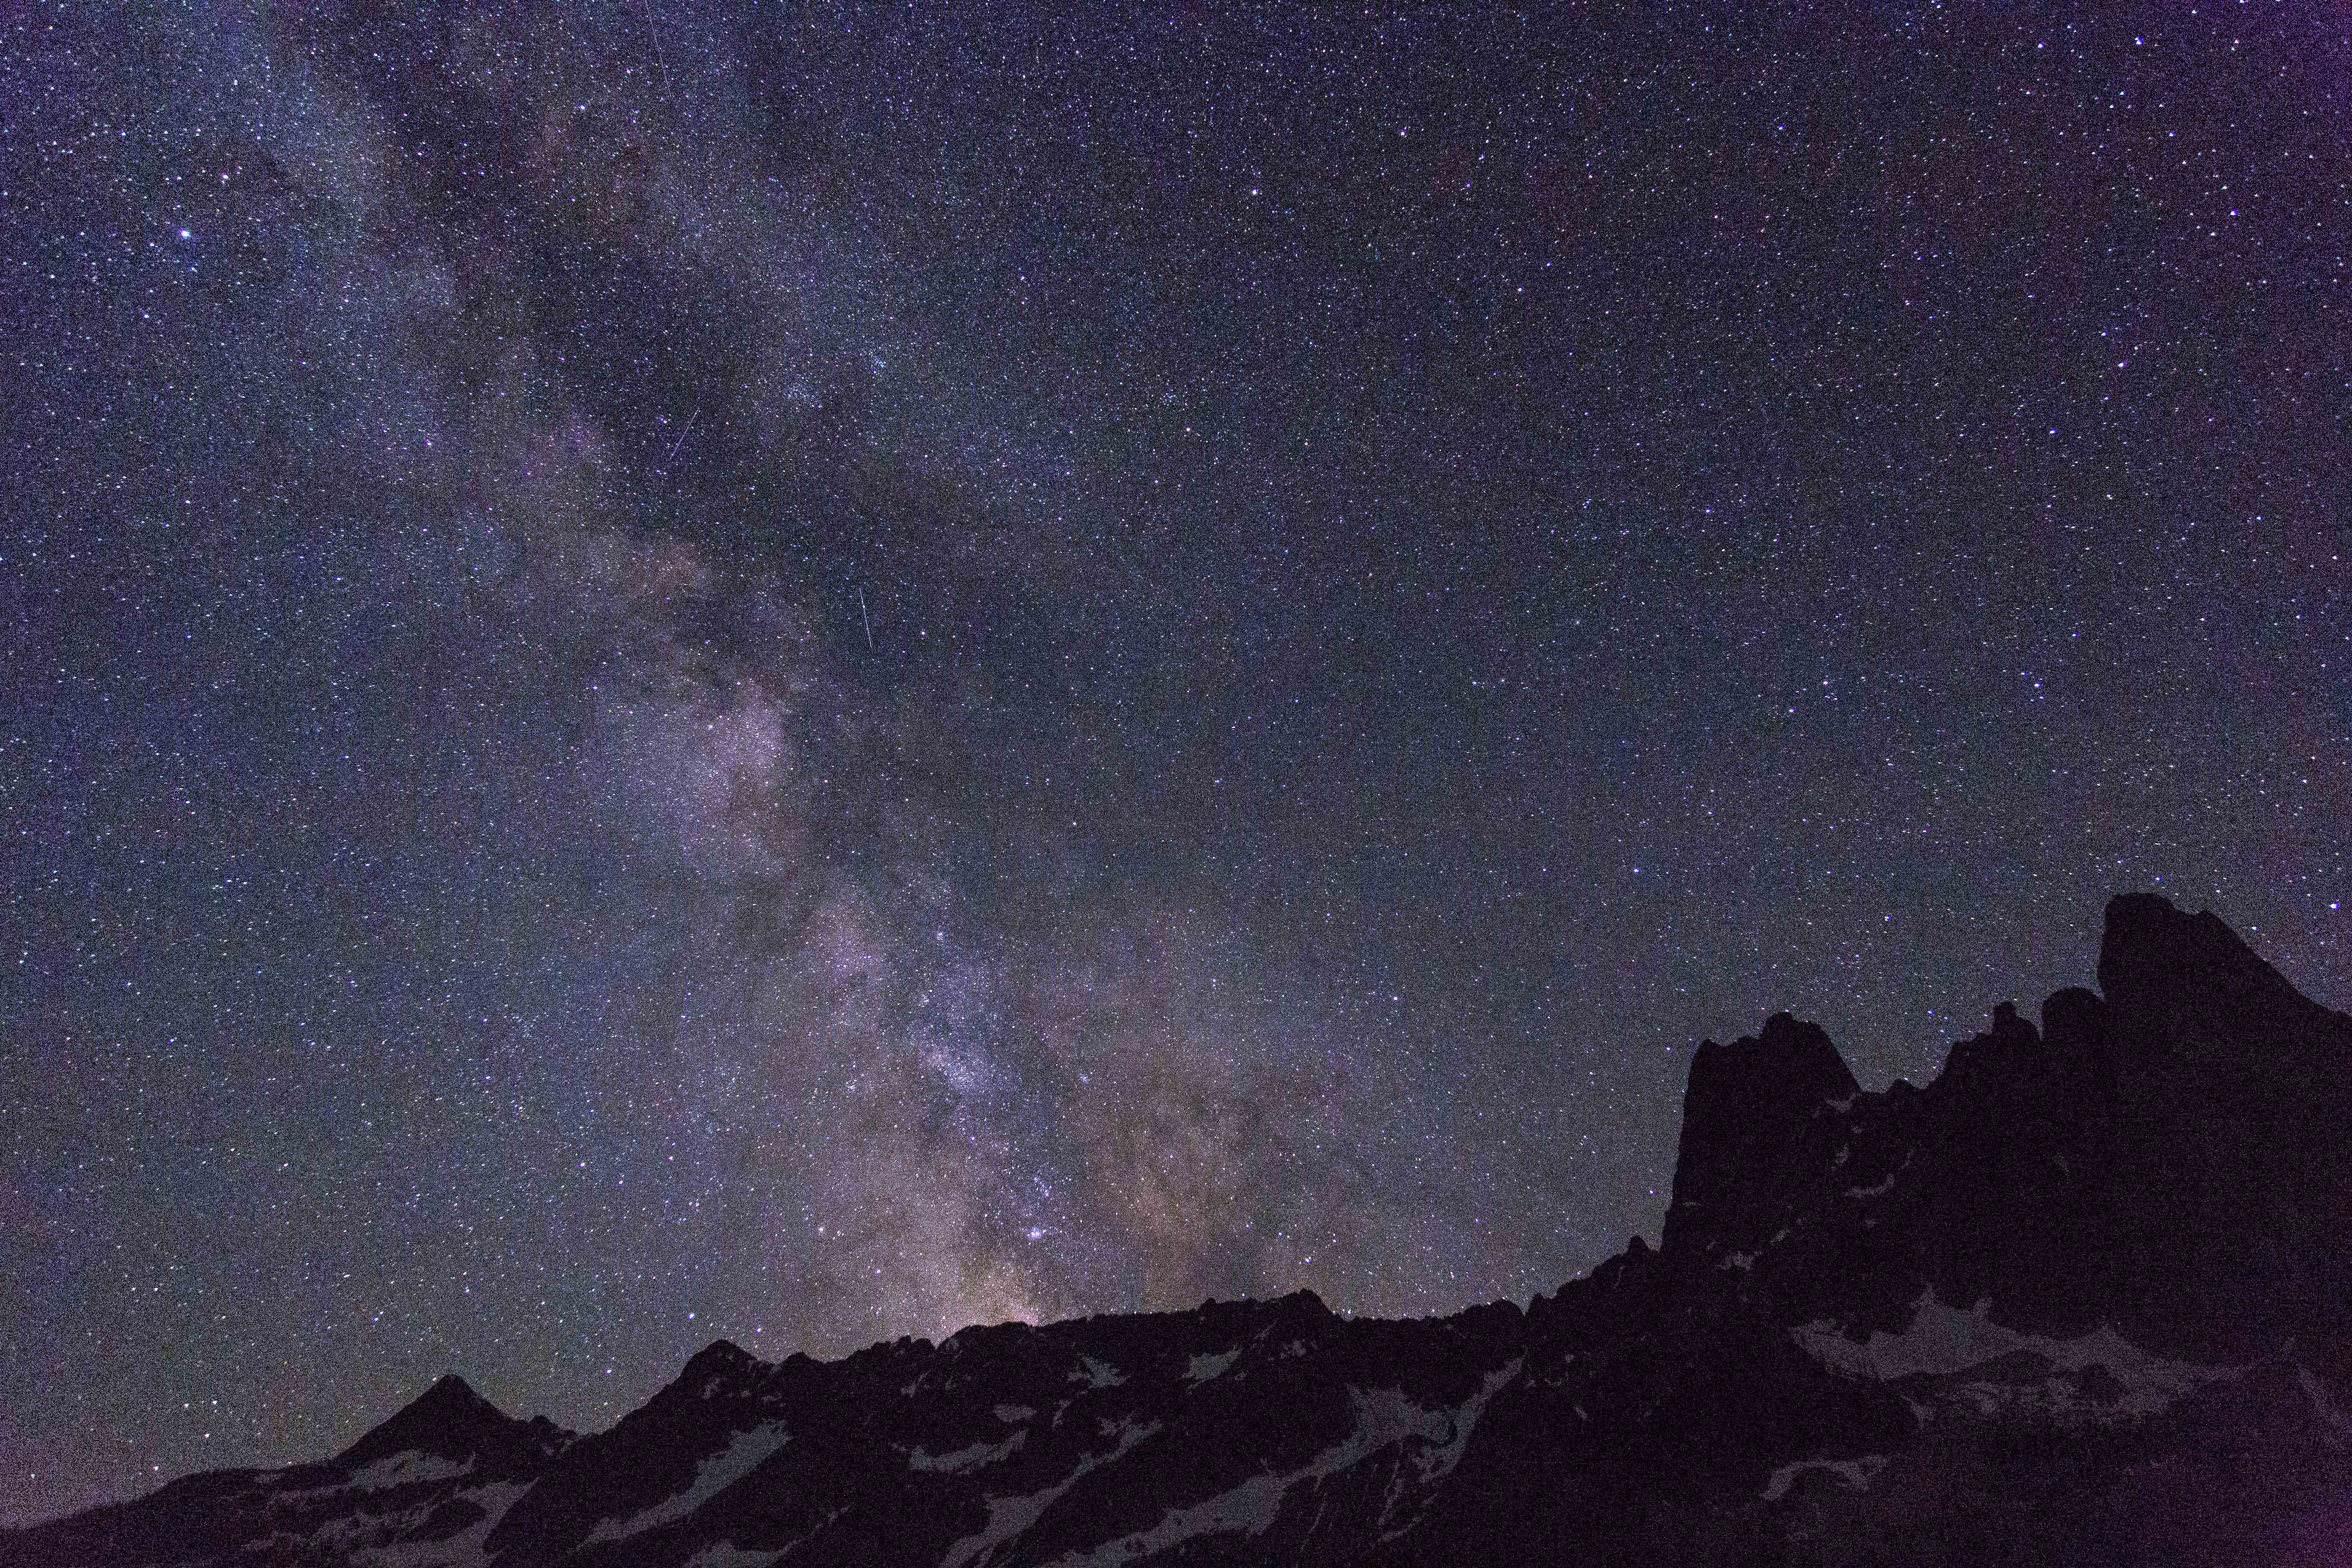
Liberty Bell, North Cascades and the Milky Way
I took these images last night, about midnight, at the Washington Pass Overlook on the North Cascades Highway. The mountain in the foreground is Liberty Bell.
Set the camera at f/4, 8 to 10 seconds and an ISO of 25,600.
Captured as RAW images and some slight mods with PS 6.